> ## Documentation Index
> Fetch the complete documentation index at: https://checklyhq.com/docs/llms.txt
> Use this file to discover all available pages before exploring further.
# Exporting Traces to Dash0
> Learn how to export traces from Checkly to Dash0.
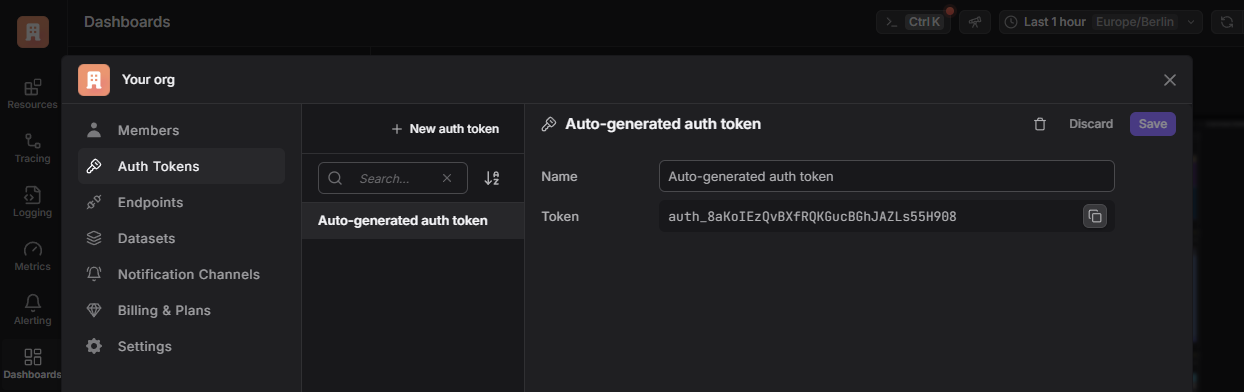
1. Create an API key in the **Settings** > **Auth Tokens** section.
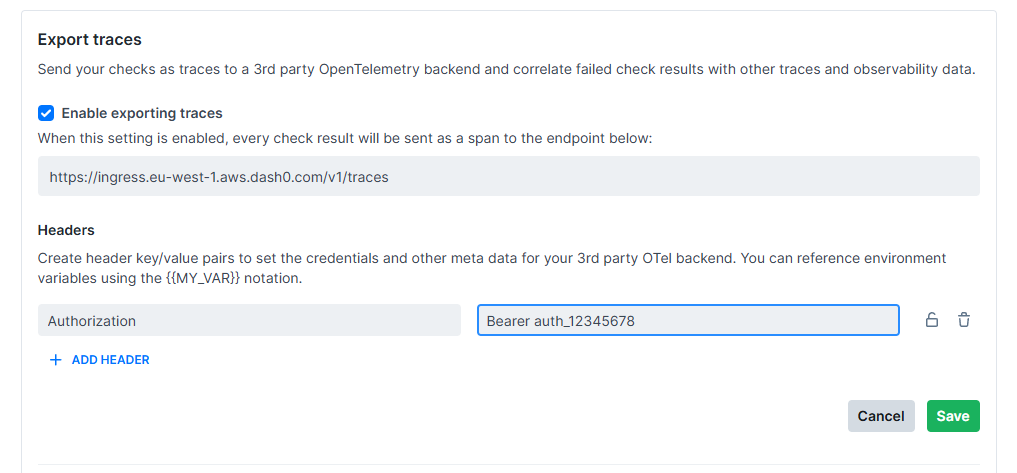
 2. Grab the right endpoint URL for your Dash0 organization from the **Settings** > **Endpoints** section. It should look like `https://ingress.eu-west-1.aws.dash0.com/v1/traces`.
Make sure it ends with `/v1/traces/`
3. Add the endpoint and the auth token to the Checkly integration settings. The auth token is added as an HTTP header named
`Authorization` with the value of `Bearer ` and your auth token.
2. Grab the right endpoint URL for your Dash0 organization from the **Settings** > **Endpoints** section. It should look like `https://ingress.eu-west-1.aws.dash0.com/v1/traces`.
Make sure it ends with `/v1/traces/`
3. Add the endpoint and the auth token to the Checkly integration settings. The auth token is added as an HTTP header named
`Authorization` with the value of `Bearer ` and your auth token.
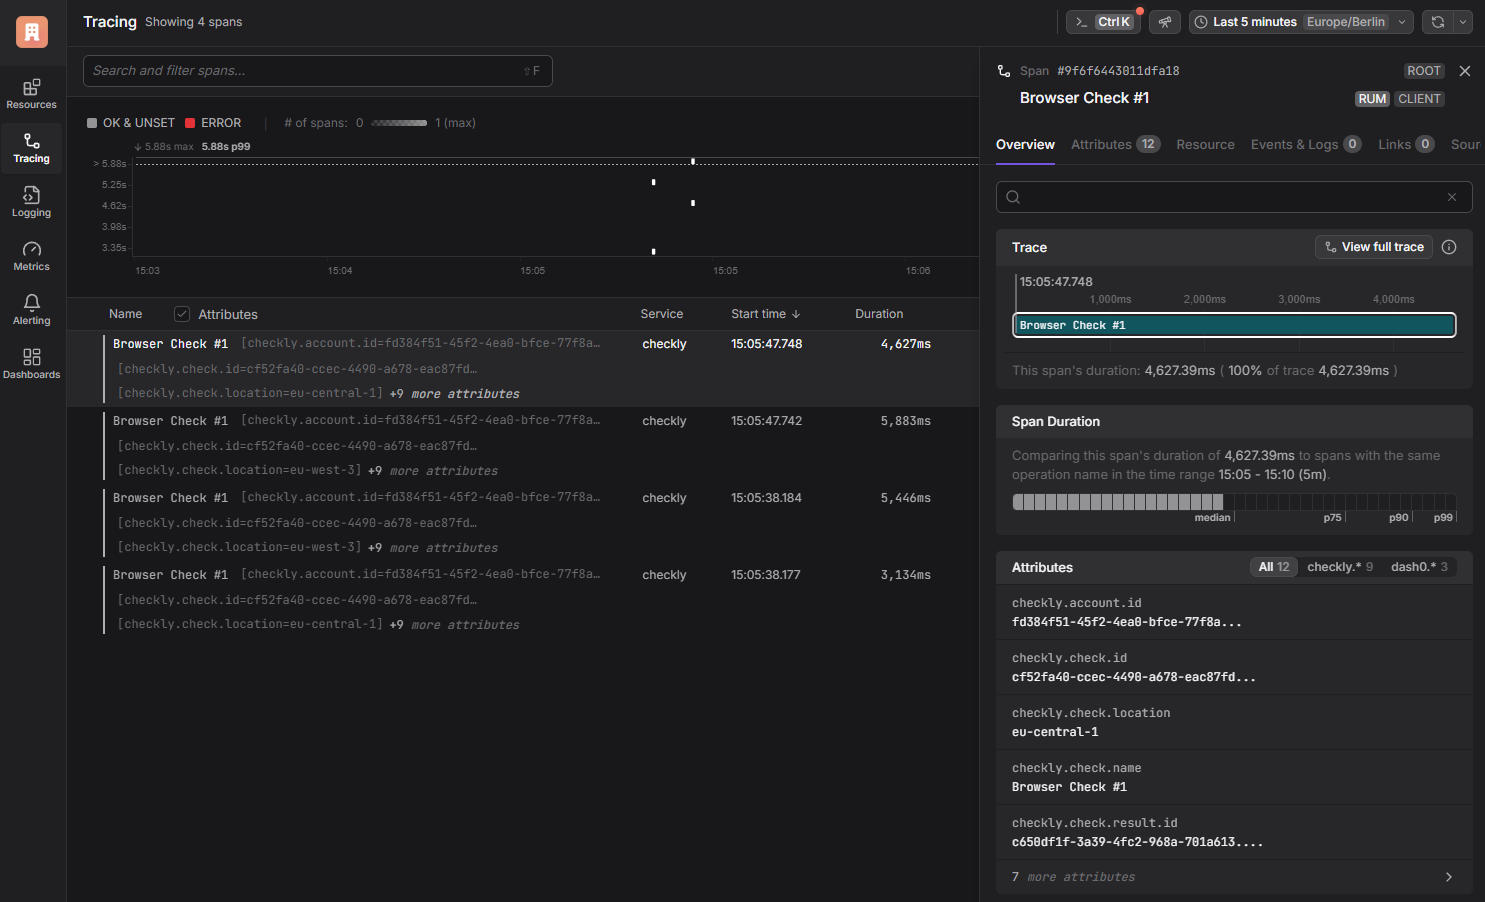
 4. Observe Spans appearing in Dash0 on the `Tracing` tab.
 Find all the details in the [Dash0 documentation](https://www.dash0.com/documentation).