The Checkly Pulumi provider enables declaring your monitoring setup as code using Pulumi.
Getting started
Learn how to create, configure and sync your checks by following this getting started guide.
Pulumi CLI setup
Before getting started and writing your monitoring setup in code, you have to set up Pulumi and its CLI. Create a new Pulumi account and install the Pulumi CLI.
The pulumi command should then be available in your environment.
$ pulumi
pulumi
Pulumi - Modern Infrastructure as Code

To begin working with Pulumi, run the `pulumi new` command:
  $ pulumi new

This will prompt you to create a new project for your cloud and language of choice.
...
...
 Run
Run pulumi login and provide the token.
$ pulumi login
Manage your Pulumi stacks by logging in.
Run `pulumi login --help` for alternative login options.
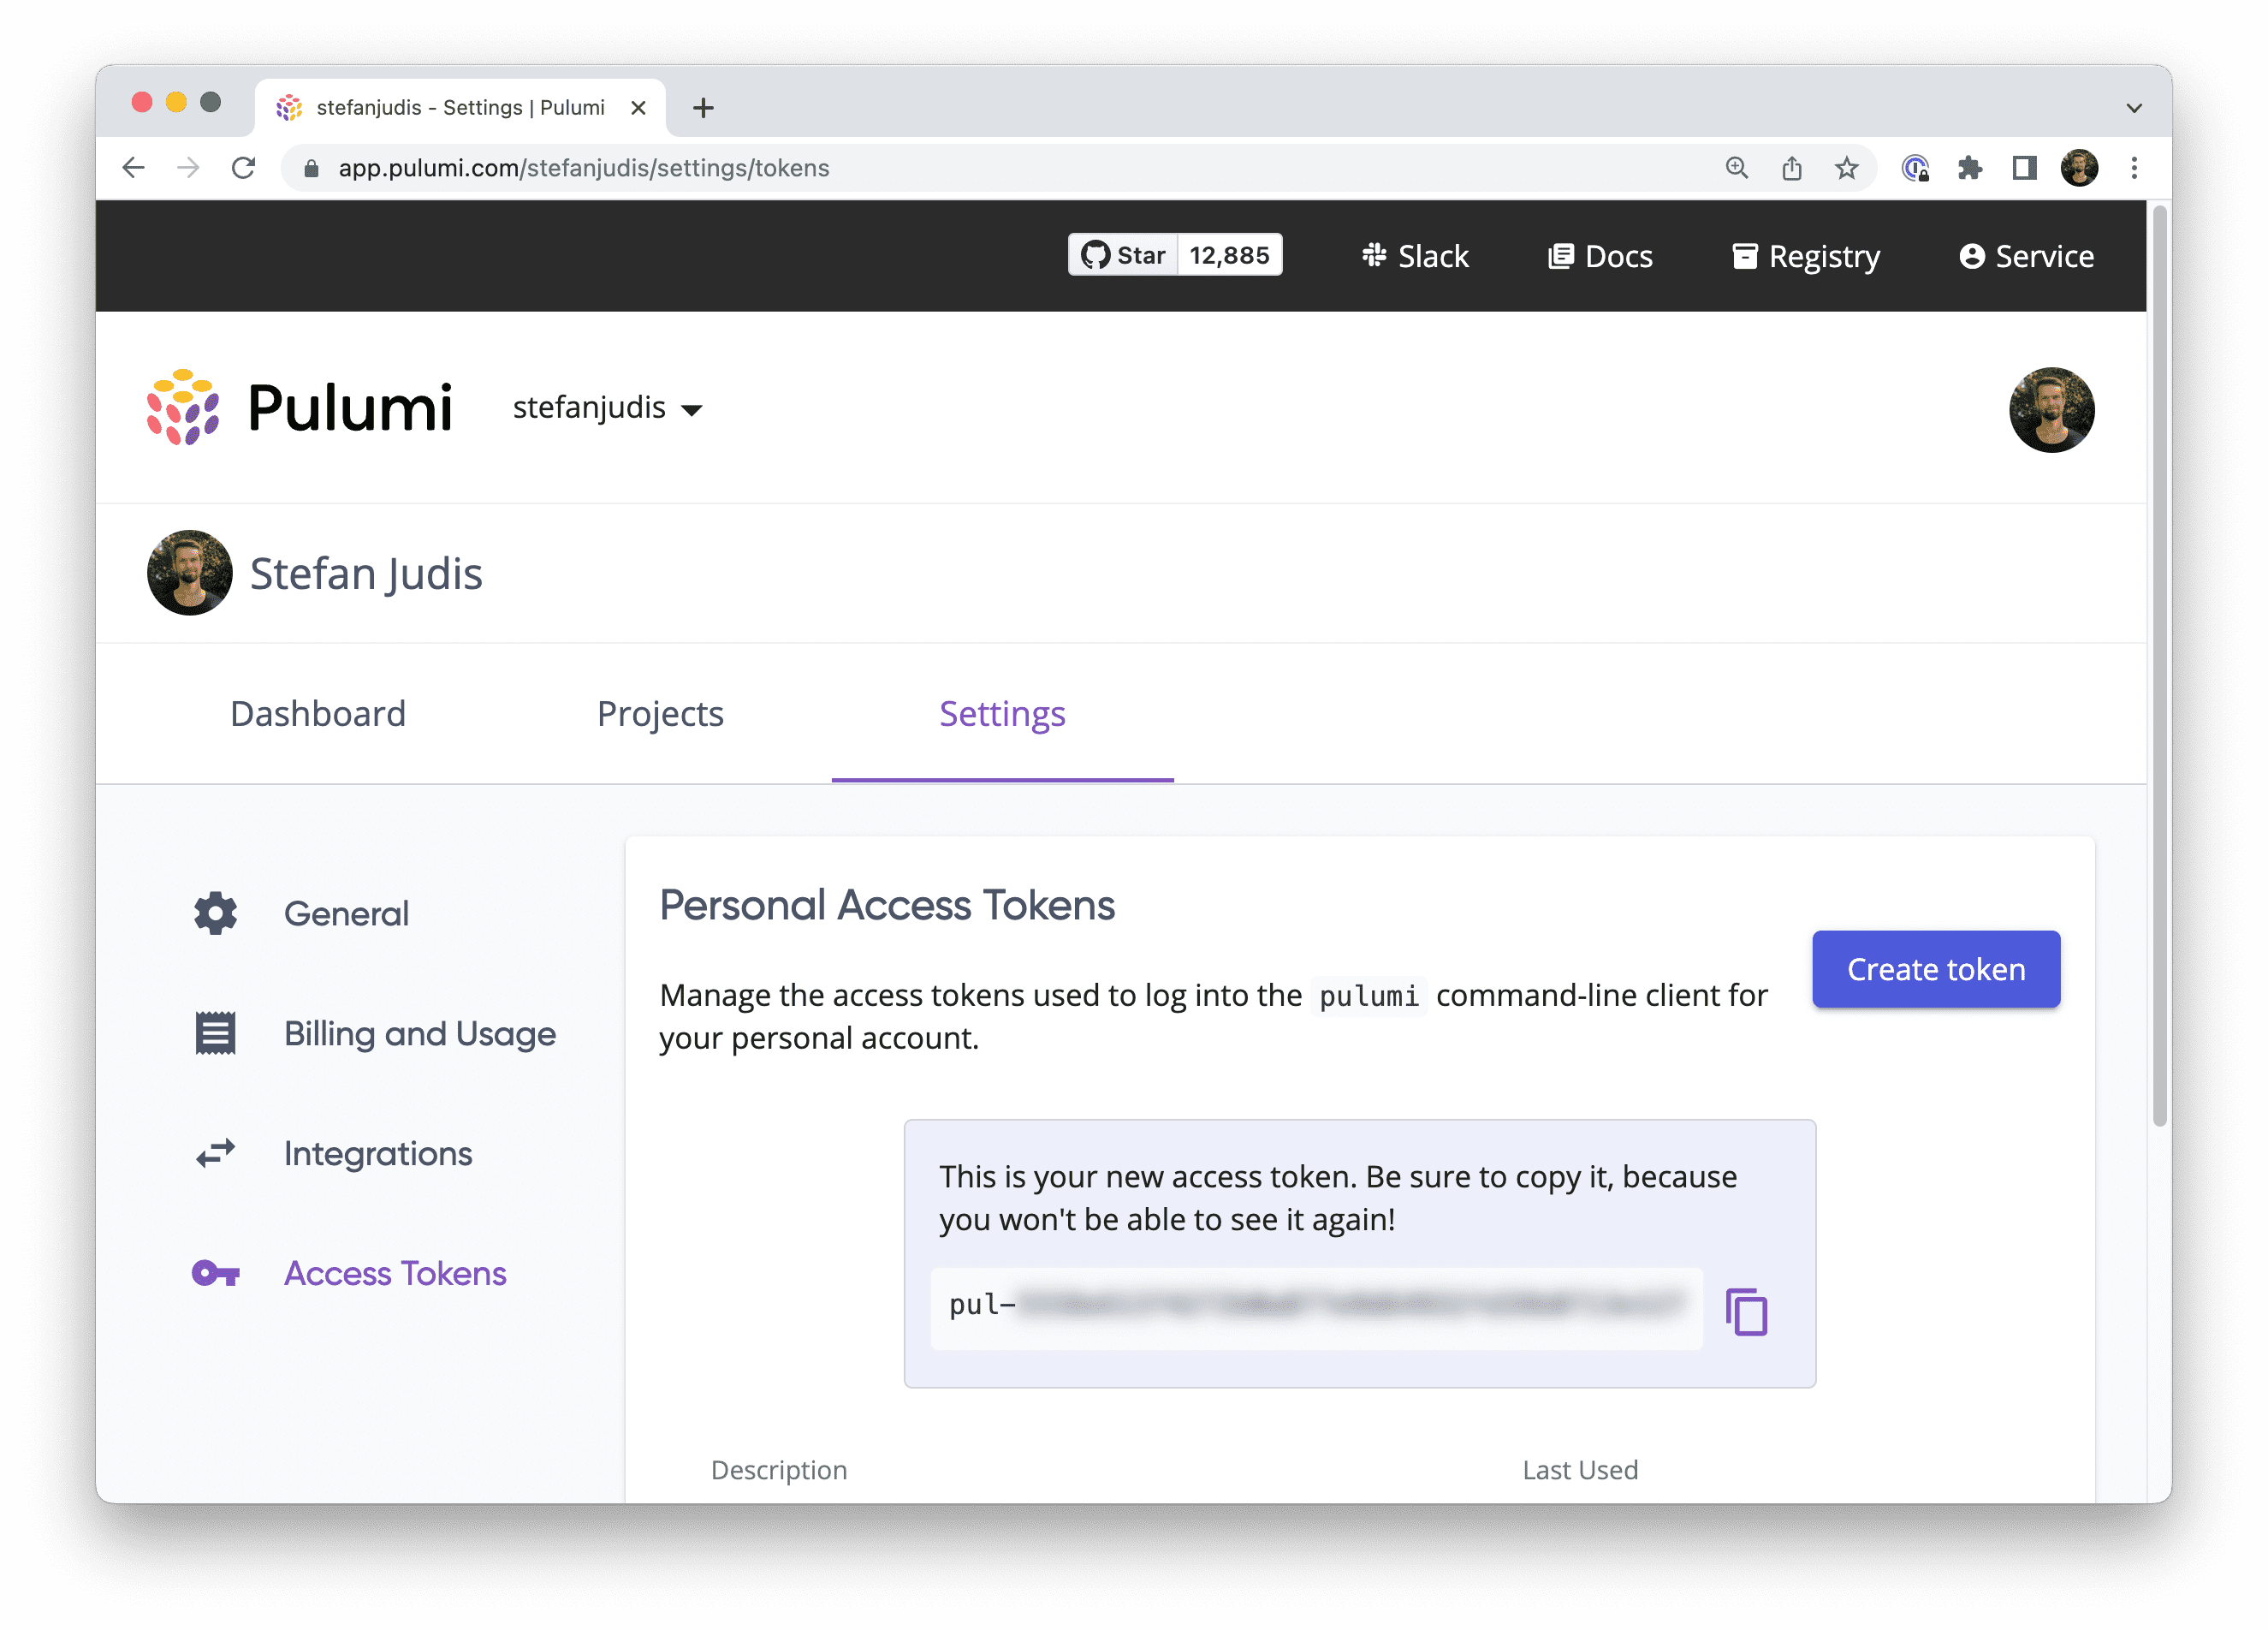
Enter your access token from https://app.pulumi.com/account/tokens
or hit <ENTER> to log in using your browser:
whoiam command should return your username after a successful login.
$ pulumi whoami
YOUR_USER_NAME
Create a new Pulumi project
Create a new directory for your Pulumi project and navigate into it.
$ mkdir new-pulumi-checkly-project && cd $_
pulumi new and choose the minimal JavaScript template (javascript).
$ pulumi new javascript
This command will walk you through creating a new Pulumi project.

Enter a value or leave blank to accept the (default), and press <ENTER>.
Press ^C at any time to quit.

project name: (new-pulumi-checkly-project)
project description: (A minimal JavaScript Pulumi program)
Created project 'new-pulumi-checkly-project'

Please enter your desired stack name.
To create a stack in an organization, use the format <org-name>/<stack-name> (e.g. `acmecorp/dev`).
stack name: (dev)
Created stack 'dev'

Installing dependencies...
added 96 packages, and audited 97 packages in 4s
Finished installing dependencies

Your new project is ready to go! ✨

To perform an initial deployment, run 'pulumi up'
ls and make sure that a Pulumi.yaml, package.json and index.js file are available.
$ ls
Pulumi.yaml       node_modules      package.json
index.js          package-lock.json
Define your Checkly account ID and API key
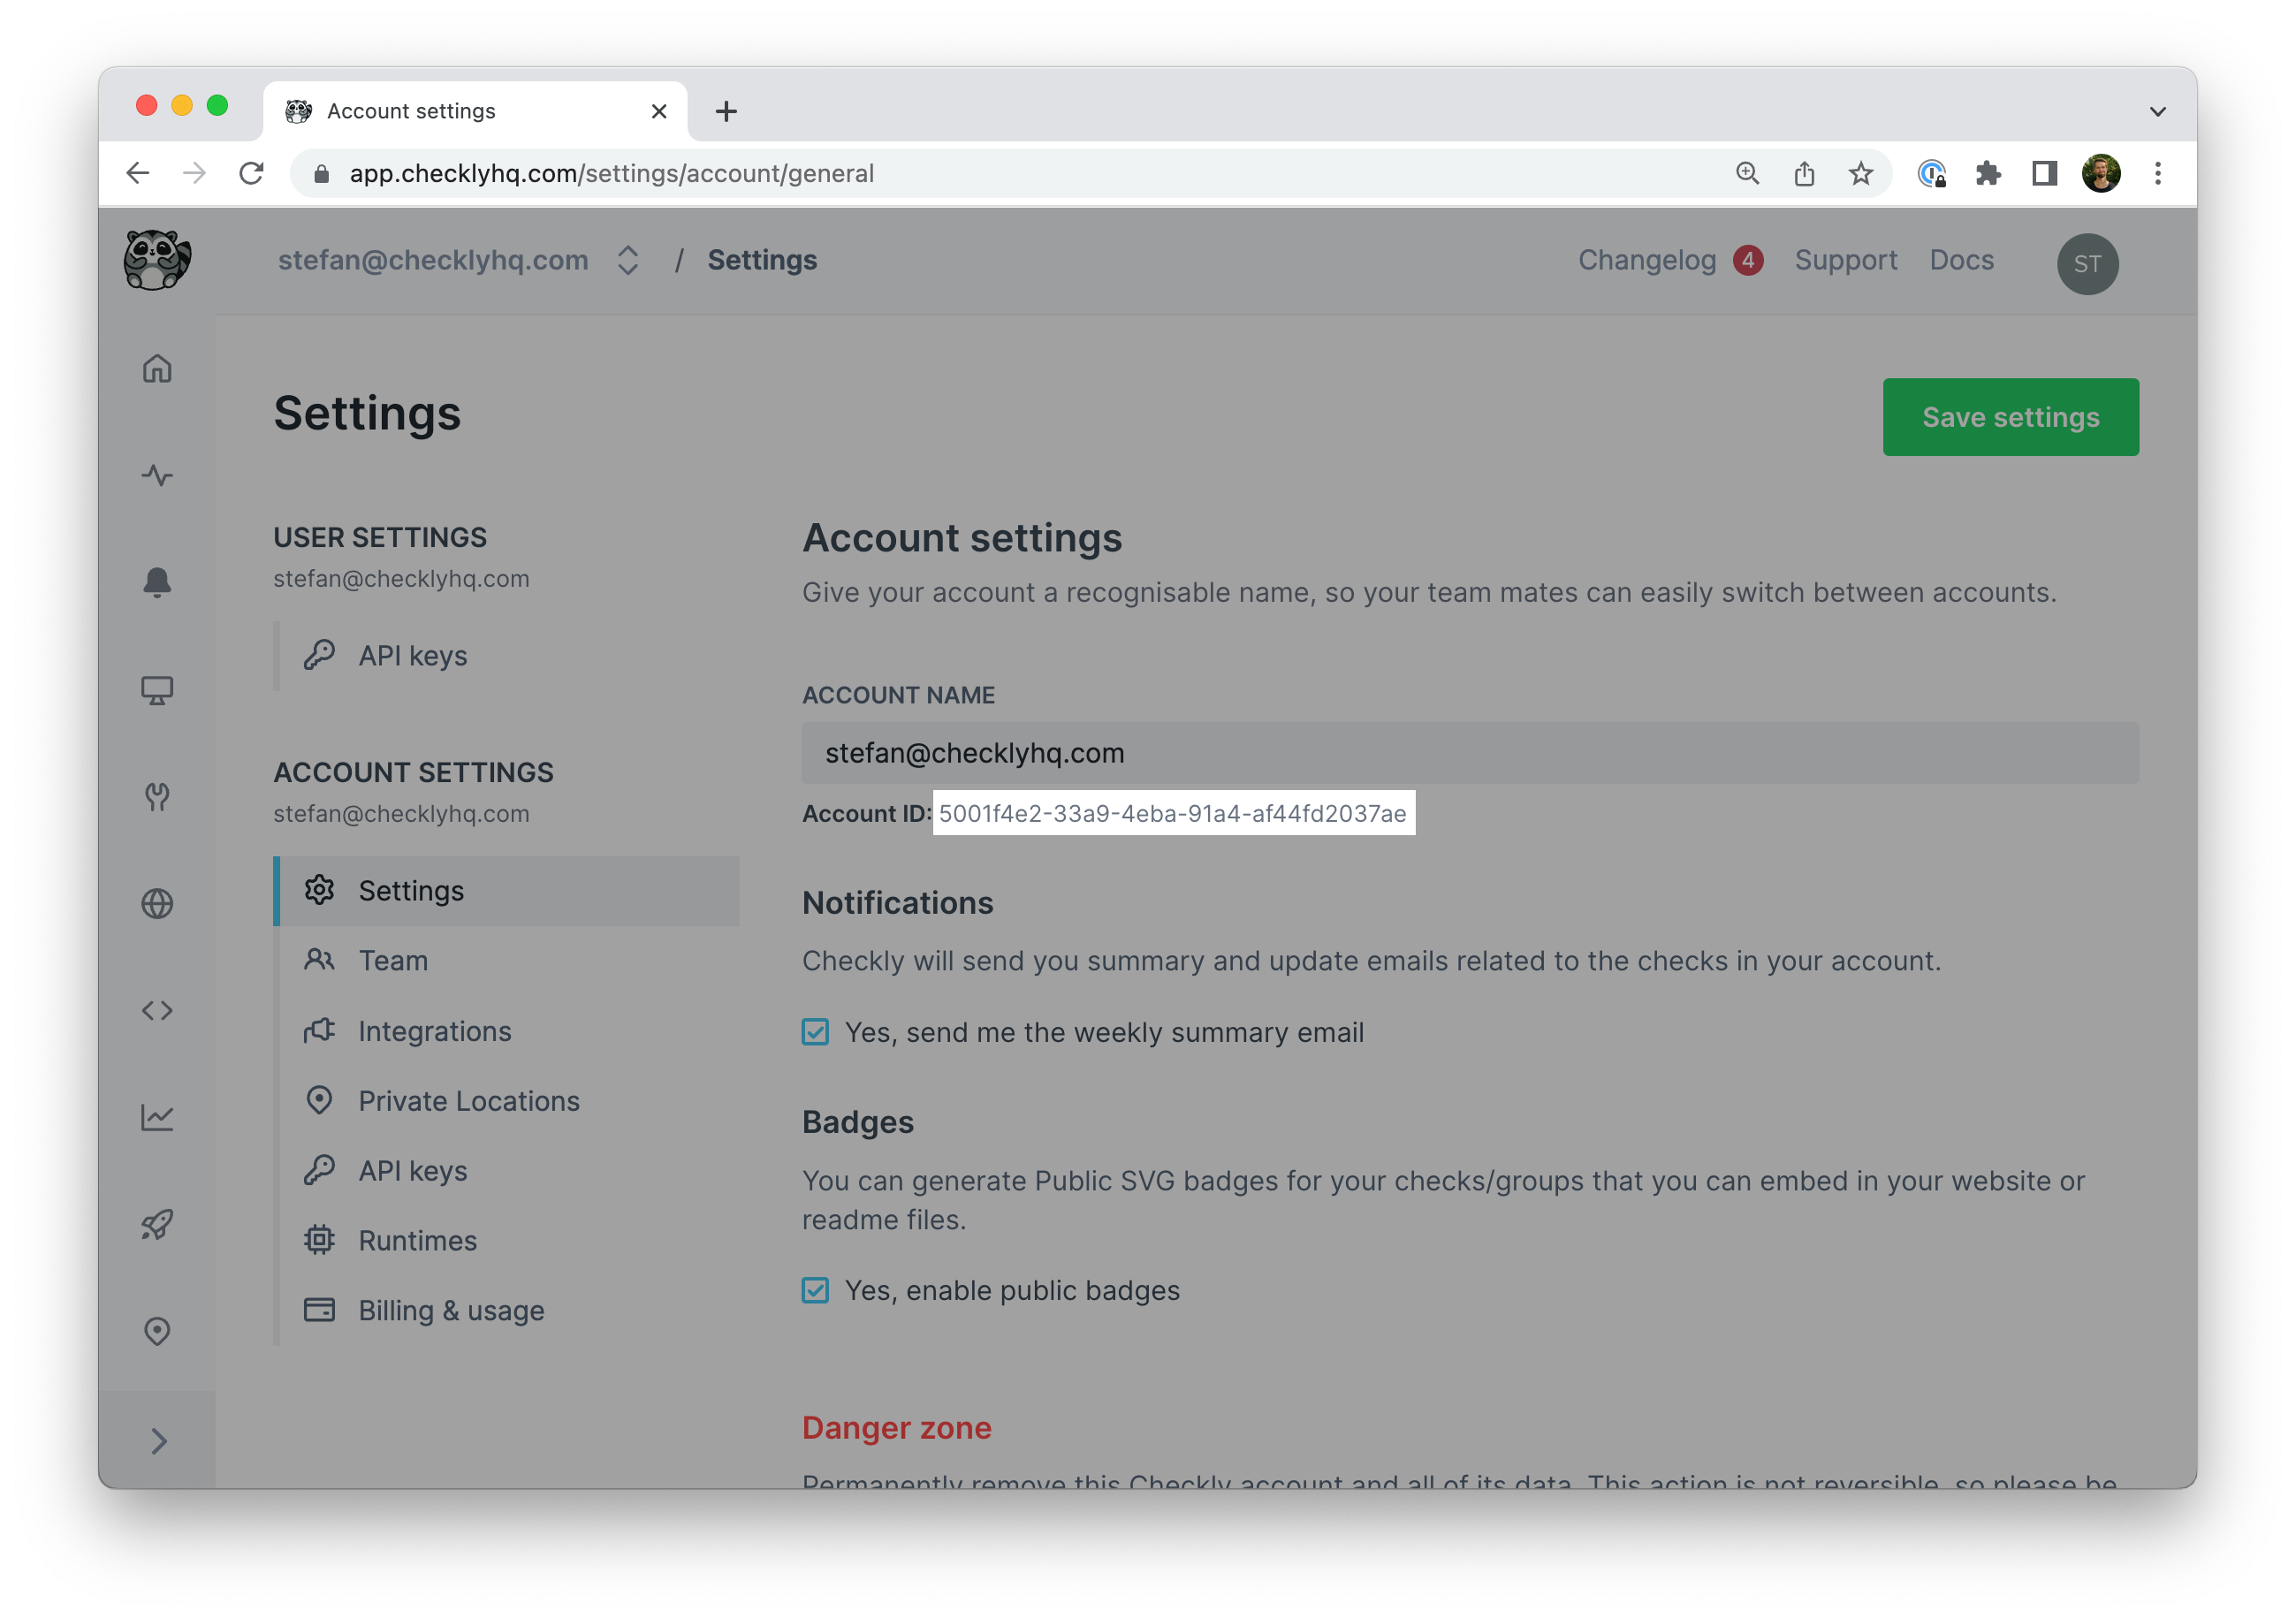
To interact with the underlying Checkly API, provide your Checkly account ID and API key by defining those in your environment.
Your account ID is accessible at app.checklyhq.com/settings/account/general.
export CHECKLY_ACCOUNT_ID=xxx
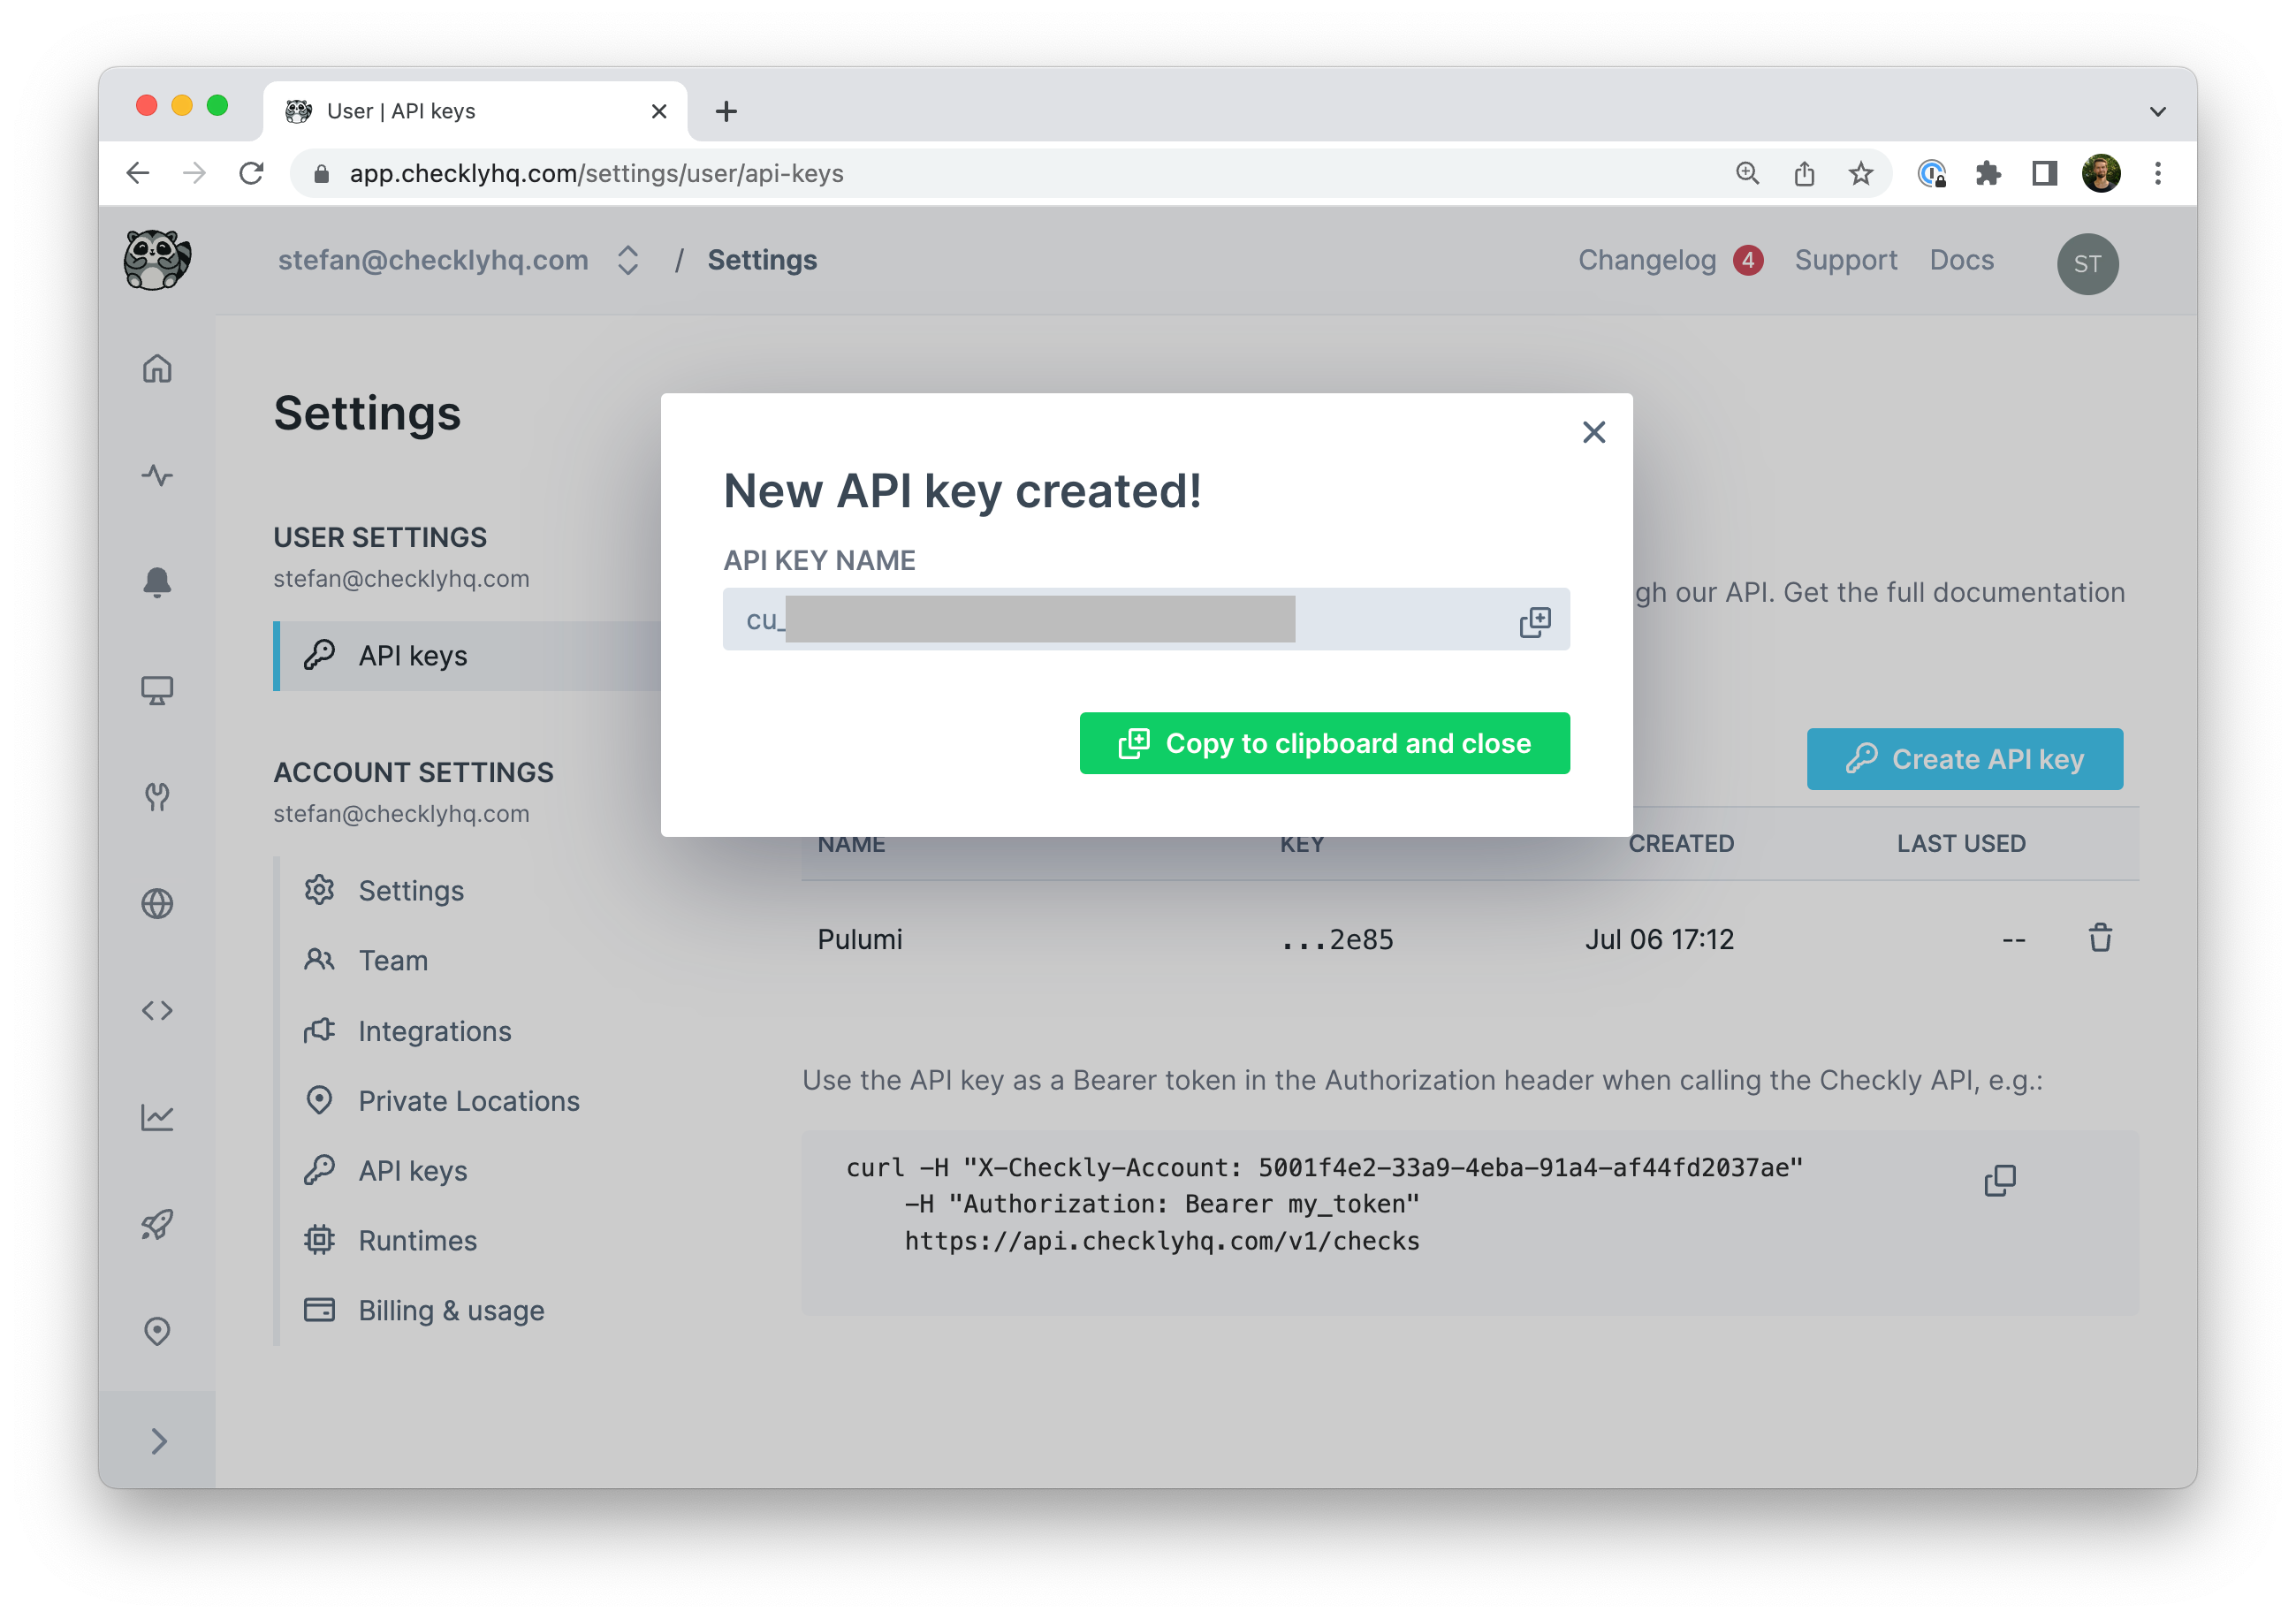
export CHECKLY_API_KEY=cu_xxx
$ echo $CHECKLY_ACCOUNT_ID
xxx

$ echo $CHECKLY_API_KEY
cu_xxx
If you prefer storing your configuration alongside your Pulumi stack for easy multi-user access, use pulumi config set.
$ pulumi config set checkly:apiKey cu_xxx --secret
$ pulumi config set checkly:accountId xxx
Install the Checkly Pulumi Provider
Install the Checkly Pulumi provider (@checkly/pulumi) with yarn or npm to integrate it in your new project.
$ npm install @checkly/pulumi
$ yarn add @checkly/pulumi
index.js and require it on top of the file.
const checkly = require('@checkly/pulumi')
checkly object provides resources such as AlertChannel, Check, and CheckGroup, enabling you to define and configure your entire Checkly monitoring setup in code.
Add the following Check definition examples to the index.js.
Examples
How to create your first API check
new checkly.Check('my-api-check', {
  name: 'Public SpaceX API',
  activated: true,
  frequency: 10,
  type: 'API',
  locations: ['eu-west-1', 'us-west-2'],
  tags: ['pulumi'],
  degradedResponseTime: 5000,
  maxResponseTime: 15000,
  request: {
    method: 'GET',
    url: 'https://api.spacexdata.com/v3',
    assertions: [
      {
        source: 'STATUS_CODE',
        comparison: 'EQUALS',
        target: '200',
      },
      {
        source: 'JSON_BODY',
        property: '$.project_name',
        comparison: 'EQUALS',
        target: 'SpaceX-API',
      },
    ],
  },
  useGlobalAlertSettings: true,
})
How to create your first Browser check
new checkly.Check('my-browser-check-pulumi', {
  name: 'Google.com Playwright check',
  activated: true,
  frequency: 10,
  type: 'BROWSER',
  script: `
  const { expect, test } = require('@playwright/test')

  test('visit page and take screenshot', async ({ page }) => {
    const response = await page.goto('https://checklyhq.com')

    expect(response.status()).toBeLessThan(400)

    await page.screenshot({ path: 'screenshot.jpg' })
  })`,
  locations: ['eu-west-1', 'us-west-2'],
  tags: ['pulumi'],
})
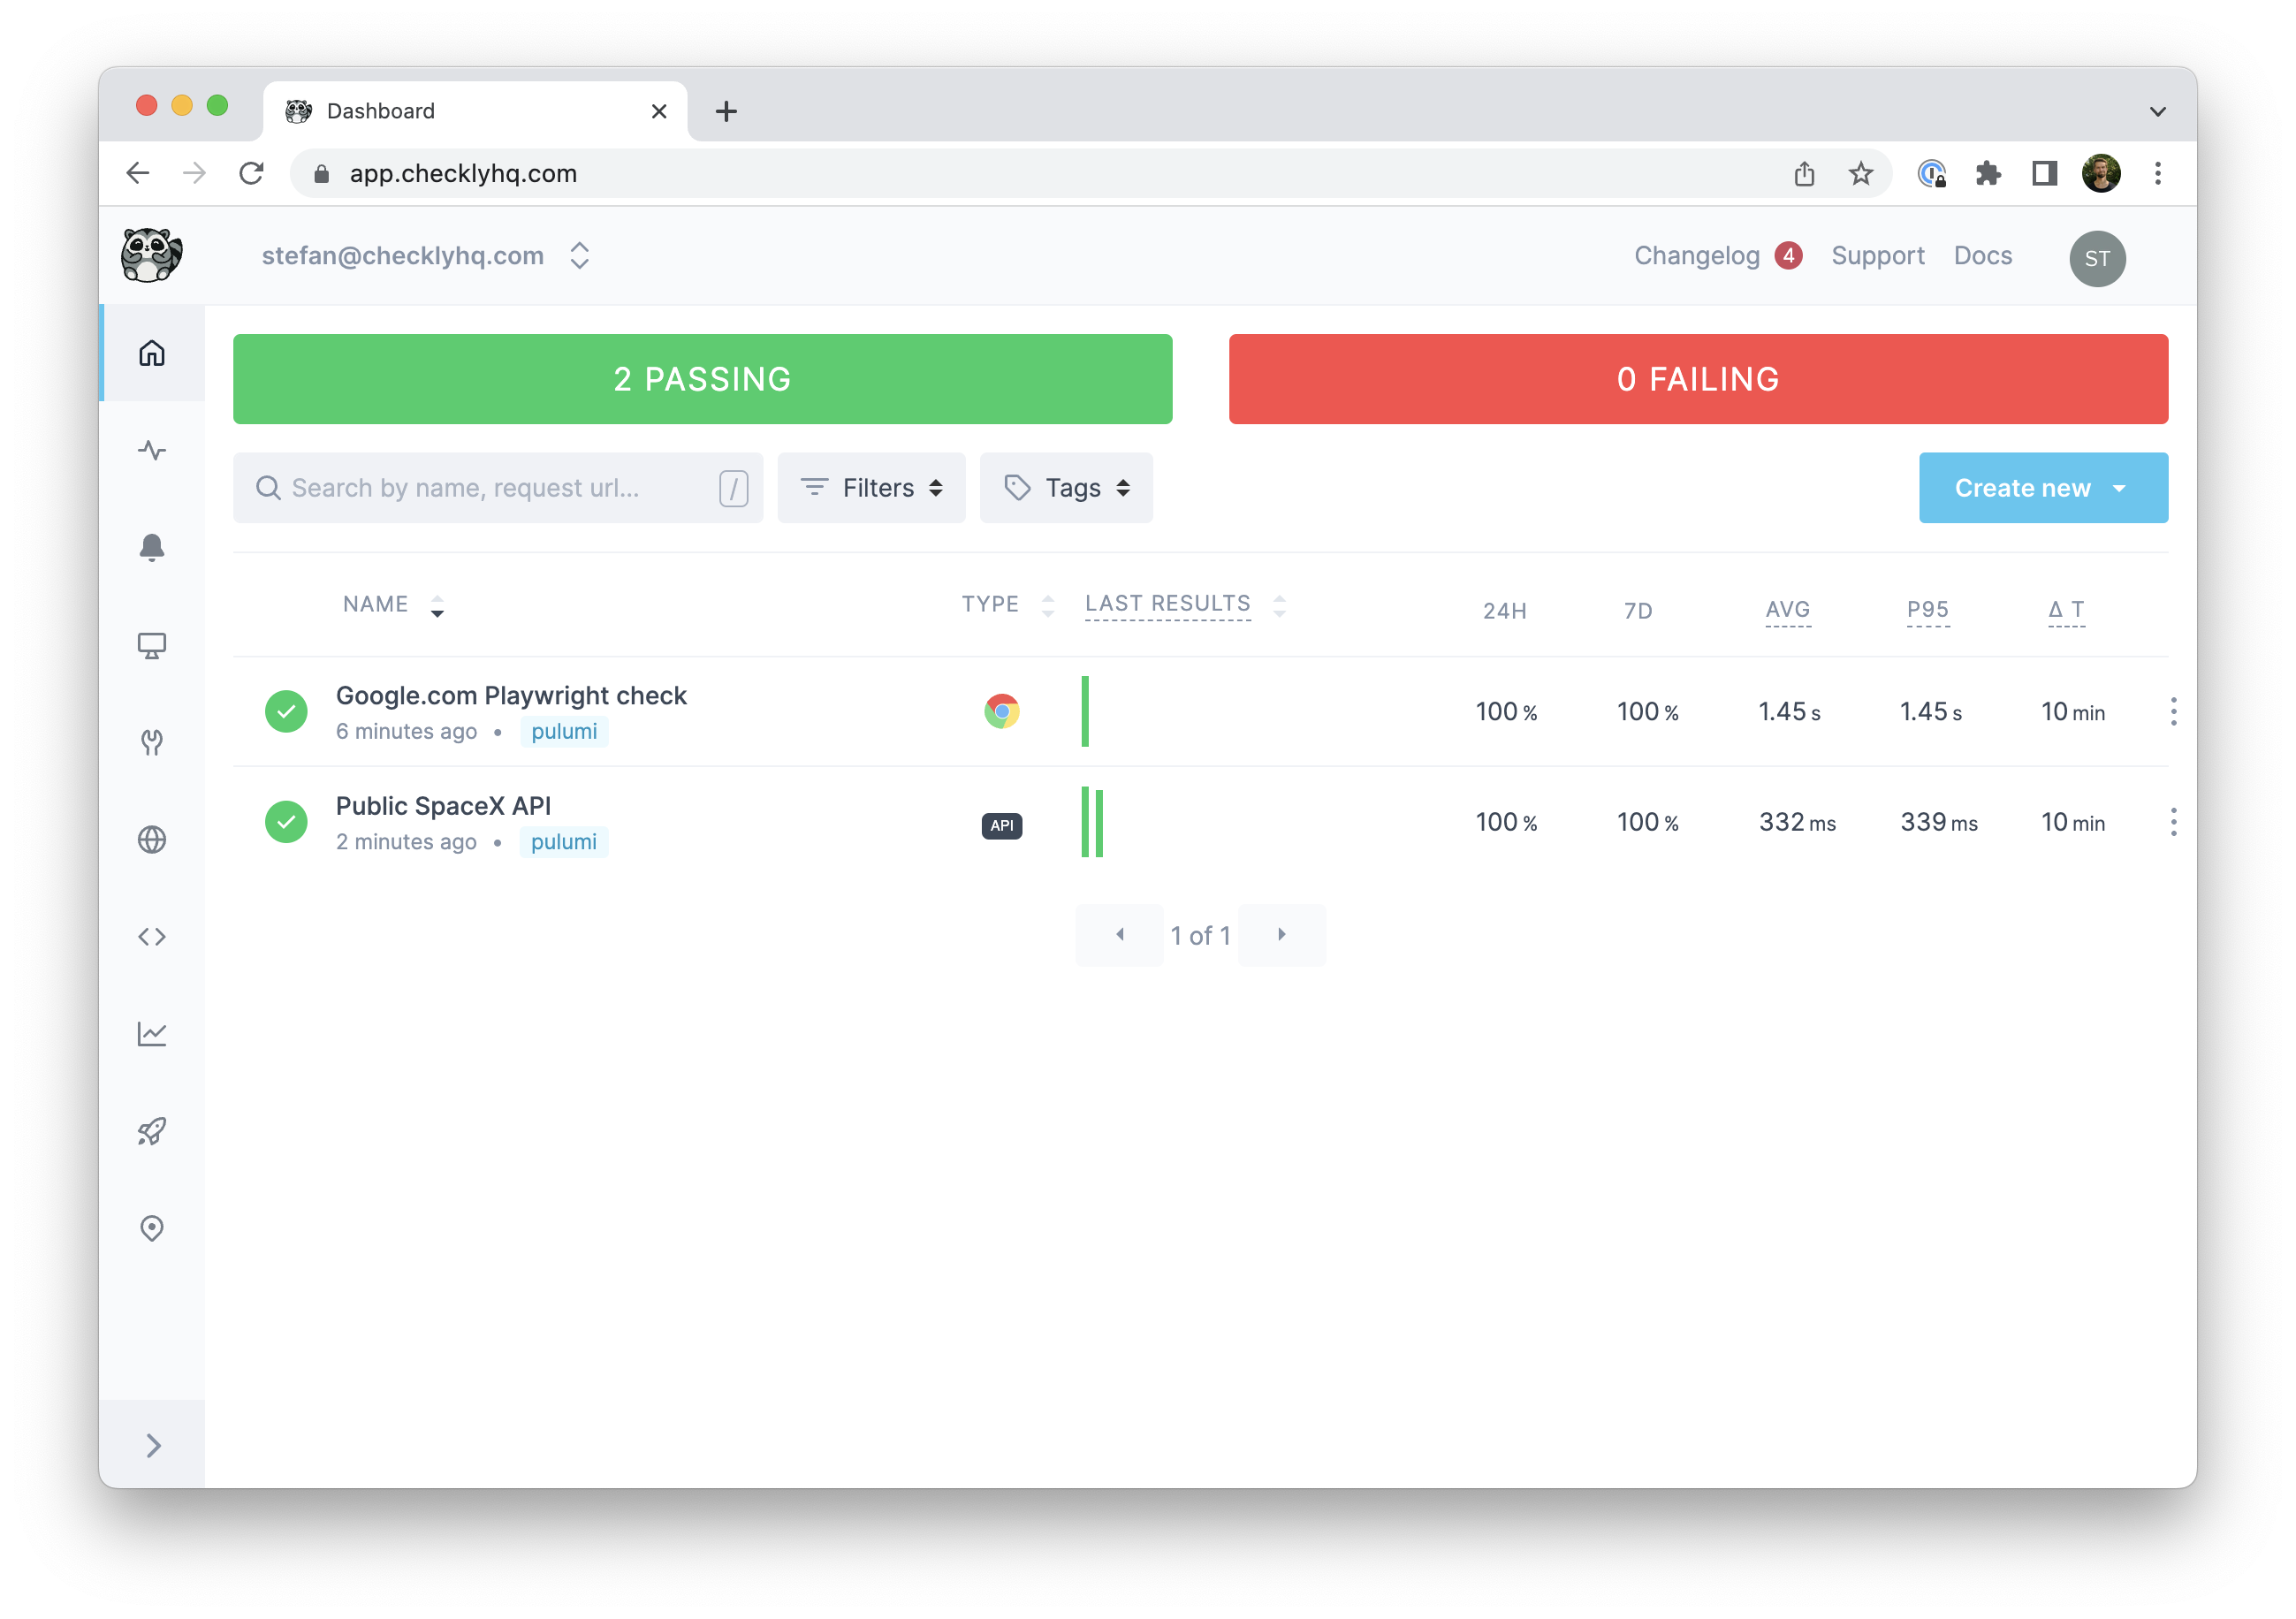
Creating checks and applying changes
Your index.js file should now include instructions to create one API and one Browser check.
Initialize a deployment and apply your changes by running pulumi up.
$ pulumi up
Previewing update (dev)

View Live: https://app.pulumi.com/stefanjudis/new-pulumi-checkly-project/dev/previews/b30010eb-53a6-438a-864b-af29c2f1321f

     Type                    Name                            Plan
     pulumi:pulumi:Stack     new-pulumi-checkly-project-dev
 +   ├─ checkly:index:Check  my-browser-check-pulumi         create
 +   └─ checkly:index:Check  my-api-check-pulumi             create

Resources:
    + 2 to create
    1 unchanged

Do you want to perform this update? yes
Updating (dev)

View Live: https://app.pulumi.com/stefanjudis/new-pulumi-checkly-project/dev/updates/2

     Type                    Name                            Status
     pulumi:pulumi:Stack     new-pulumi-checkly-project-dev
 +   ├─ checkly:index:Check  my-api-check-pulumi             created
 +   └─ checkly:index:Check  my-browser-check-pulumi         created

Resources:
    + 2 created

Duration: 2s
Checkly resources should be managed either through Pulumi or the Checkly UI, not both. Modifying Pulumi-managed resources via the UI, and vice-versa, is likely to cause issues.
Additional resources
Find more documentation on how to create groups, alerts and snippets online.