

- Get the endpoint. In Dash0, open Settings > Endpoints and copy the URL for your organization. It ends in
/v1/traceswith no trailing slash, for examplehttps://ingress.eu-west-1.aws.dash0.com/v1/traces. - Get the key. In Dash0, open Settings > Auth Tokens and create a token. Use a static token that starts with
auth_.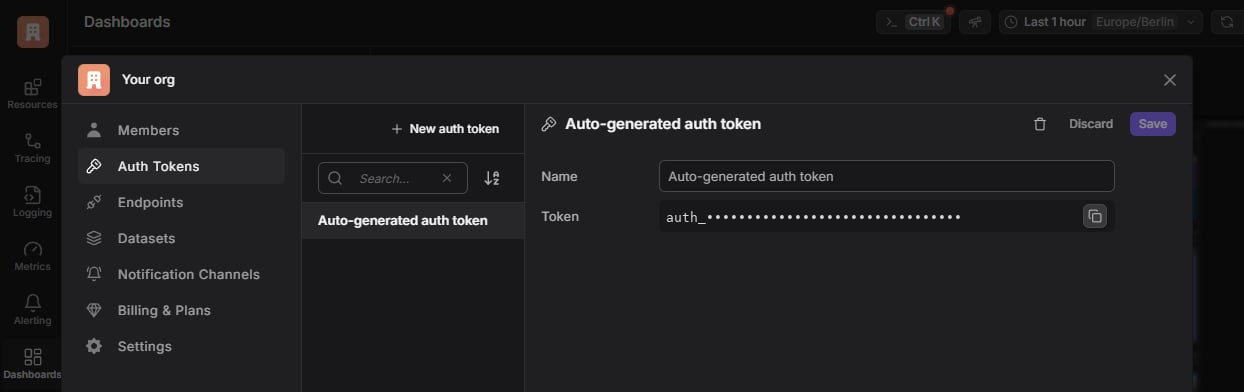
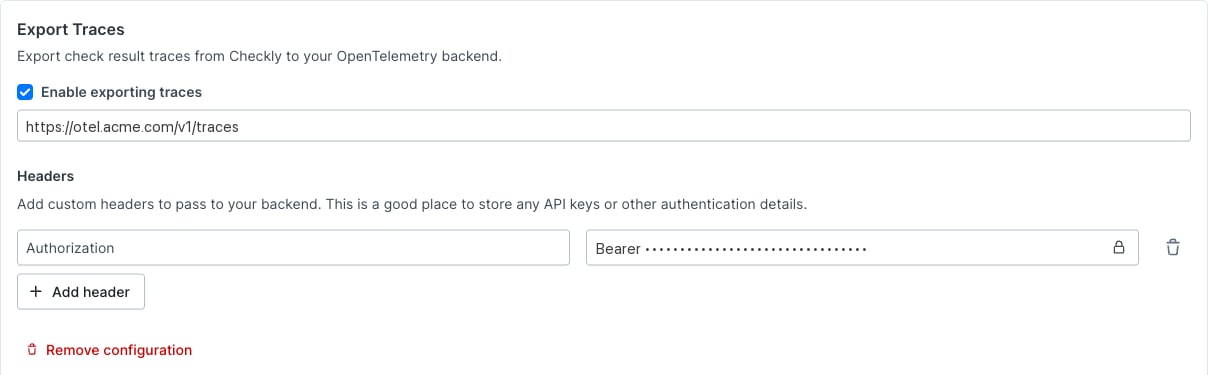
- Paste the values into Checkly. On the Traces settings page, turn on Enable exporting traces, paste the URL, and add the header from the table below.
- Find the spans. In Dash0, the spans appear under service
checkly.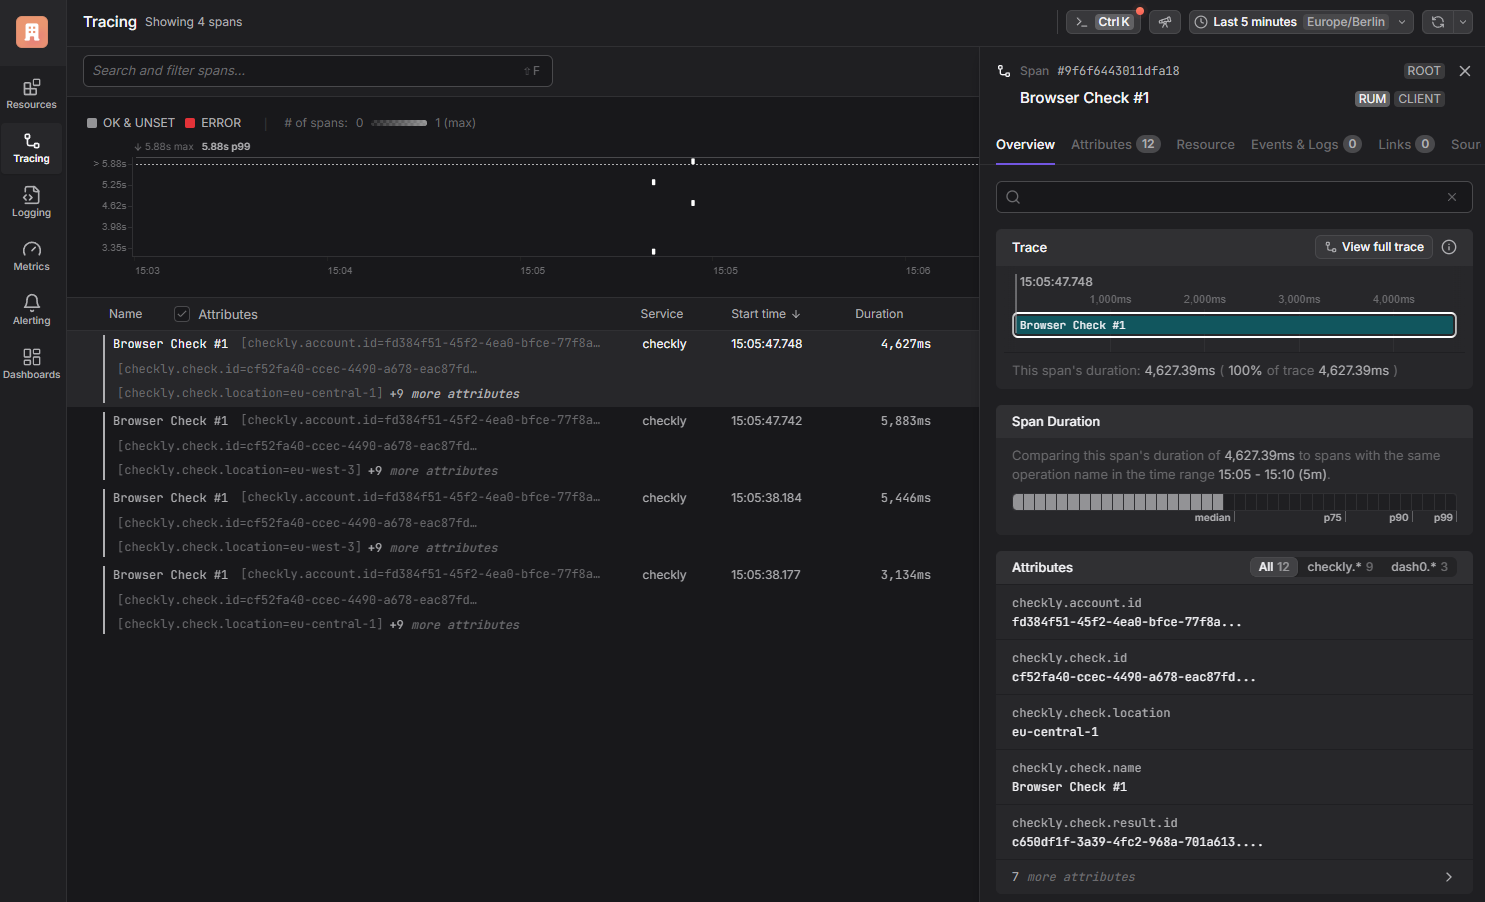
Add a
Dash0-Dataset header row to write to a specific dataset. A token restricted to a dataset gets a 403 without it.
Dash0 documents the endpoints in Setup without Kubernetes.
To see failed runs, filter on the attribute checkly.check.status with the value FAILED.
The OTLP export page has the span schema.