Initial SSO configuration
Setting up SSO for your organisation starts with providing Checkly Support with the following information:- Microsoft Entra ID Domain (e.g. company.com)
- Client ID
- Client Secret
Testing the SSO integration
After configuration has taken place on Checkly’s side, you will receive confirmation via e-mail. Once that has happened, you should be able to log in to Checkly via SSO already. Entering an email address associated with the domain you have provided in the login prompt should result in the password field disappearing: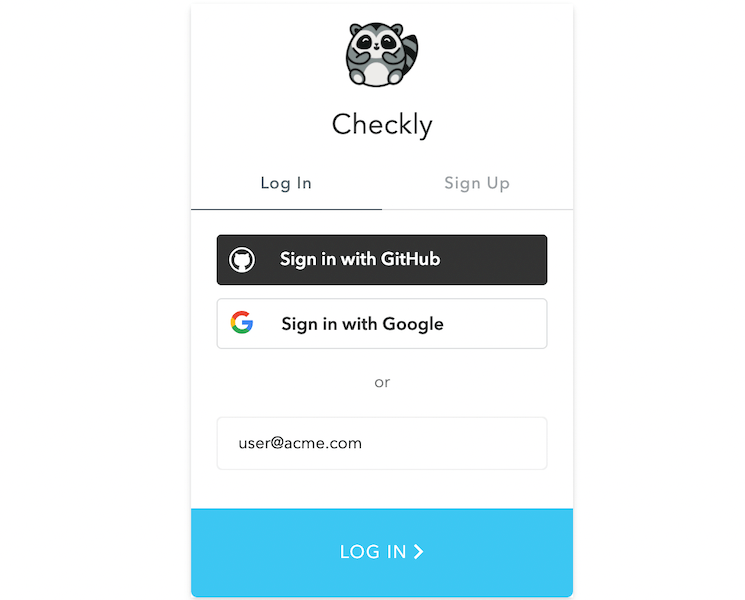
Once Microsoft Entra ID has been set up, you will still need to invite new users from your organization to your Checkly account, as they will not be added automatically.