

The members list
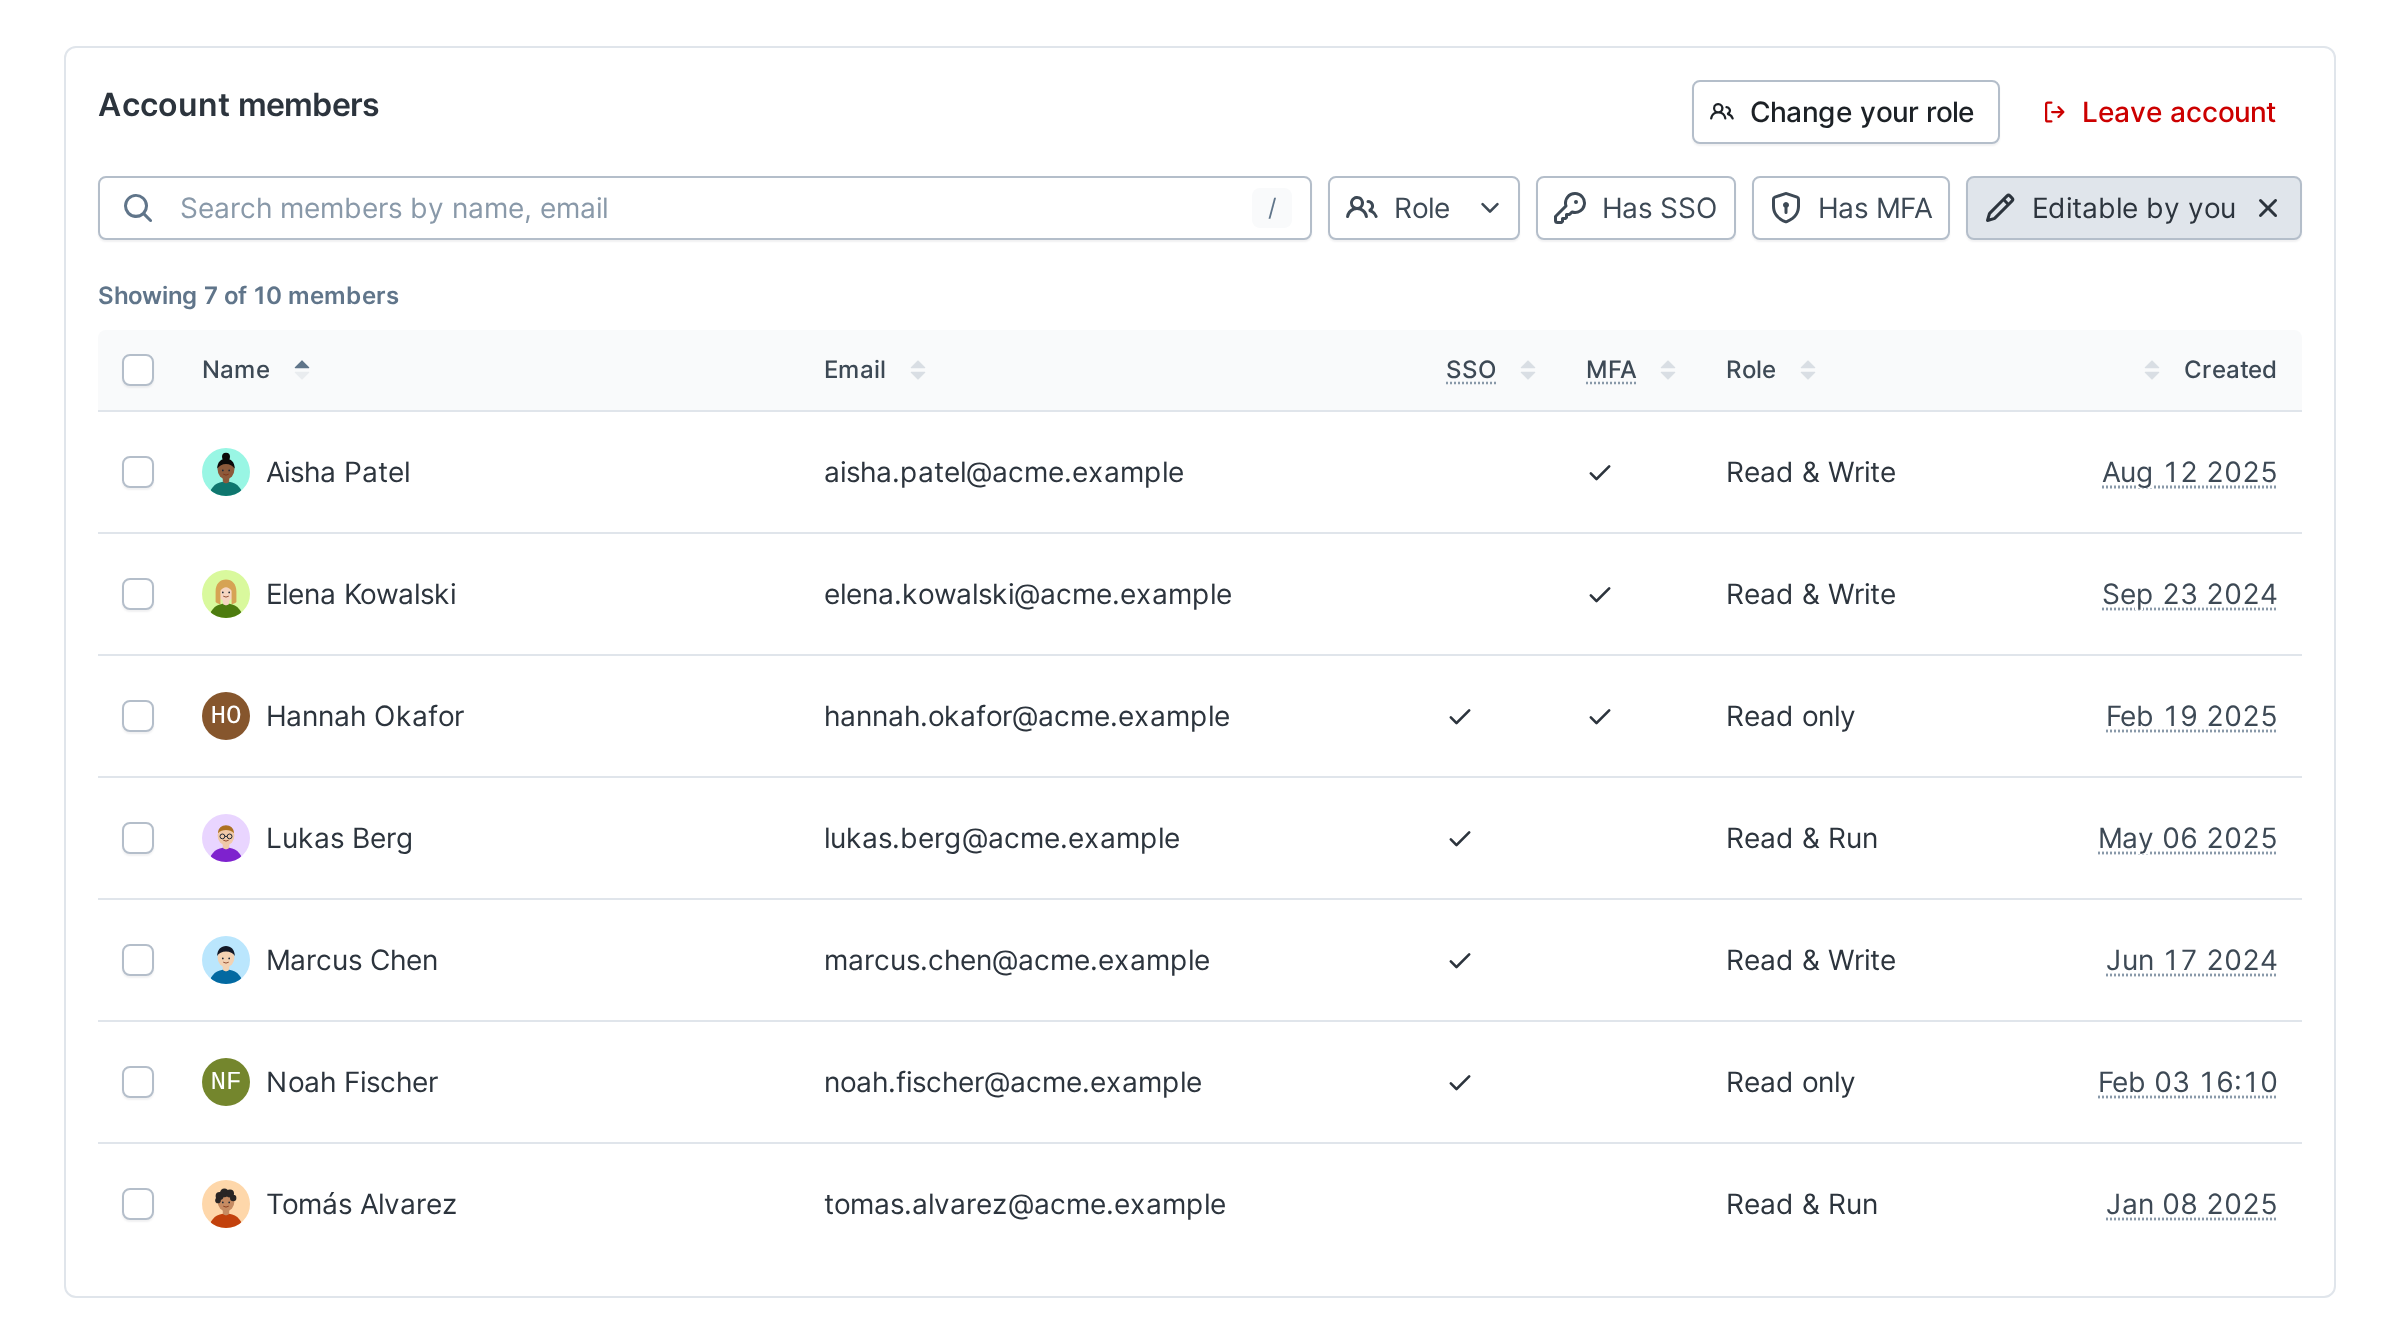
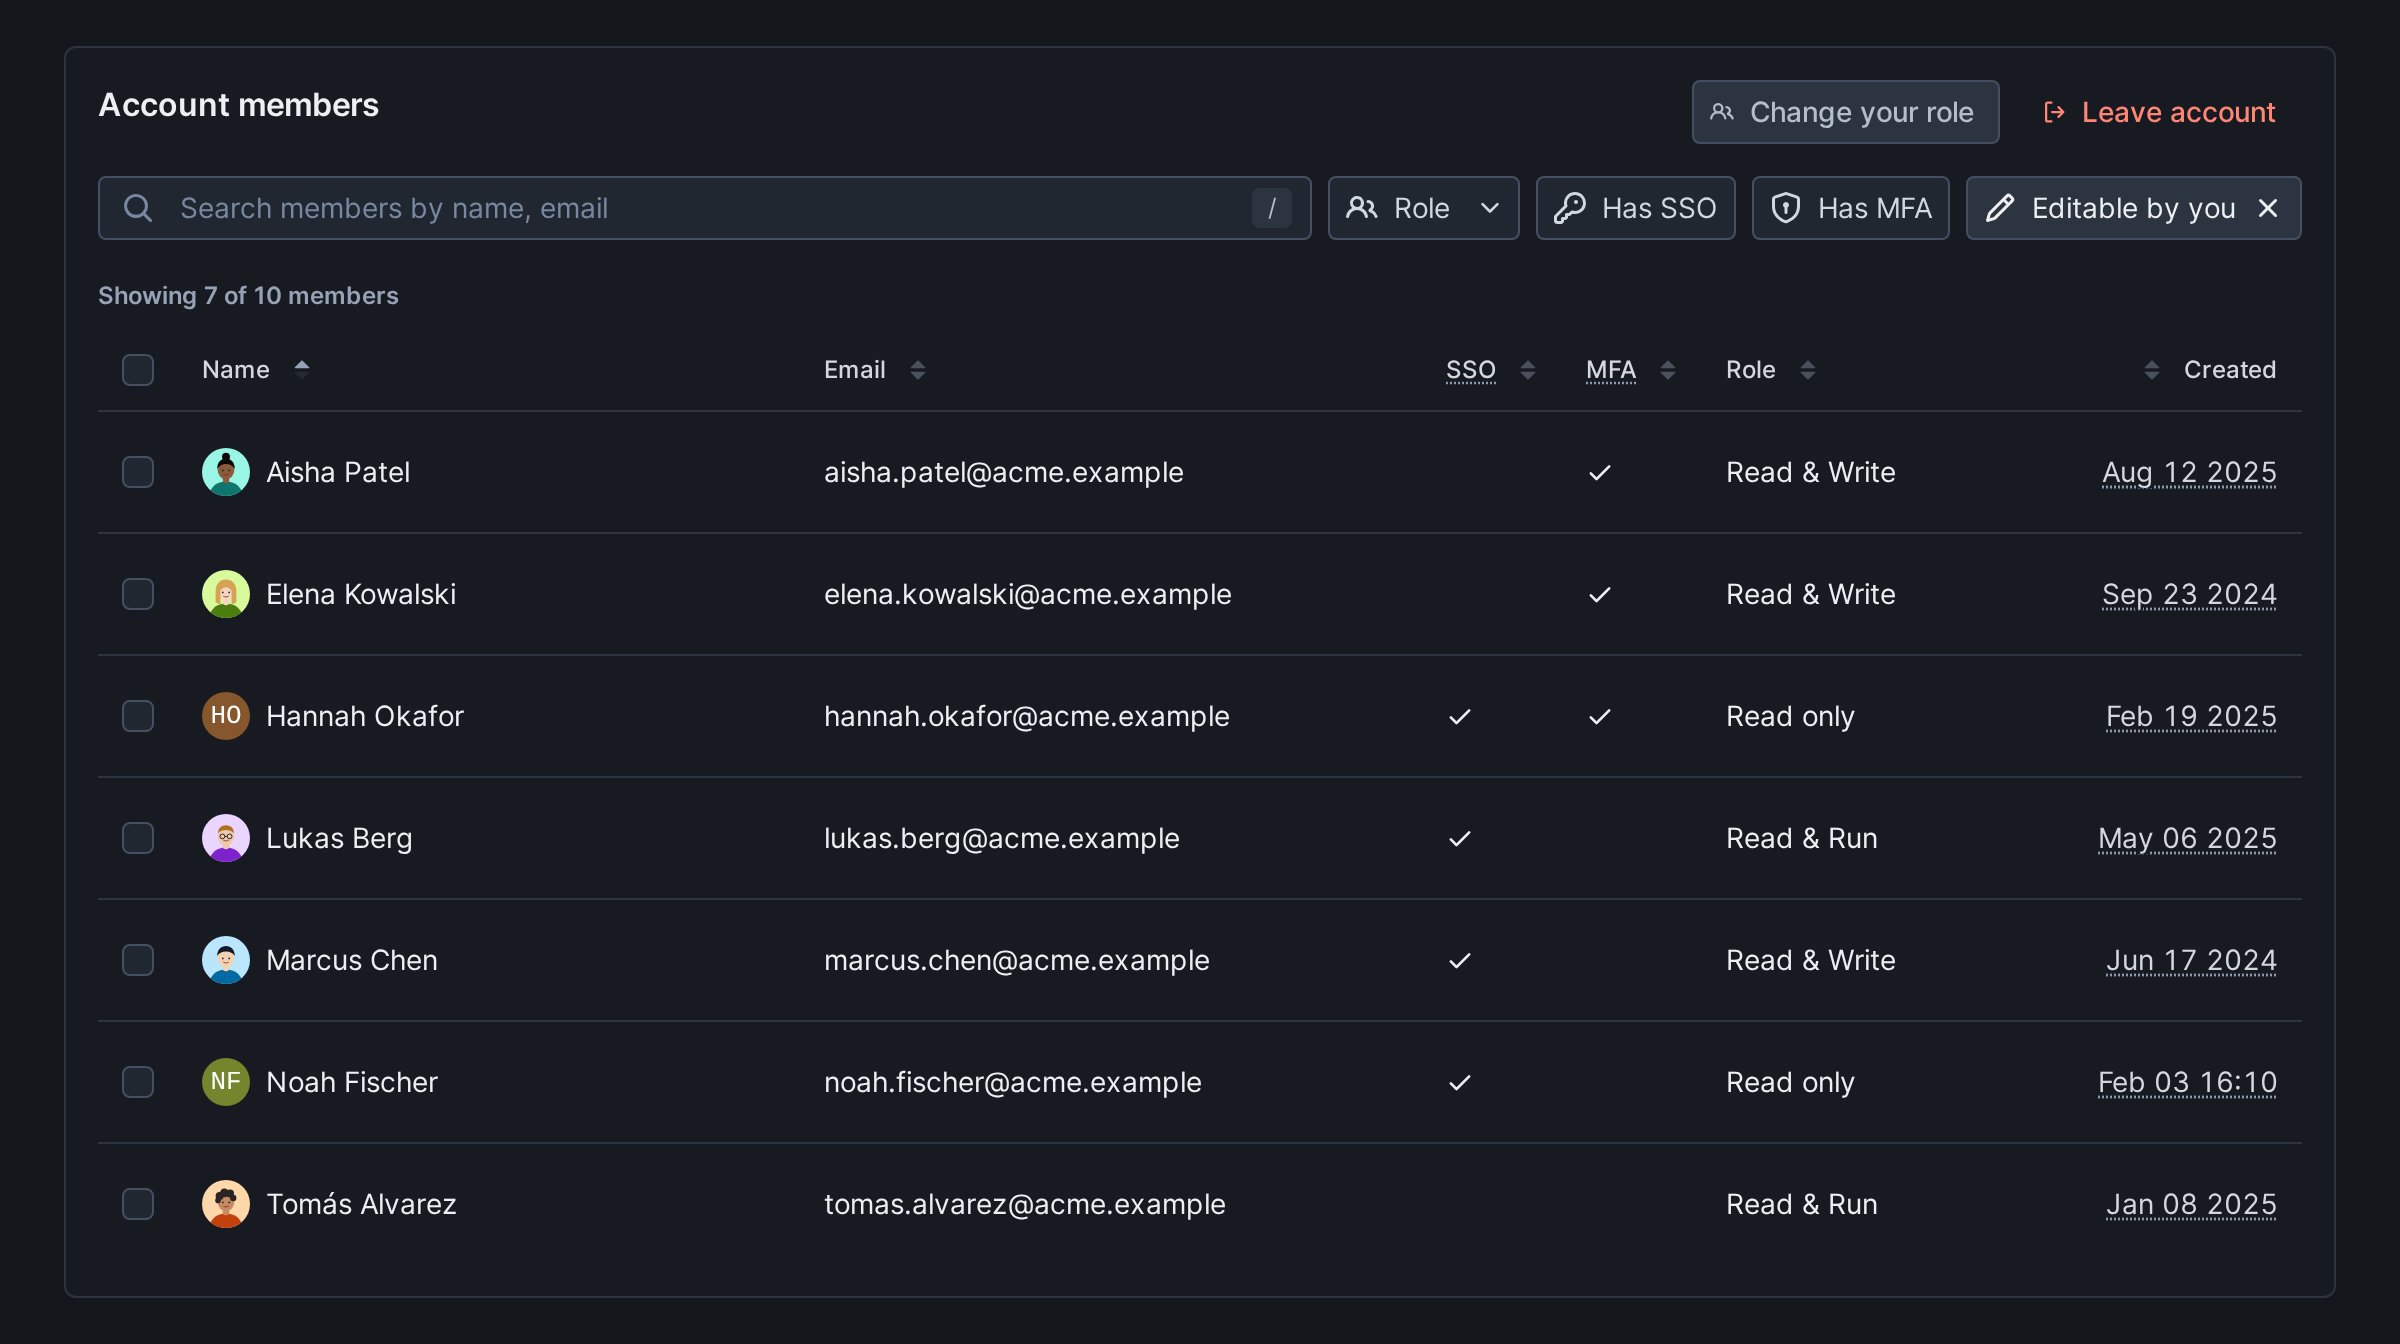
The Account members table shows each member’s Name, Email, SSO and MFA status, Role and Created date. Invitations are listed separately, in Pending invites. When the account has more than one member, these filters sit above the table:- The search field matches names and emails.
- Role keeps the members holding the roles you pick.
- Has SSO keeps members who signed in through single sign-on.
- Has MFA keeps members with multi-factor authentication turned on.
- Editable by you keeps the members you can act on, the ones with a checkbox. It only shows when you can act on someone.
Select members
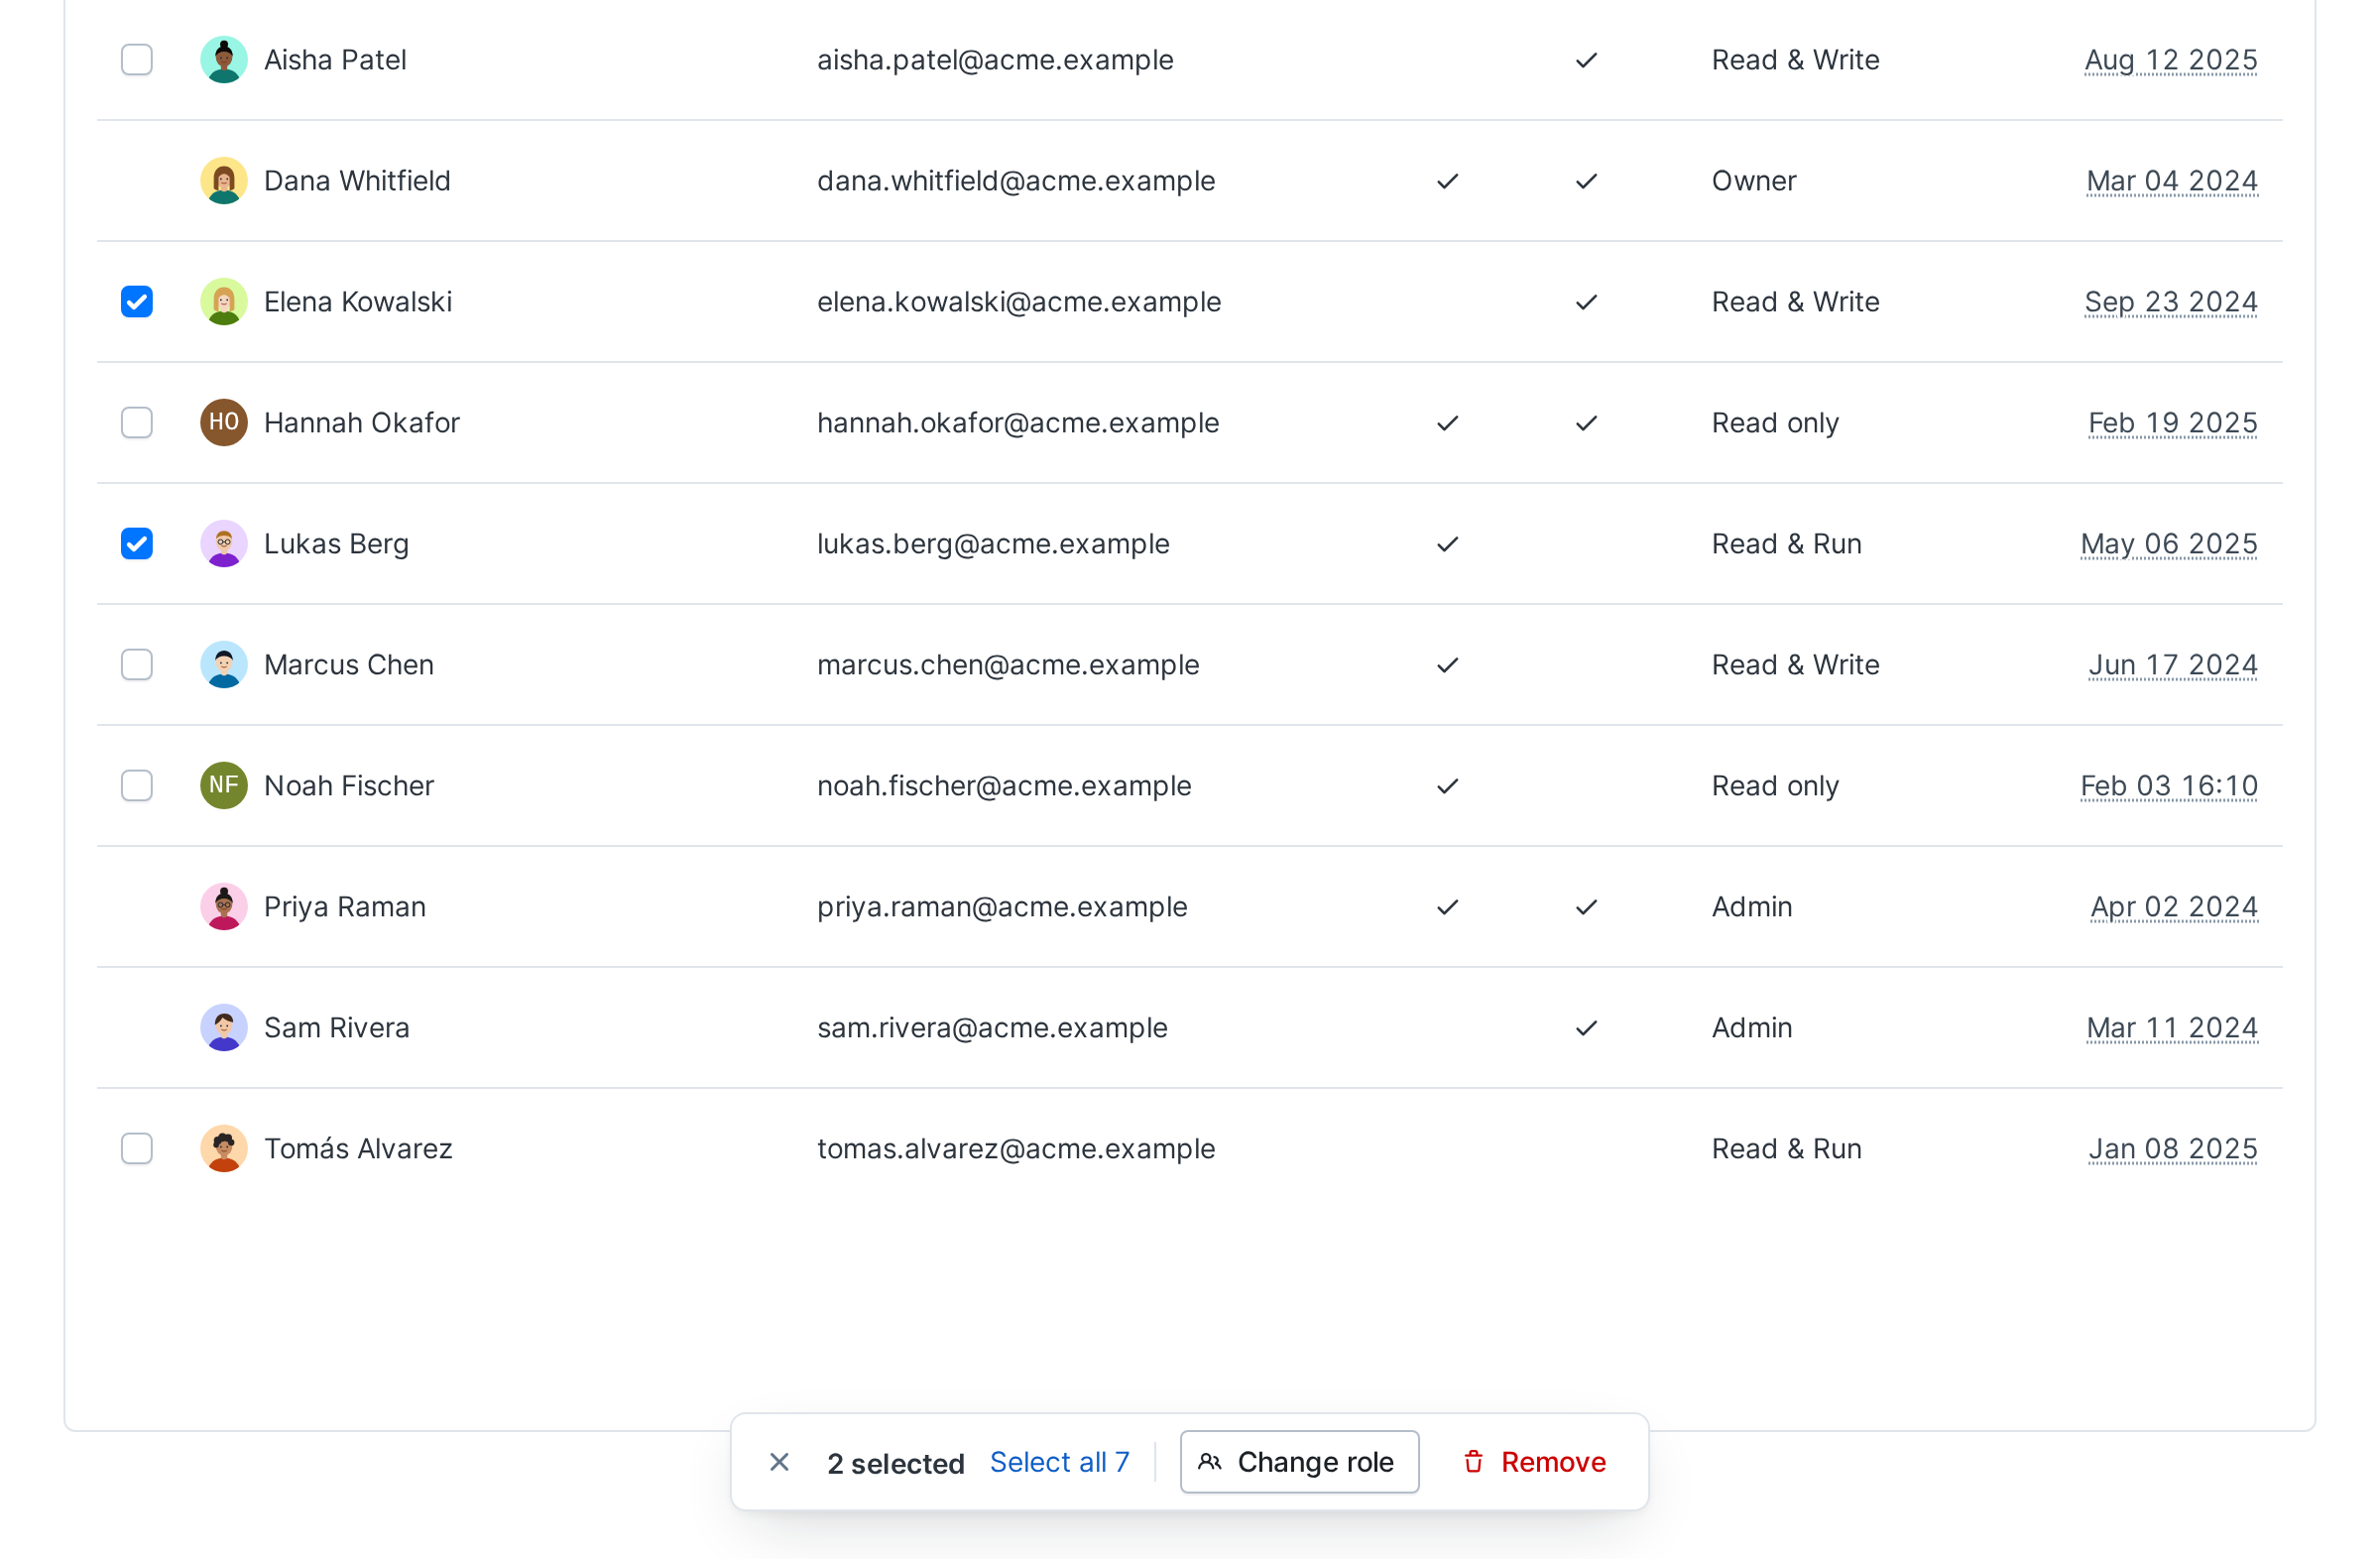
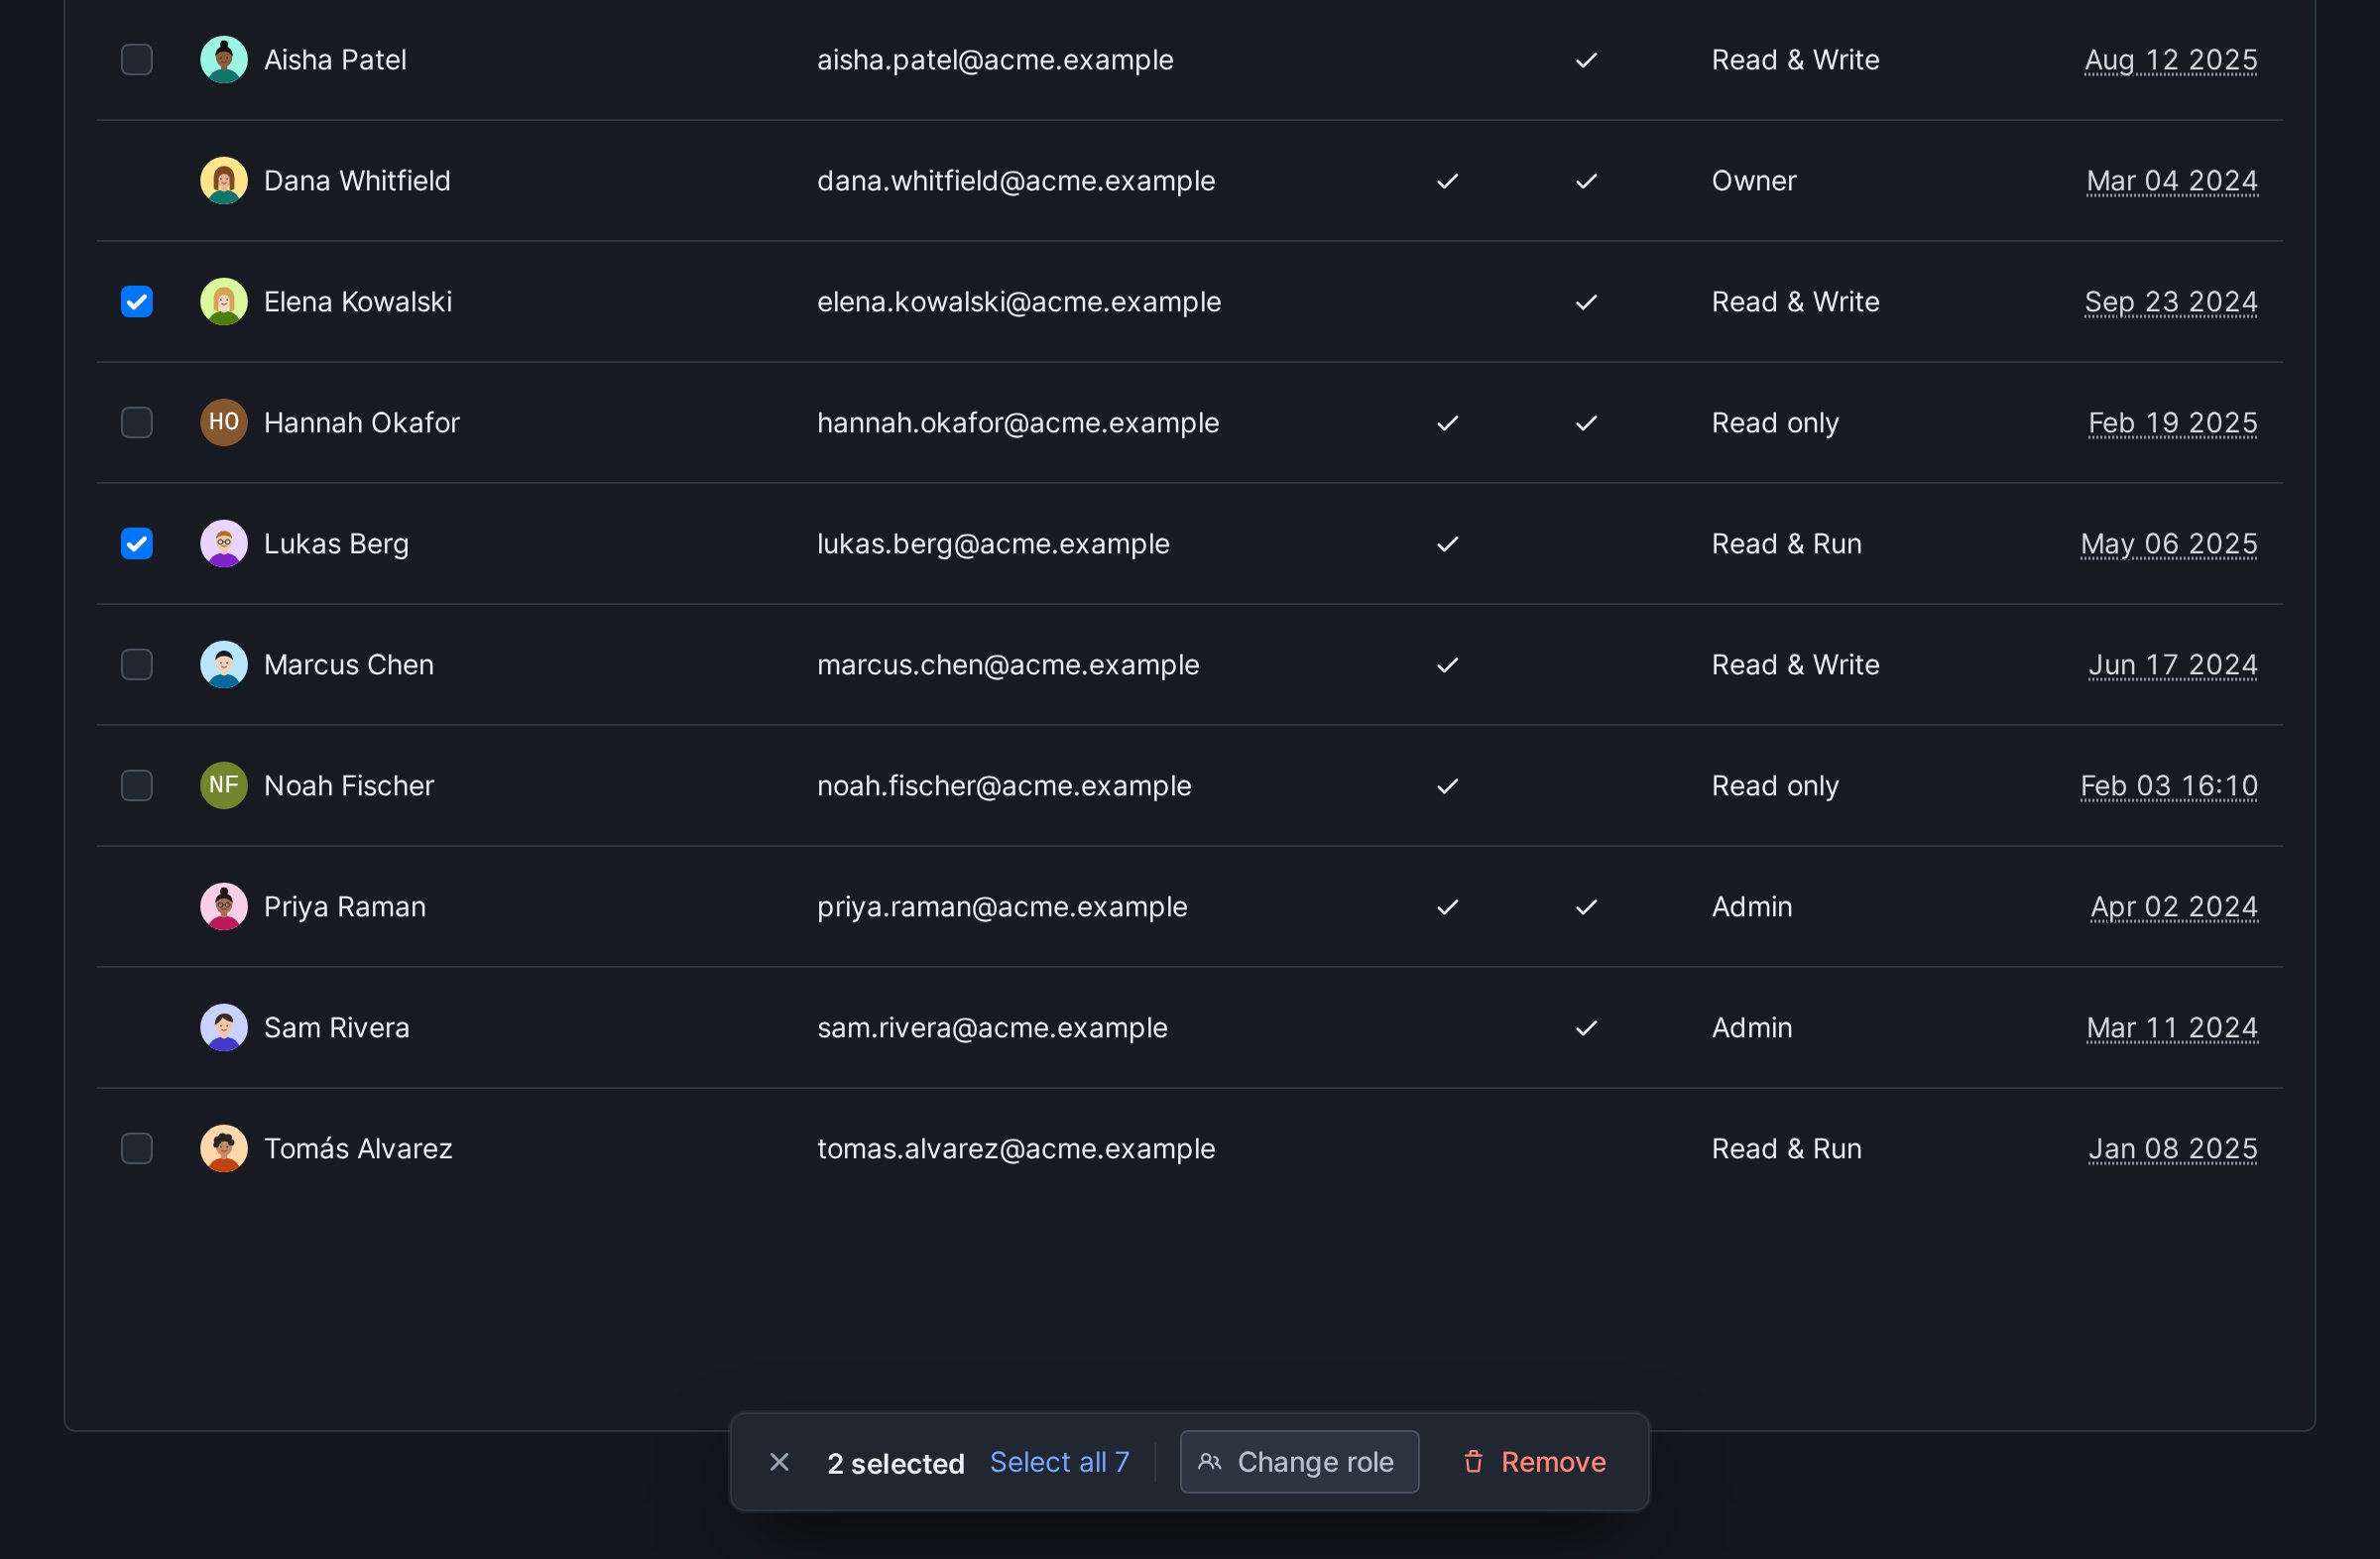
A row has a checkbox when you can act on it: a member whose role you can change or whom you can remove. Your own row and the owner’s never have one.- The checkbox in the table header selects every row you can act on.
- On a phone, each card has its own checkbox.
- A row that a filter hides leaves the selection, so an action only touches rows you can see.
- Select all, with the number of rows you can act on, while some of them aren’t checked.
- Change role and Remove. An action that can’t apply to the selection is disabled, and hovering it tells you why.
- The x button, which clears the selection. Pressing Escape while the bar has focus does the same.
Change members’ roles
- Select the members and click Change role.
- Pick a role: the built-in roles, then any custom roles (beta). You can type to search the picker. It only offers roles you can give to every member you selected, and shows the description of the one you pick.
- Click Change role.
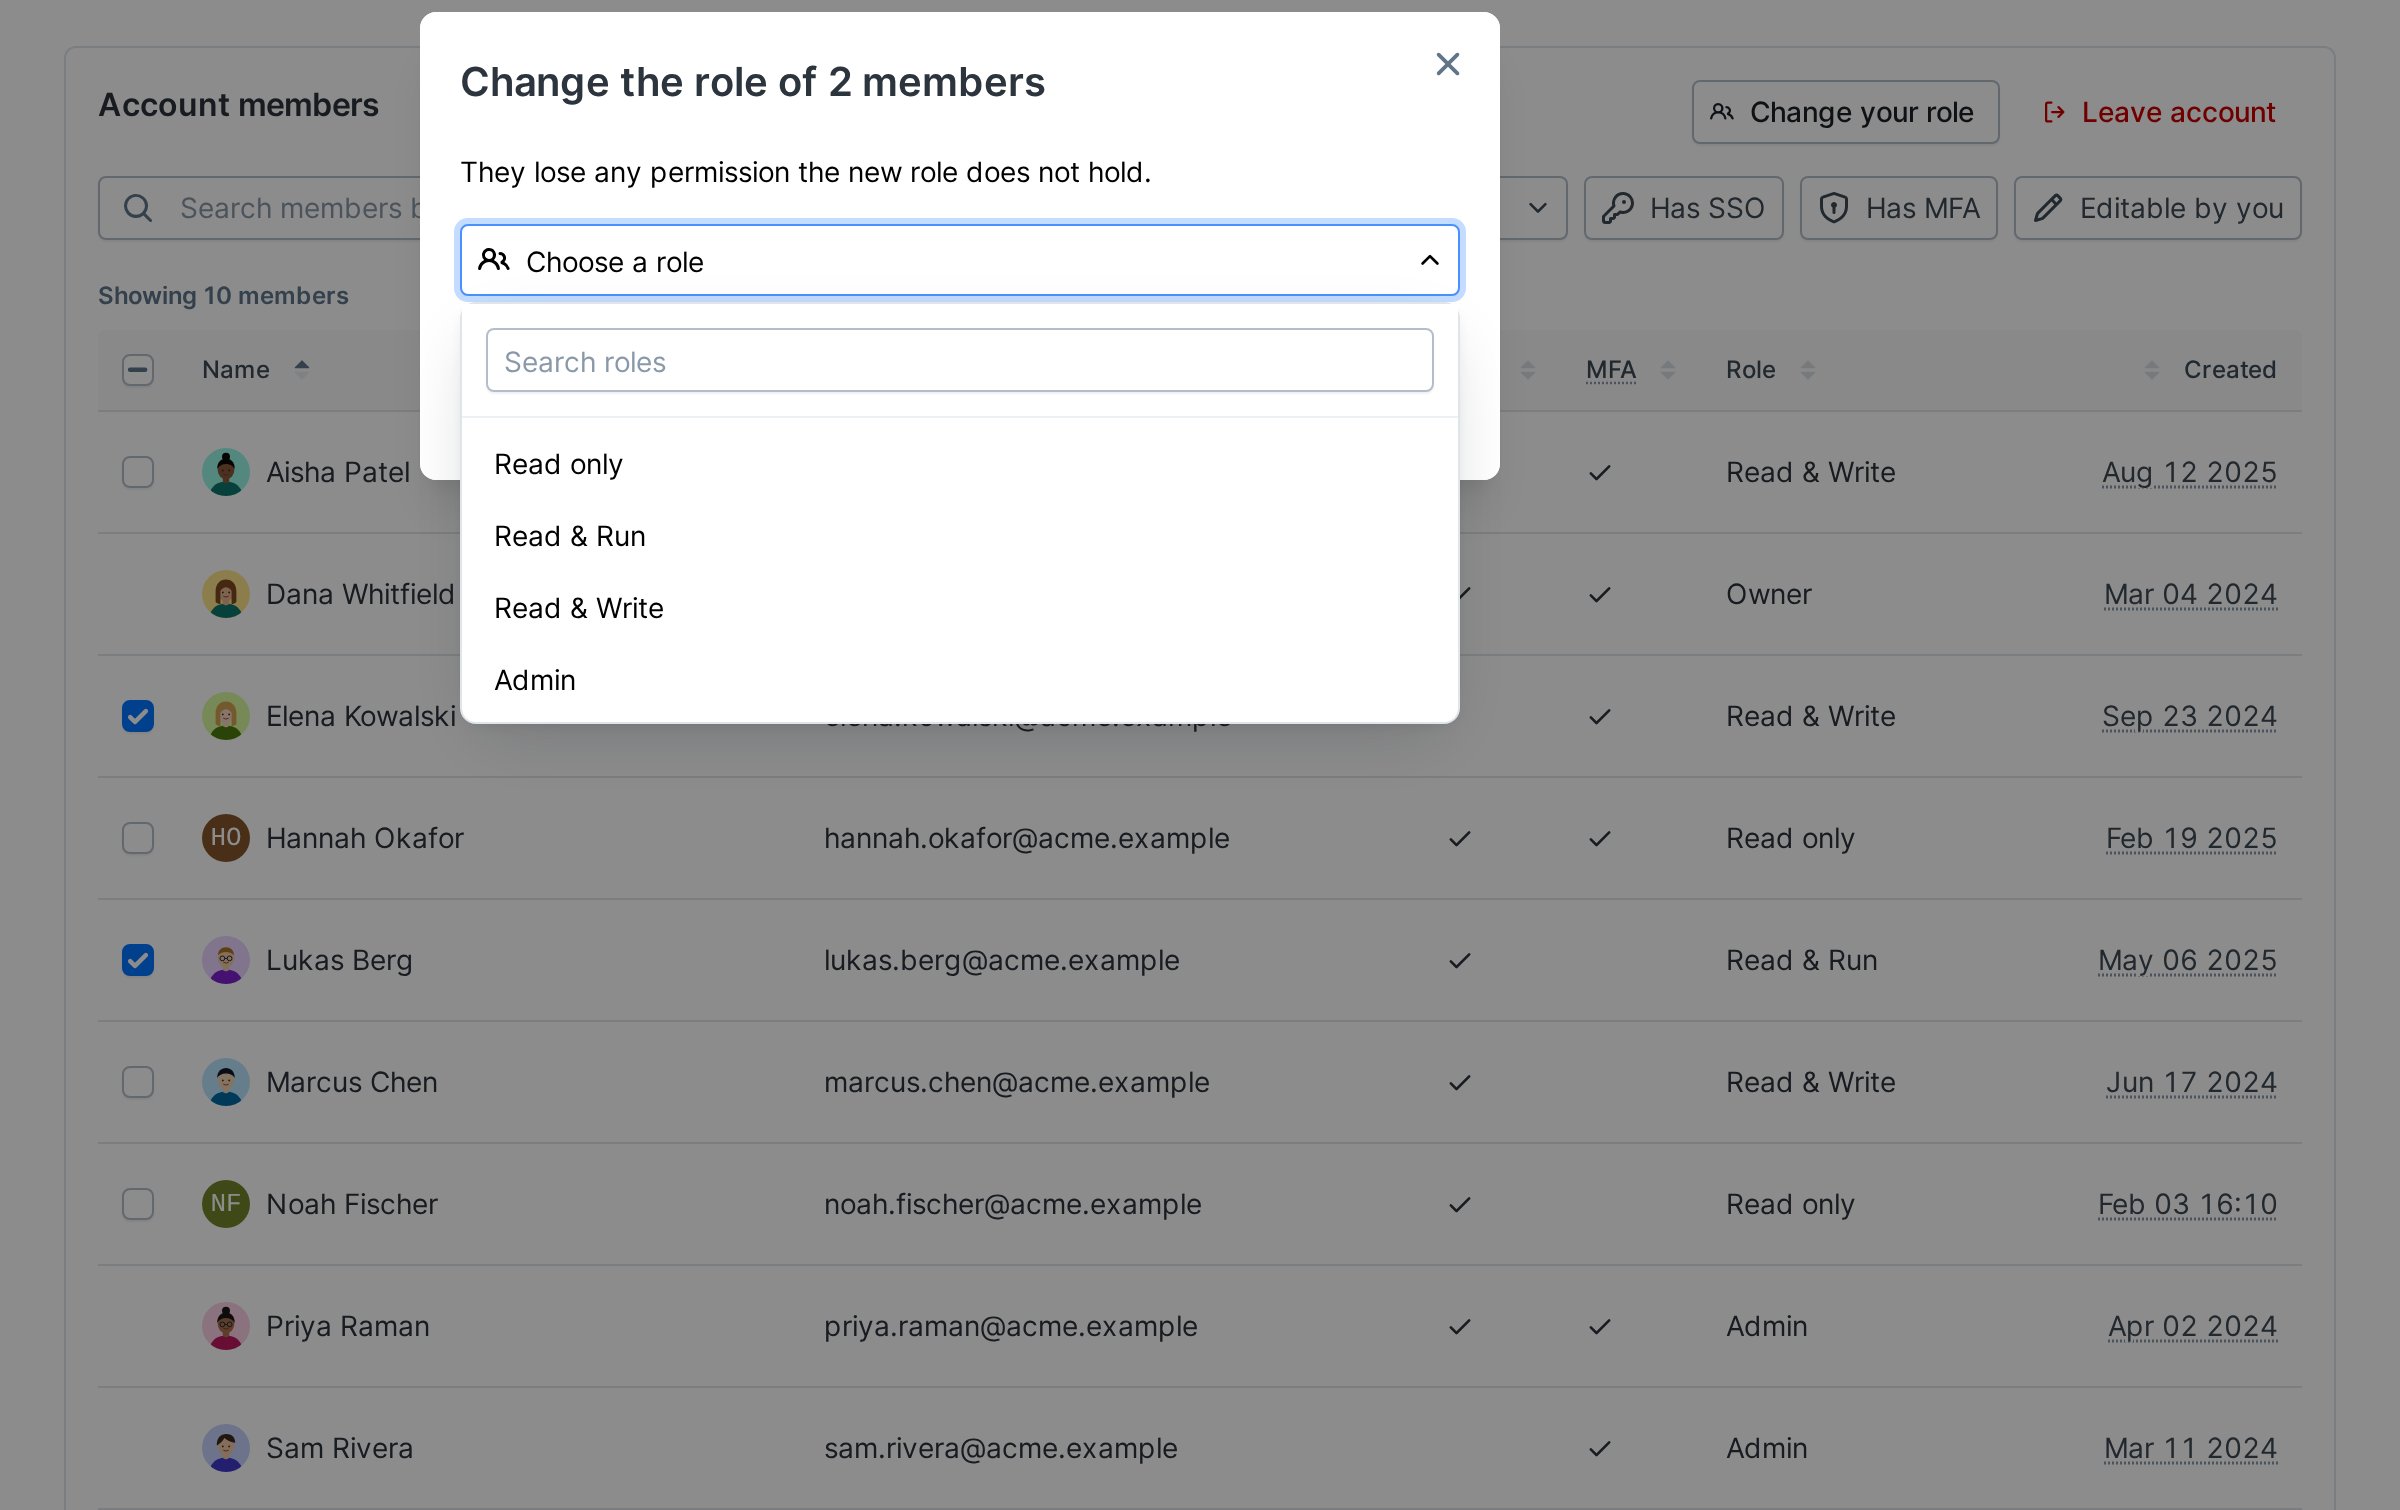
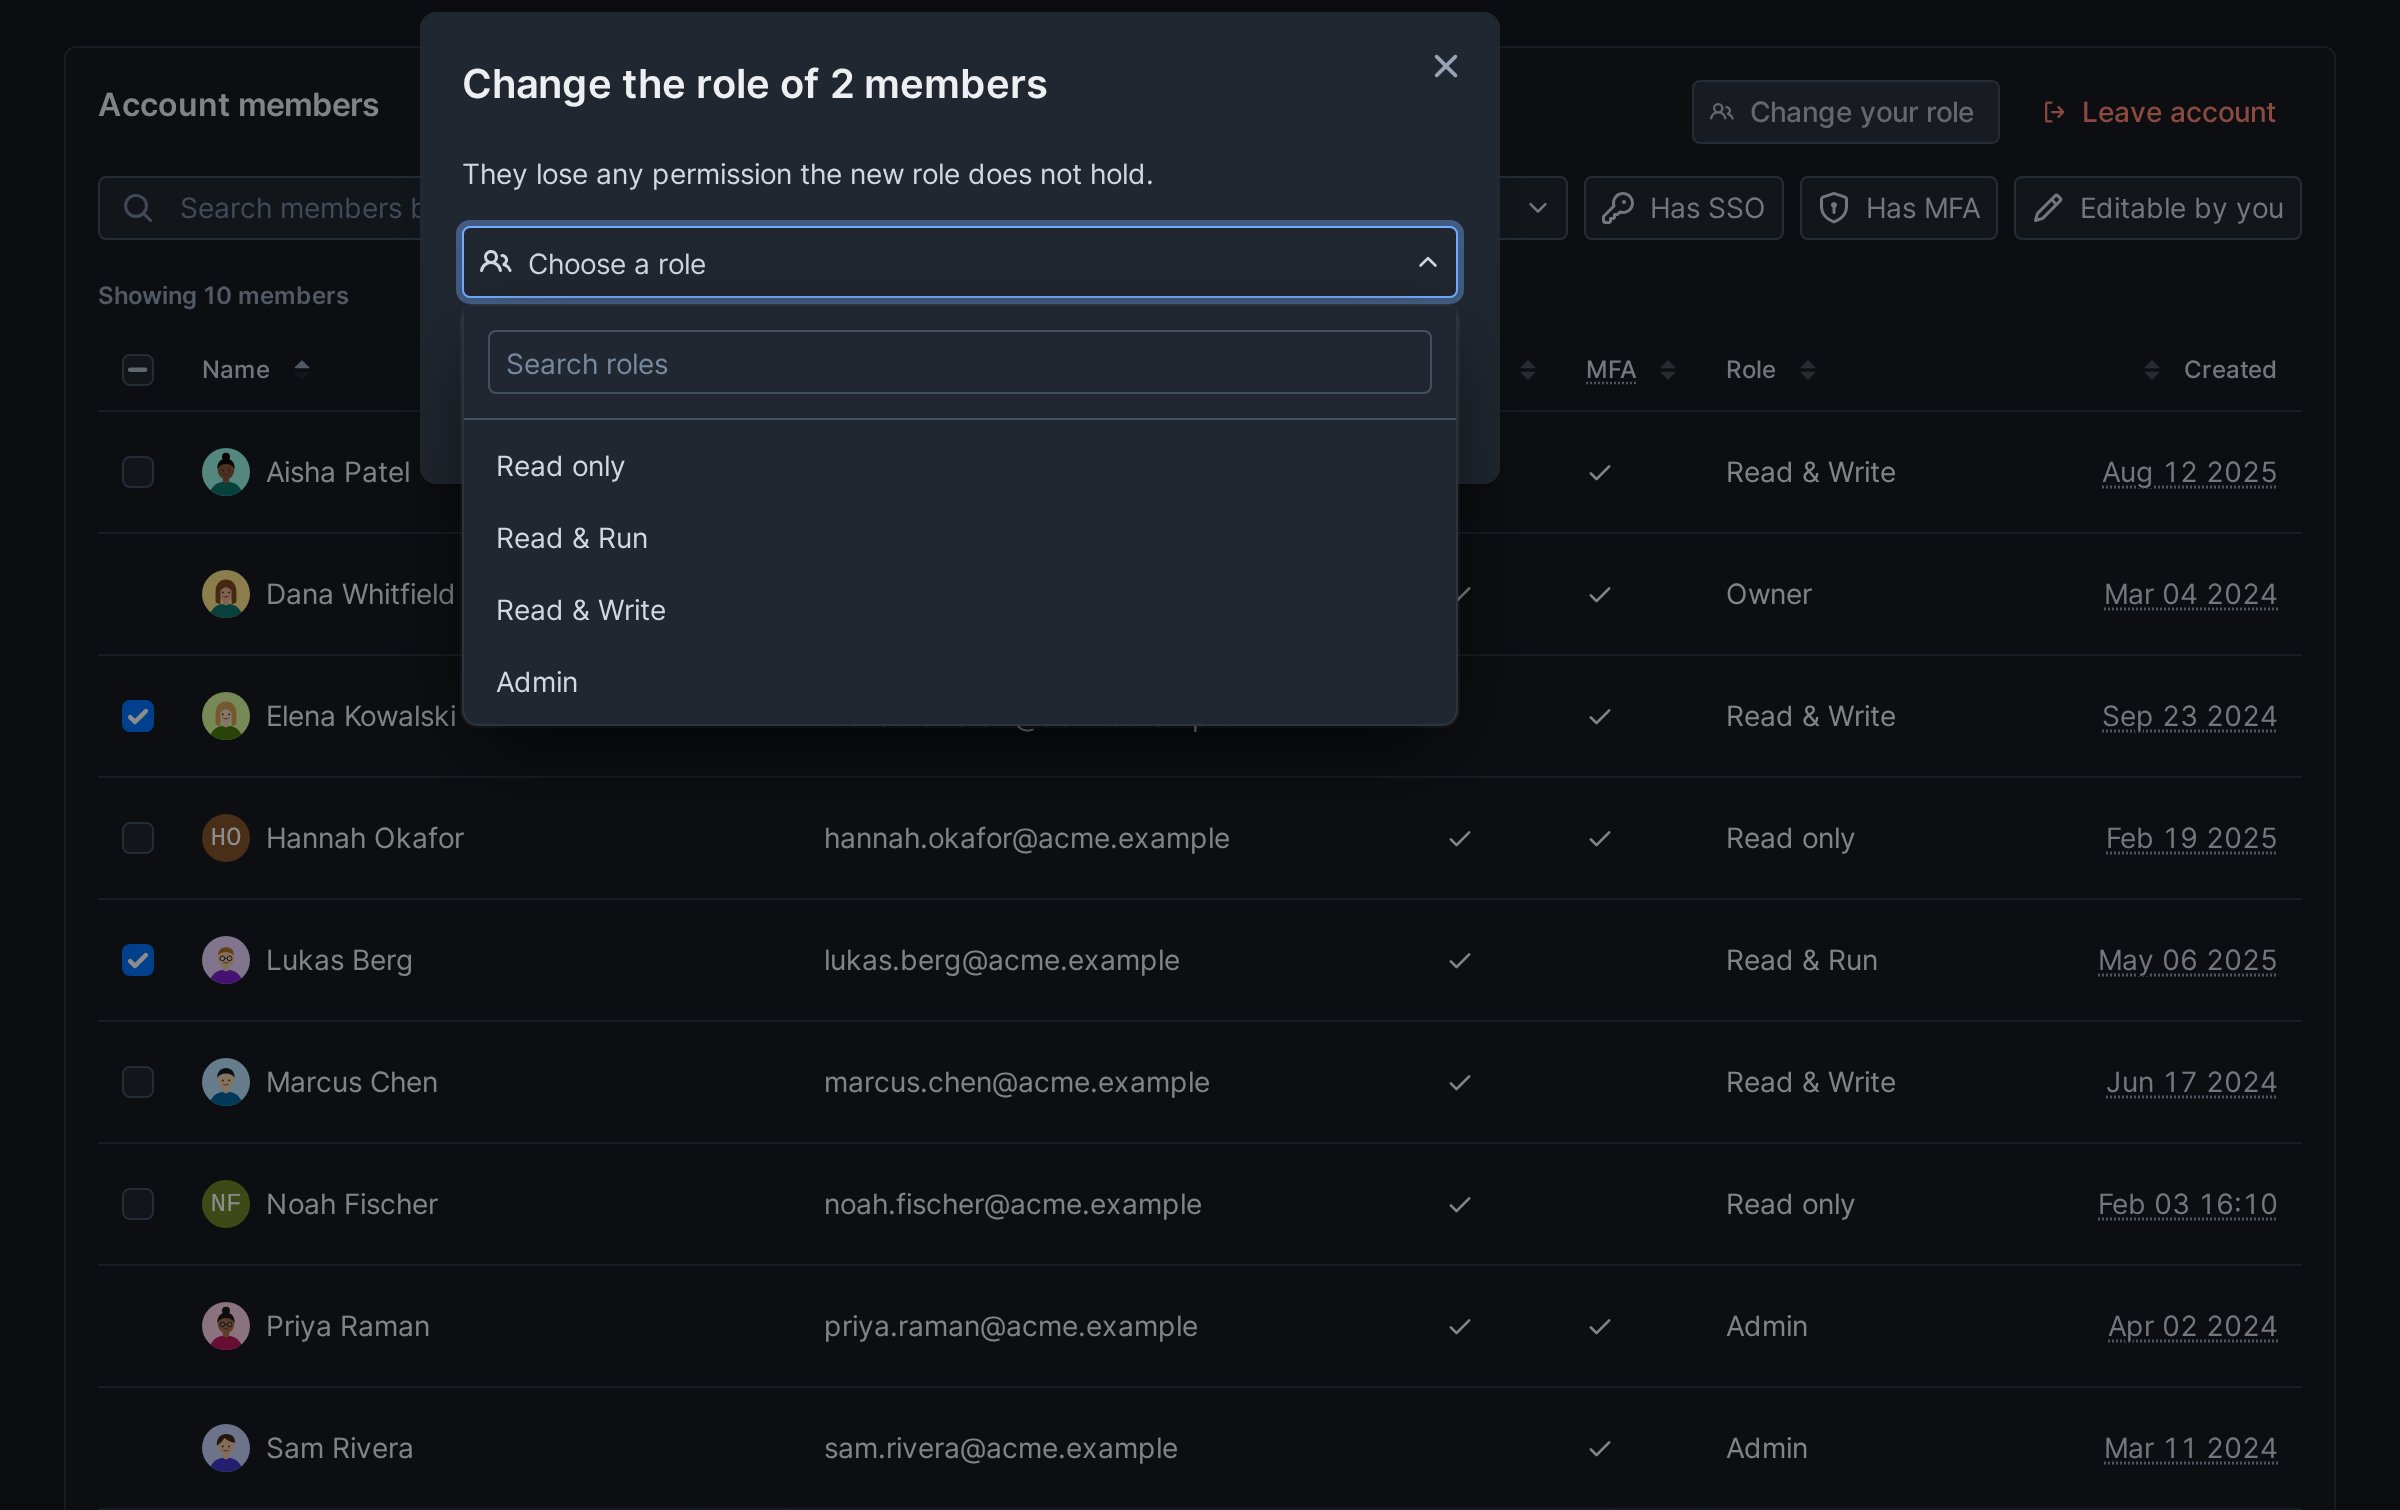
- You can only change the role of members with less access than you, and only to a role whose permissions you hold yourself.
- The owner’s role only changes by transferring ownership.
- Invitations keep the role they were sent with. To invite someone with another role, remove their invitation and invite them again.
- On the Hobby plan, changing roles needs an upgrade to the Team plan.
- If the change isn’t allowed for one of the members when you confirm, for example because their role changed in the meantime, nobody’s role changes and an error tells you why.
- Members who left the account after you loaded the page are skipped. The others get the new role, and a message names the ones that were skipped.
Remove members
Select the members and click Remove. The confirmation names the member when you remove one, and counts them when you remove several, as in Remove 2 members?. If any of them are in an on-call rotation, it links the schedules and warns that their shifts become unassigned.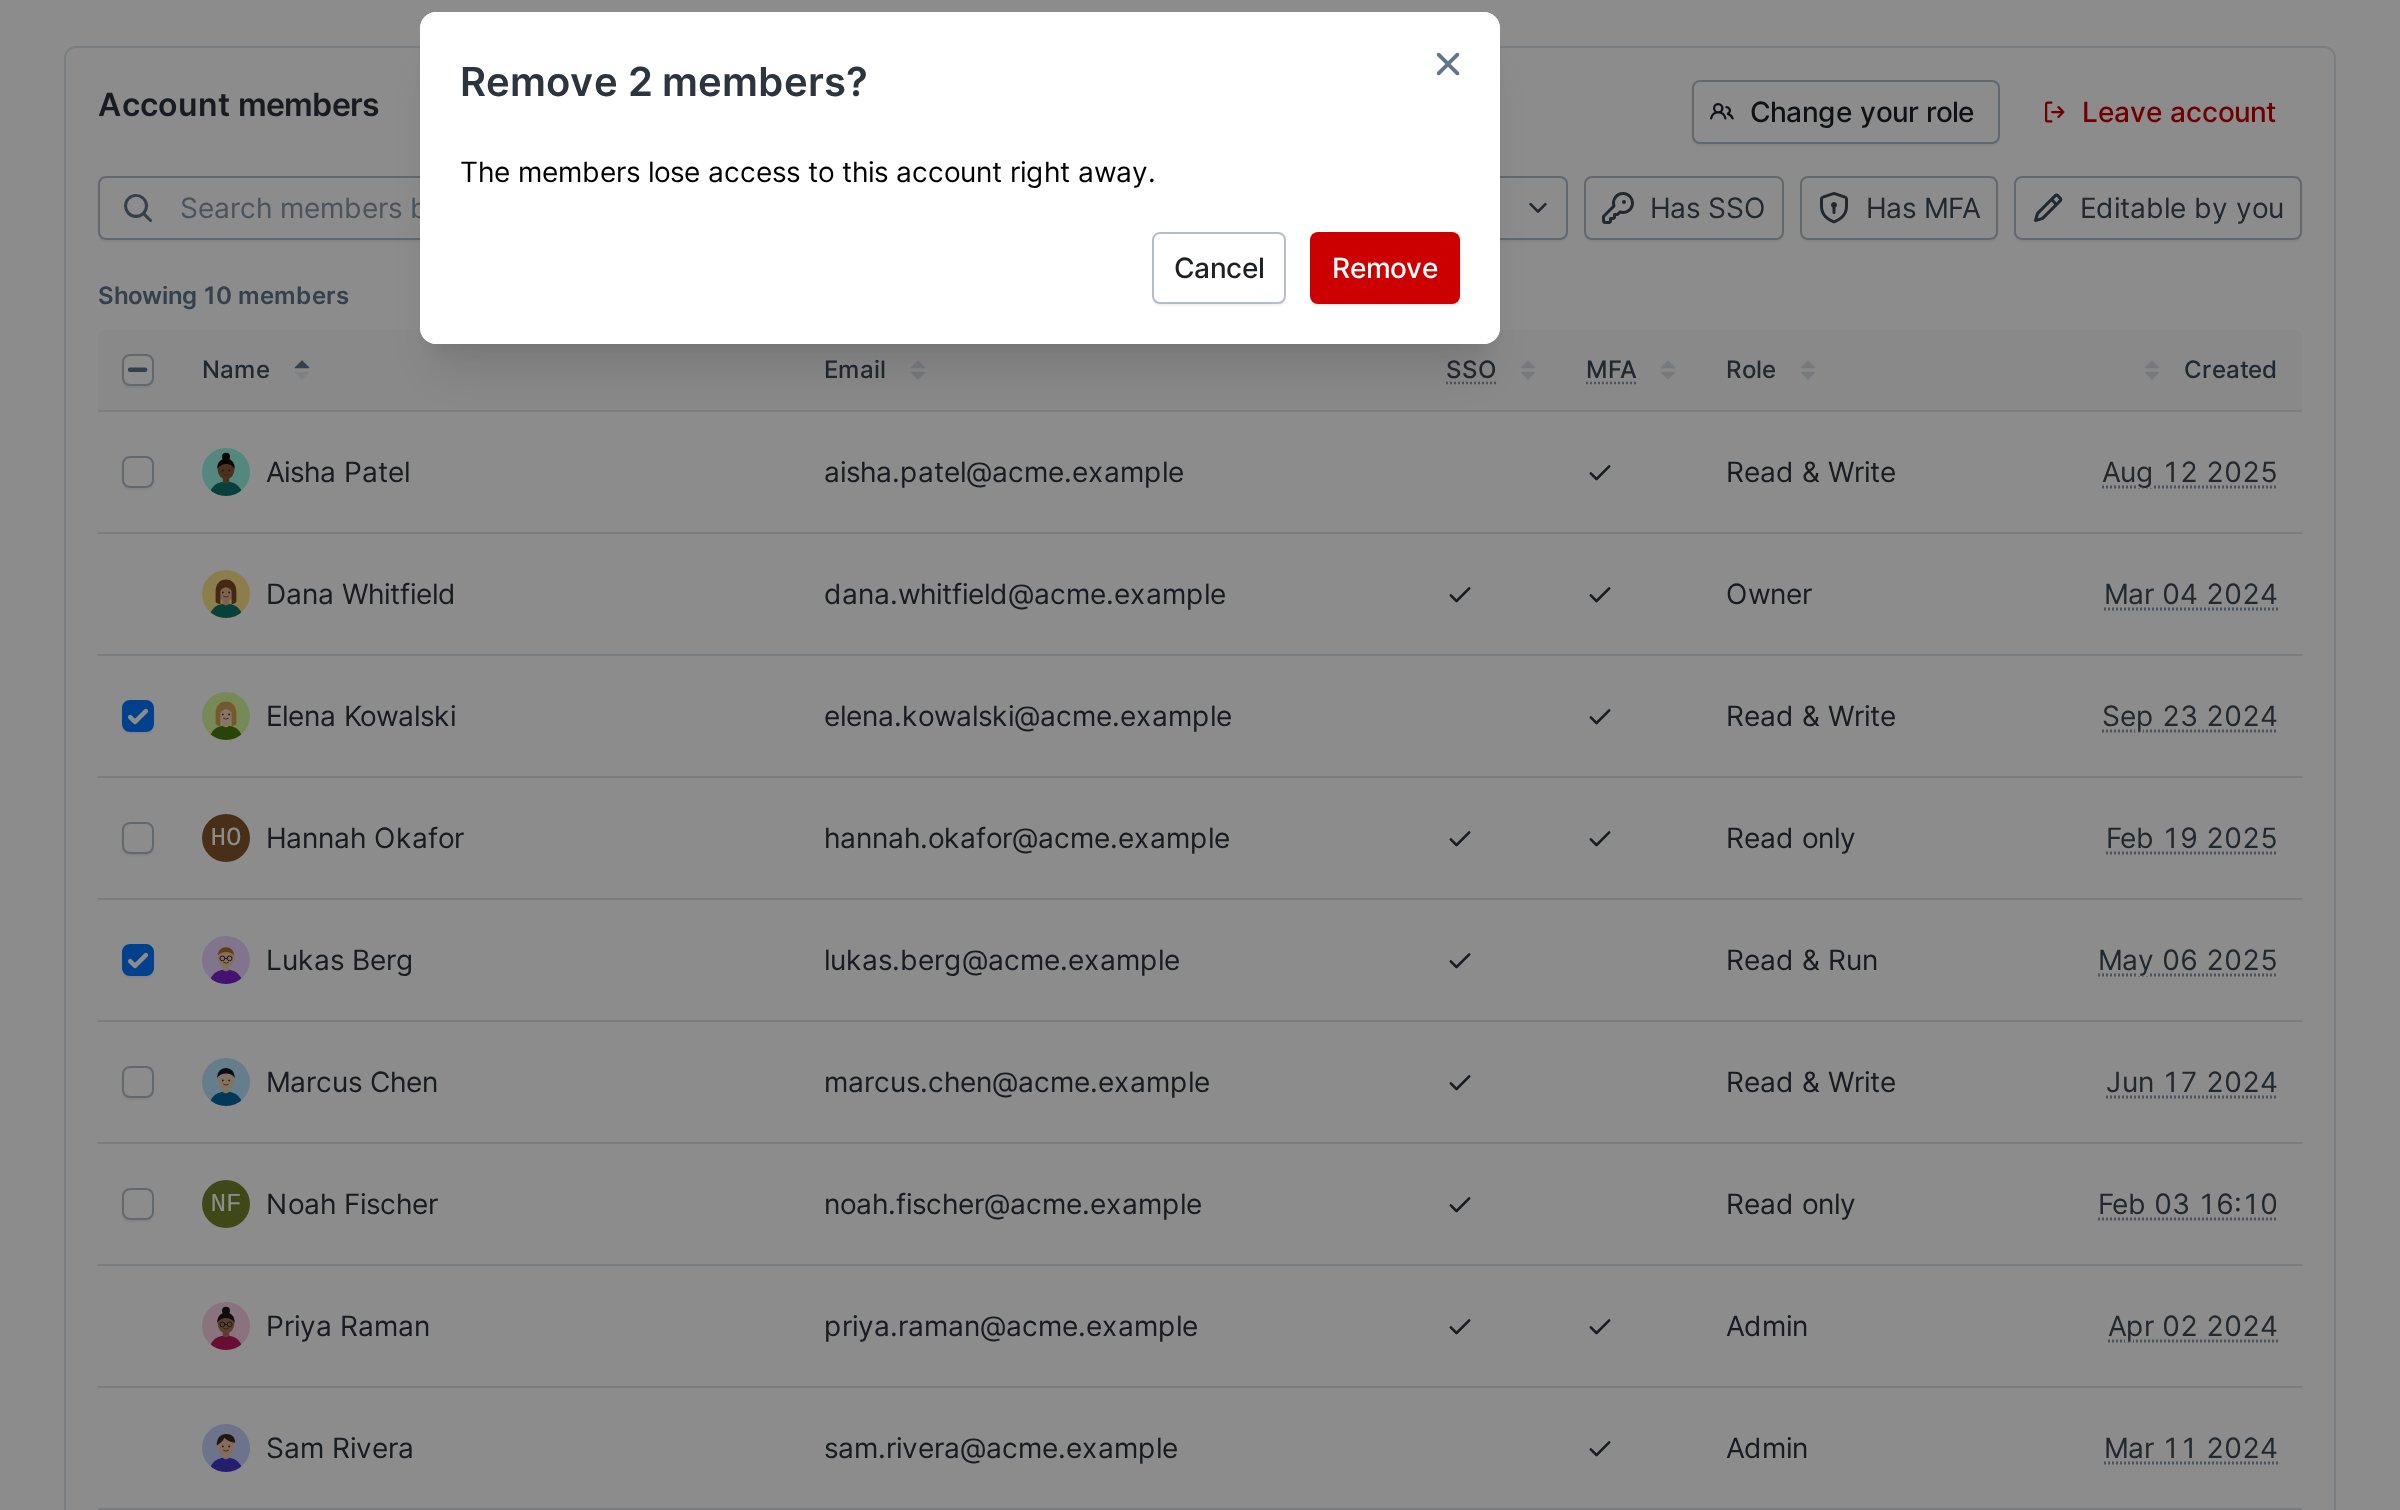
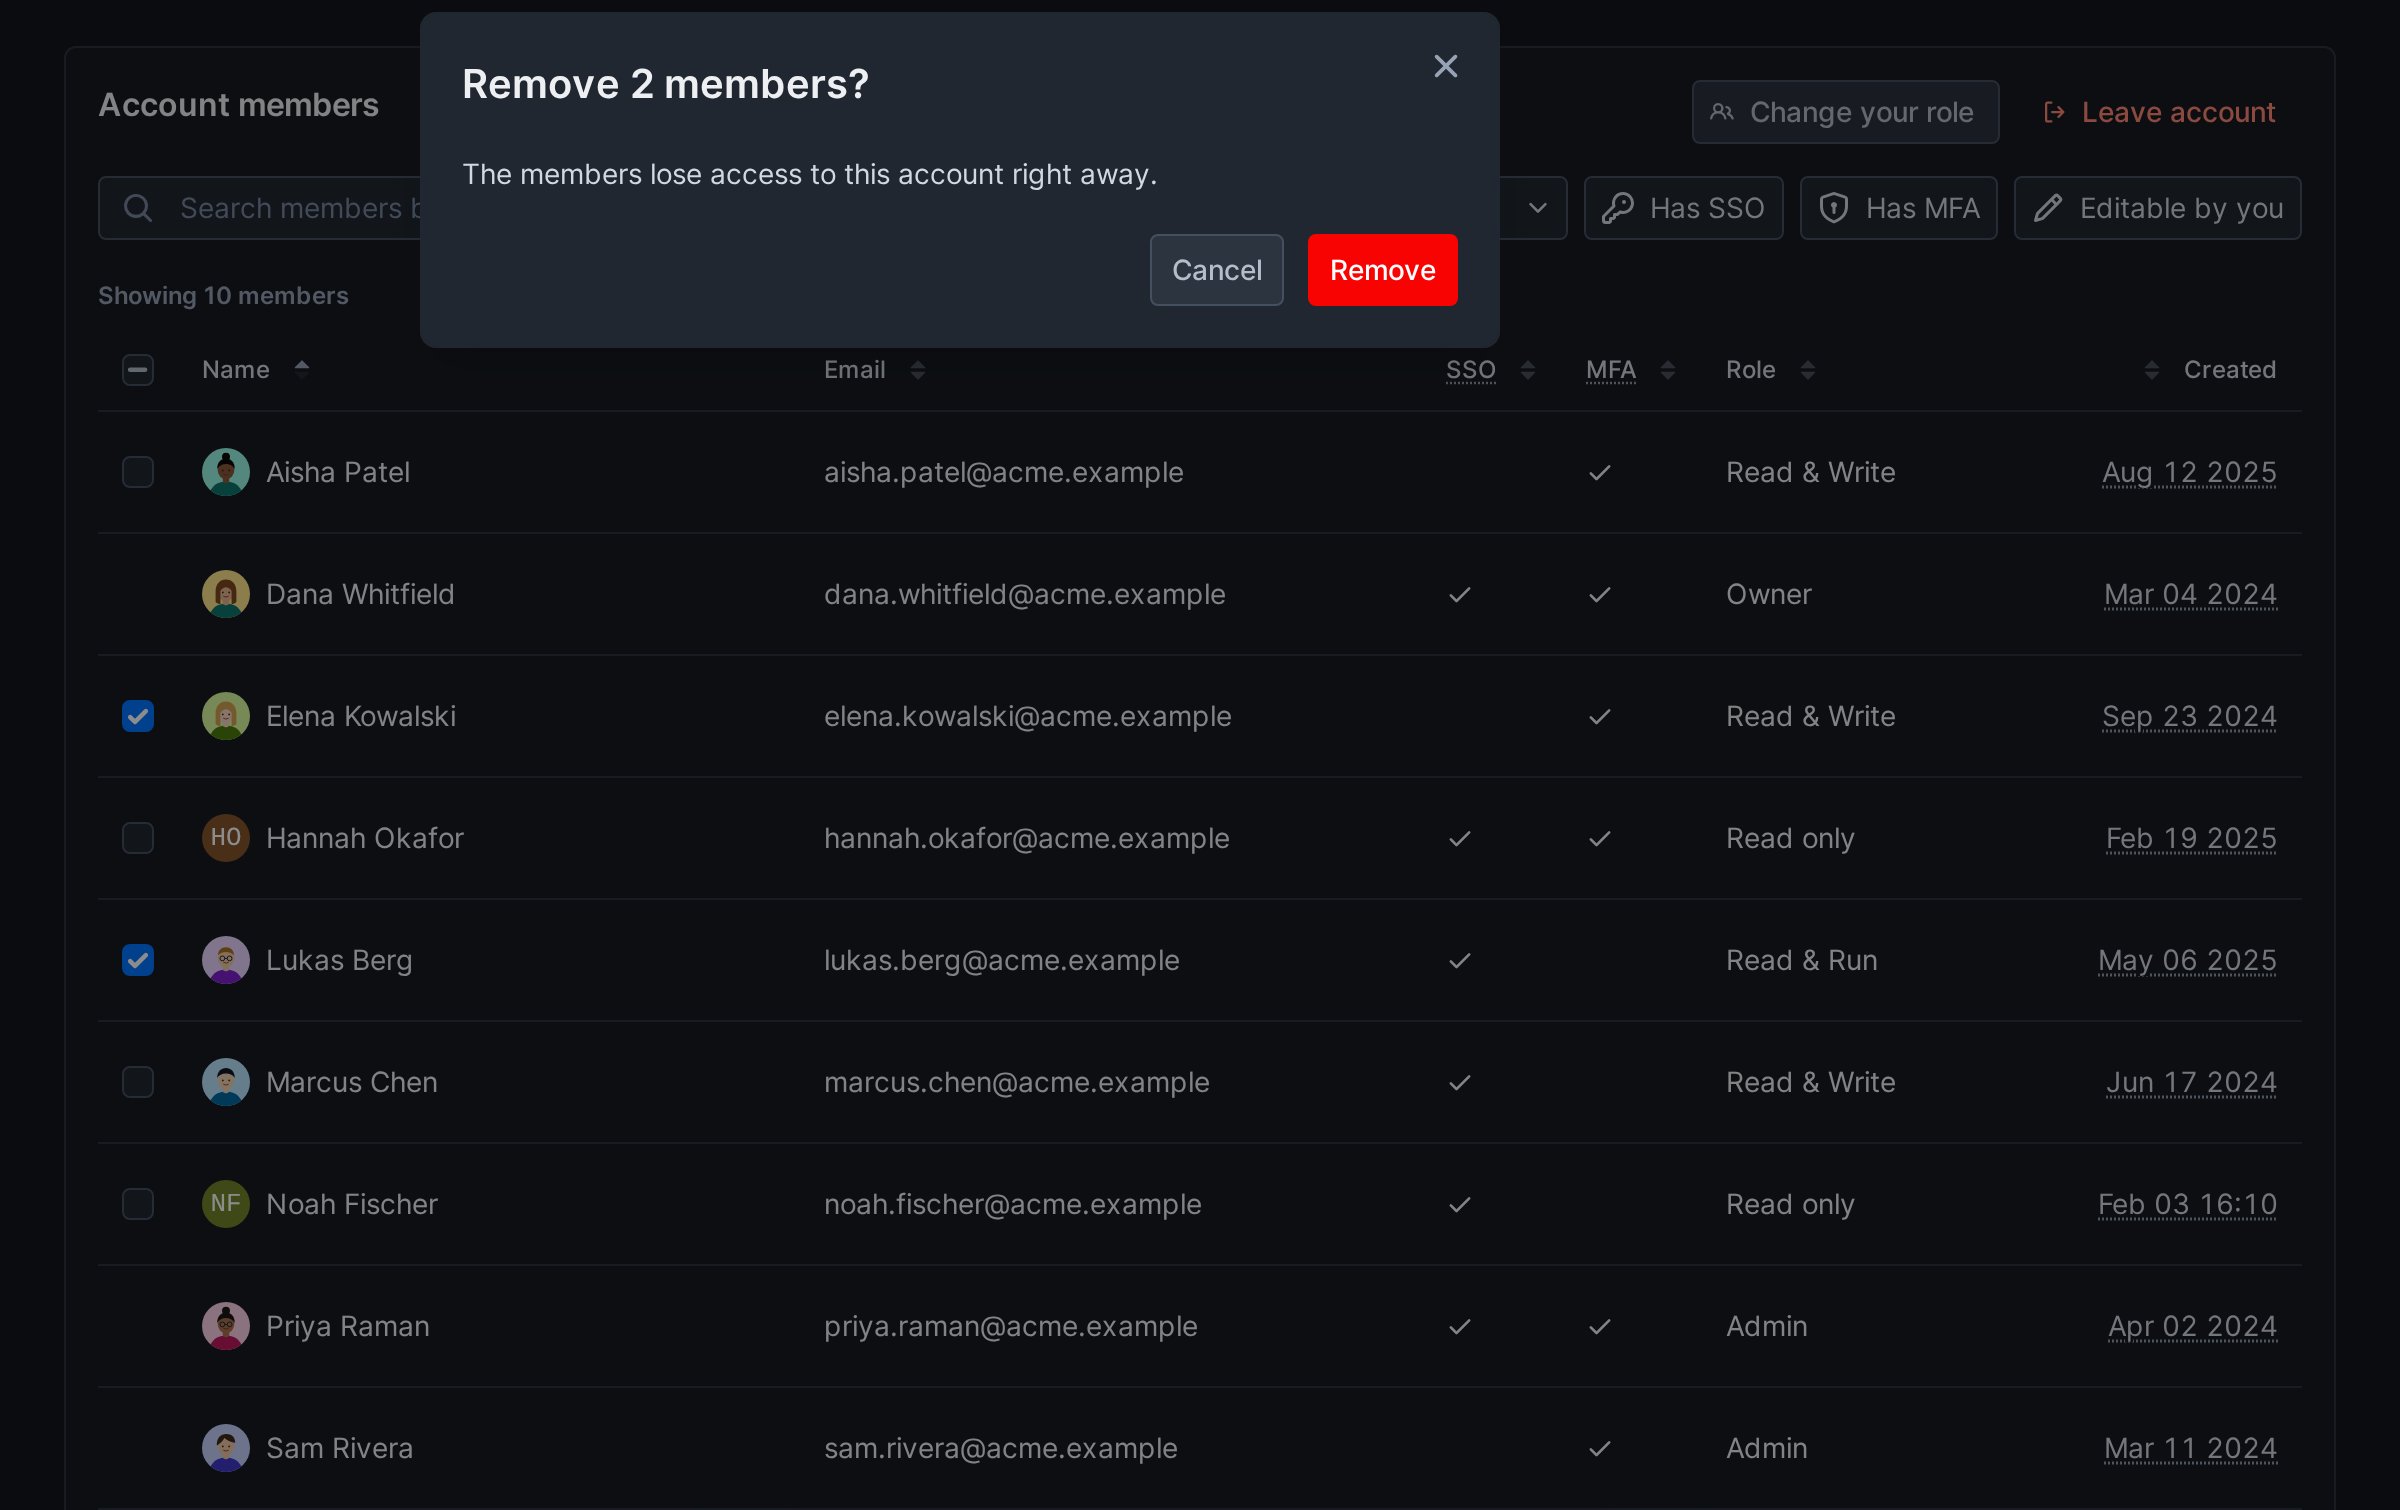
- Removed members lose access to the account right away.
- You can only remove members with less access than you. The owner can’t be removed.
- If a member you selected left the account after you loaded the page, Checkly removes the others and tells you who was skipped.
A removed member who signs in through the account’s SSO connection can come back. If they aren’t a member of any other Checkly account, they rejoin the next time they open Checkly, with the Default Role set in Account settings > SSO configuration, as long as JIT provisioning is on and the account has room for another member. To keep them out, remove their access in your identity provider, or have the owner turn off JIT Provisioning on that page.
Pending invites
Under the invite form, Pending invites lists the invitations that haven’t been accepted yet, with their Email and Role. It shows when there are pending invitations and you can invite members, with their number next to the title. Click the title to fold or unfold the list. When the account reaches its plan’s member limit, the invite form goes away but the list stays, so you can remove invitations to free seats.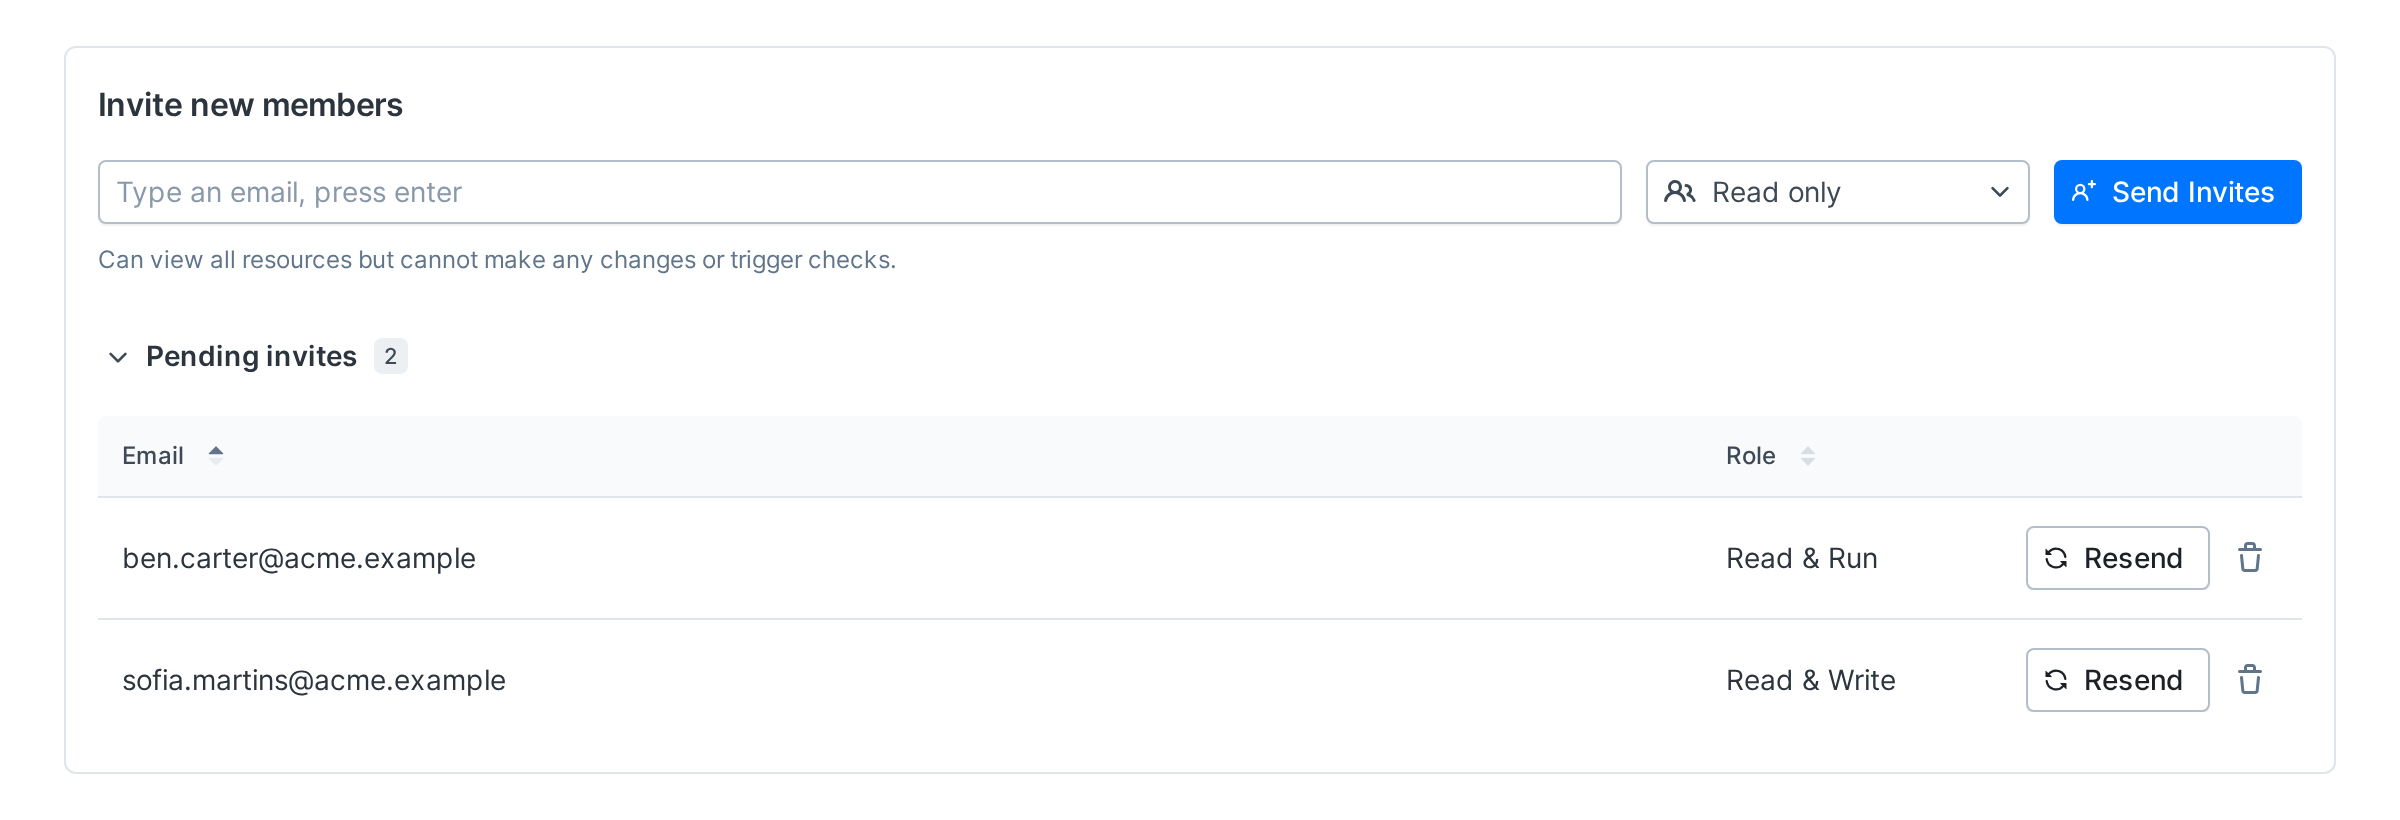
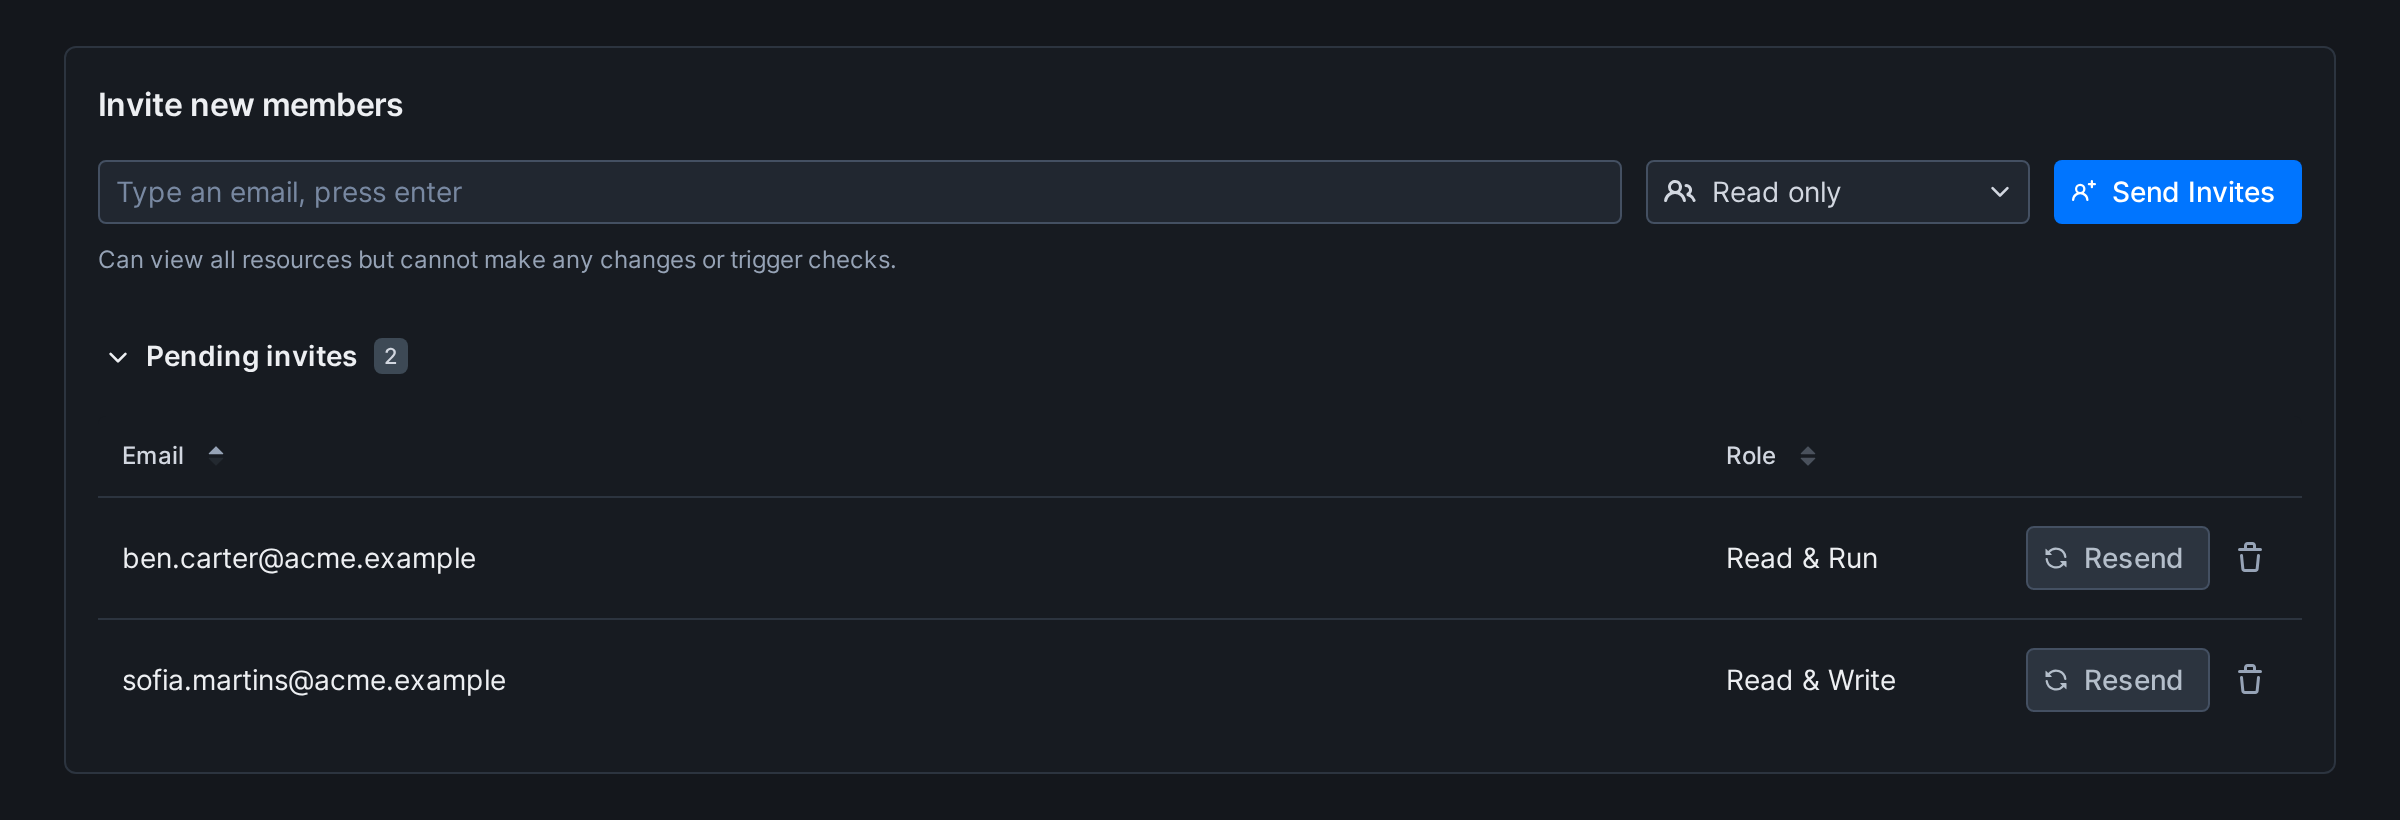
- Resend sends the invitation email again, and the invitation stays valid for another month.
- The trash button removes the invitation after you confirm. A removed invitation can no longer be accepted.
- You can resend or remove any invitation, whoever sent it.
- If the invitation was accepted or removed after you loaded the page, nothing is removed and a message tells you which happened. An accepted invitation isn’t removed, because the person is now a member and shows in the members list.
Change your own role
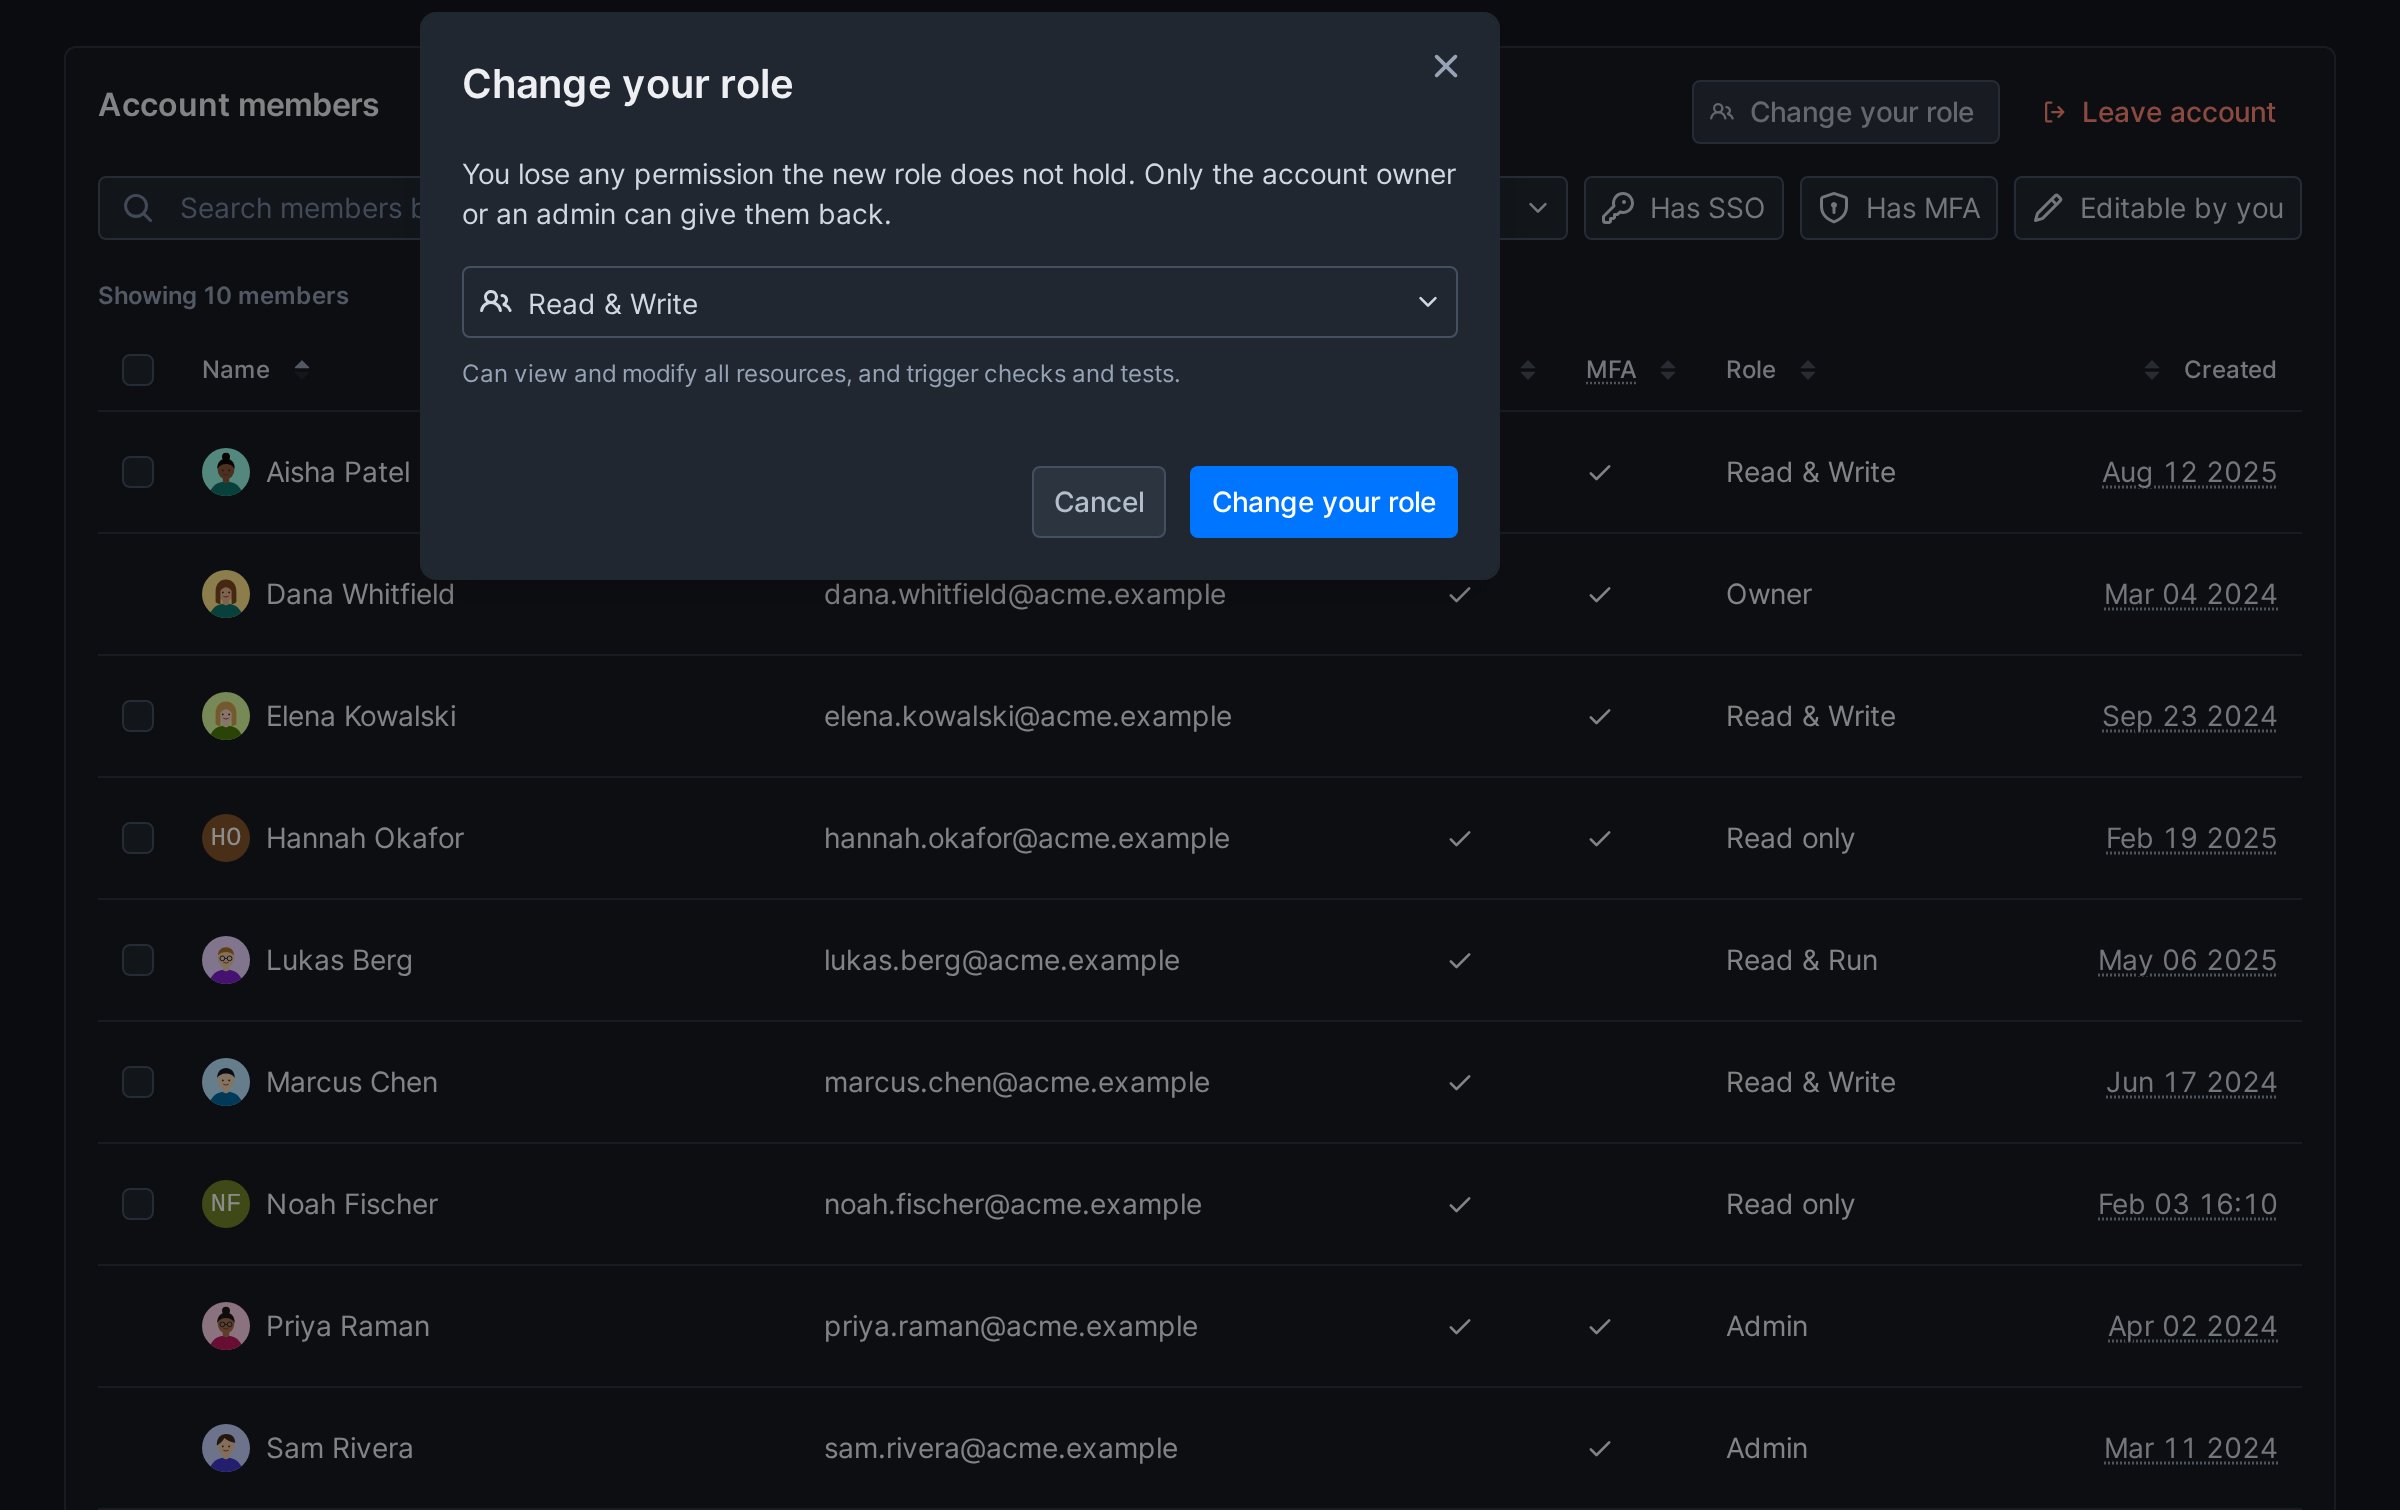
Click Change your role above the members table, next to Leave account. Pick a role and click Change your role.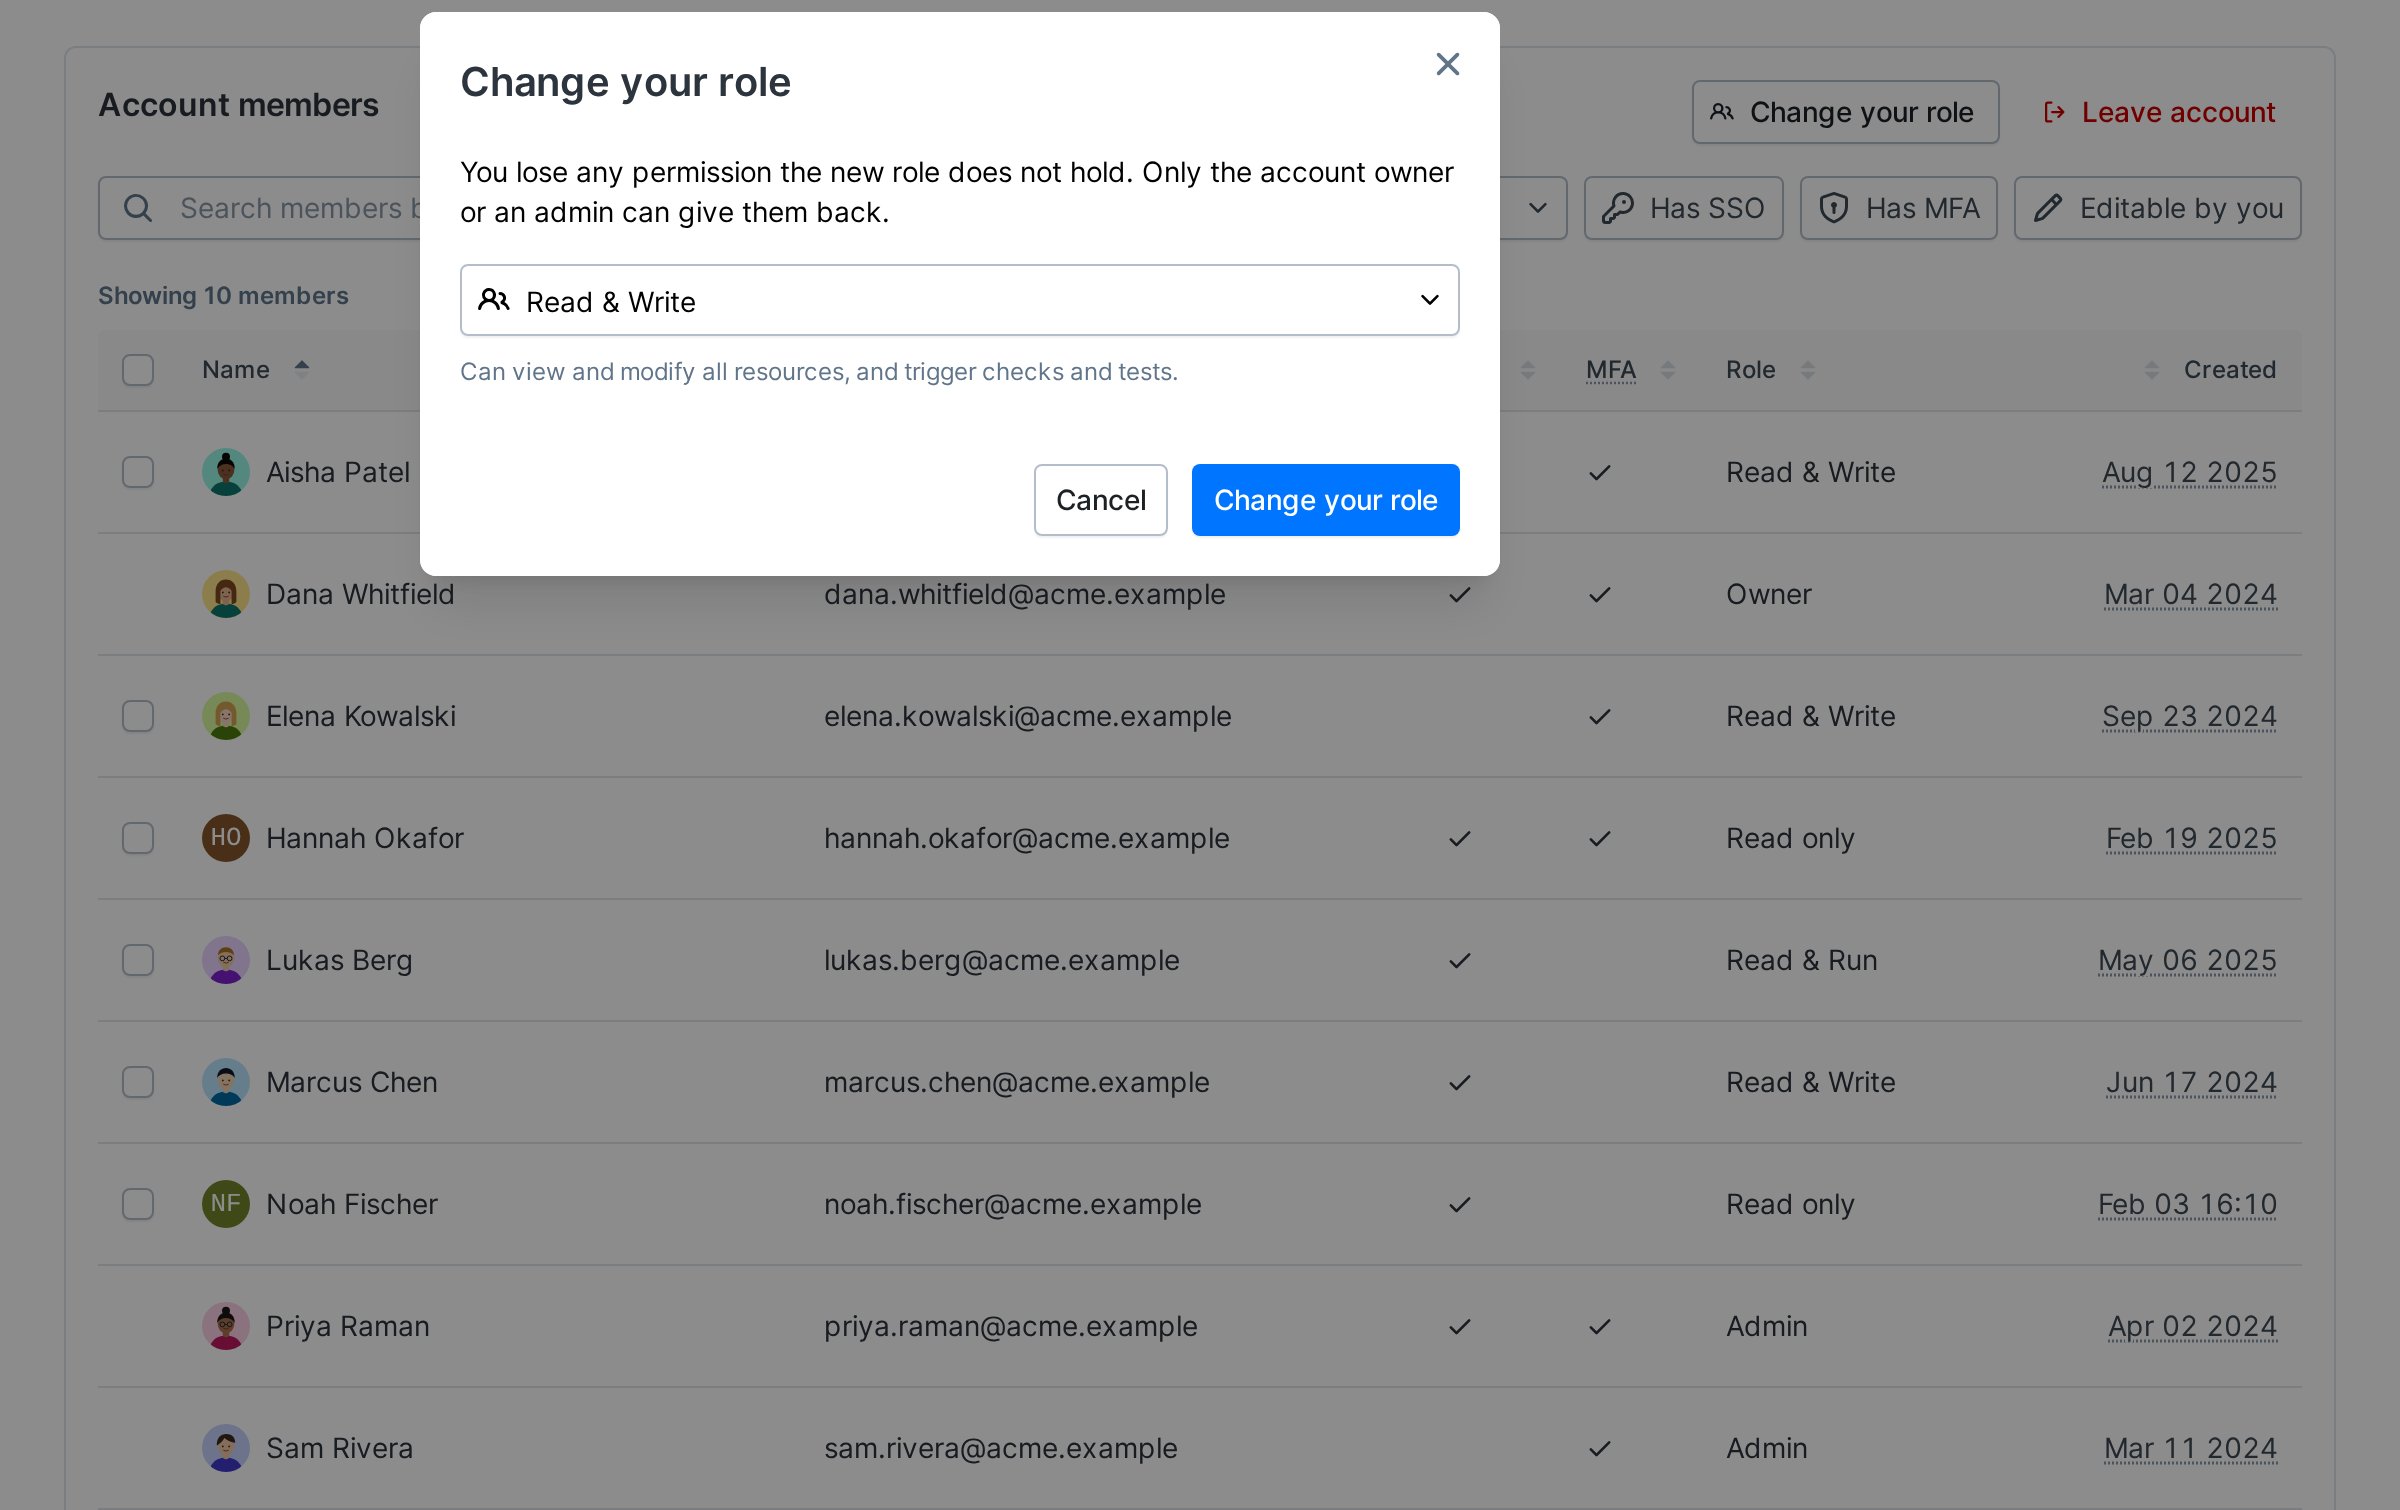
- You can only move to a role whose permissions you already hold, so changing your own role never adds to your access.
- You need the Lower your own role permission. Without it, or without a role you can move to, the button doesn’t show.
- You lose any permission the new role doesn’t hold. To get them back, ask the owner or an admin.
- The owner changes role only by transferring ownership.
- The button is disabled on the Hobby plan and on accounts managed through Vercel.
Leave an account
Click Leave account above the members table and confirm. You lose access to the account right away, and Checkly switches you to another of your accounts, or signs you out if you have none. To come back, ask the owner or an admin to invite you again. If you’re in an on-call rotation, the confirmation links the schedules and warns that your shifts become unassigned, so you can arrange a replacement first. You can’t leave an account:- As the owner. Transfer ownership first.
- When your SSO connection signs you into it. Your access comes from the connection.
- When it’s managed through Vercel. Its members are managed in Vercel.
Permissions
Every role can see the members list. Acting on it needs these permissions:
The owner holds Lower your own role, but changes role only by transferring ownership. Custom roles (beta) can grant these permissions one by one. See Team member roles for what each role can do.