Quick Start Guide
Follow this step-by-step guide to set up your first Private Location and start monitoring internal systems.Prerequisites
Before you begin, ensure you have:- Checkly Account: Owner or Admin permissions
- Infrastructure: Container runtime (Docker, Podman, or similar)
- Network Access: Outbound HTTPS to
agent.checklyhq.com - Target Access: Network connectivity to your applications
Step 1: Create Your Private Location
Navigate to Private Locations and click “New private location”: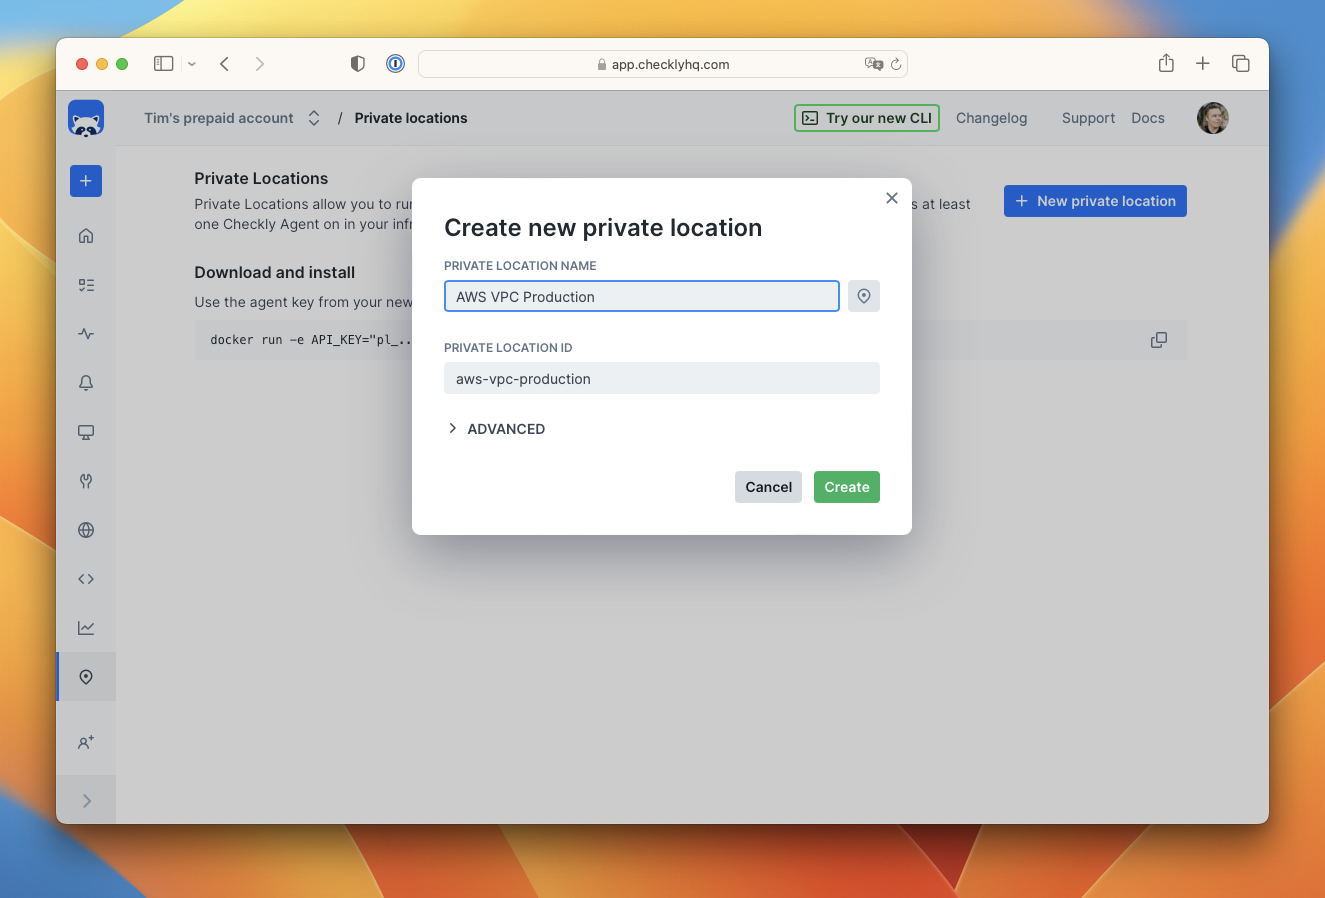
Step 2: Secure Your API Key
Copy and securely store the generated API key. This key authenticates your agents with Checkly: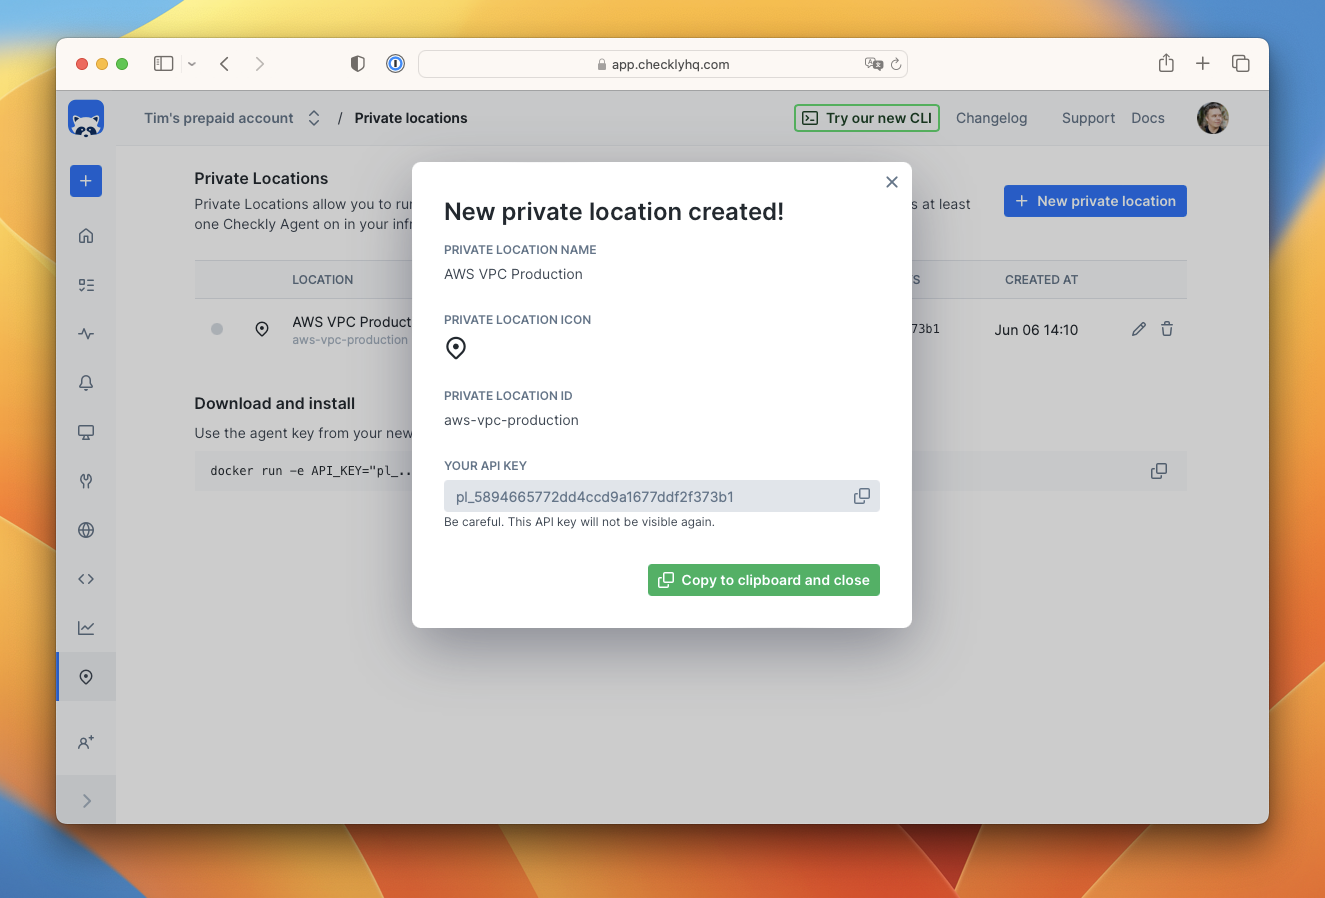
Step 3: Deploy Your First Agent
Start a Checkly Agent using Docker:- Using specific version tags instead of
latest - Using the dev image if your checks require native modules
- Configuring resource limits and restart policies
- Setting up monitoring and logging for the agent containers
Step 4: Verify Agent Connection
Refresh your Private Locations page to see your active agents: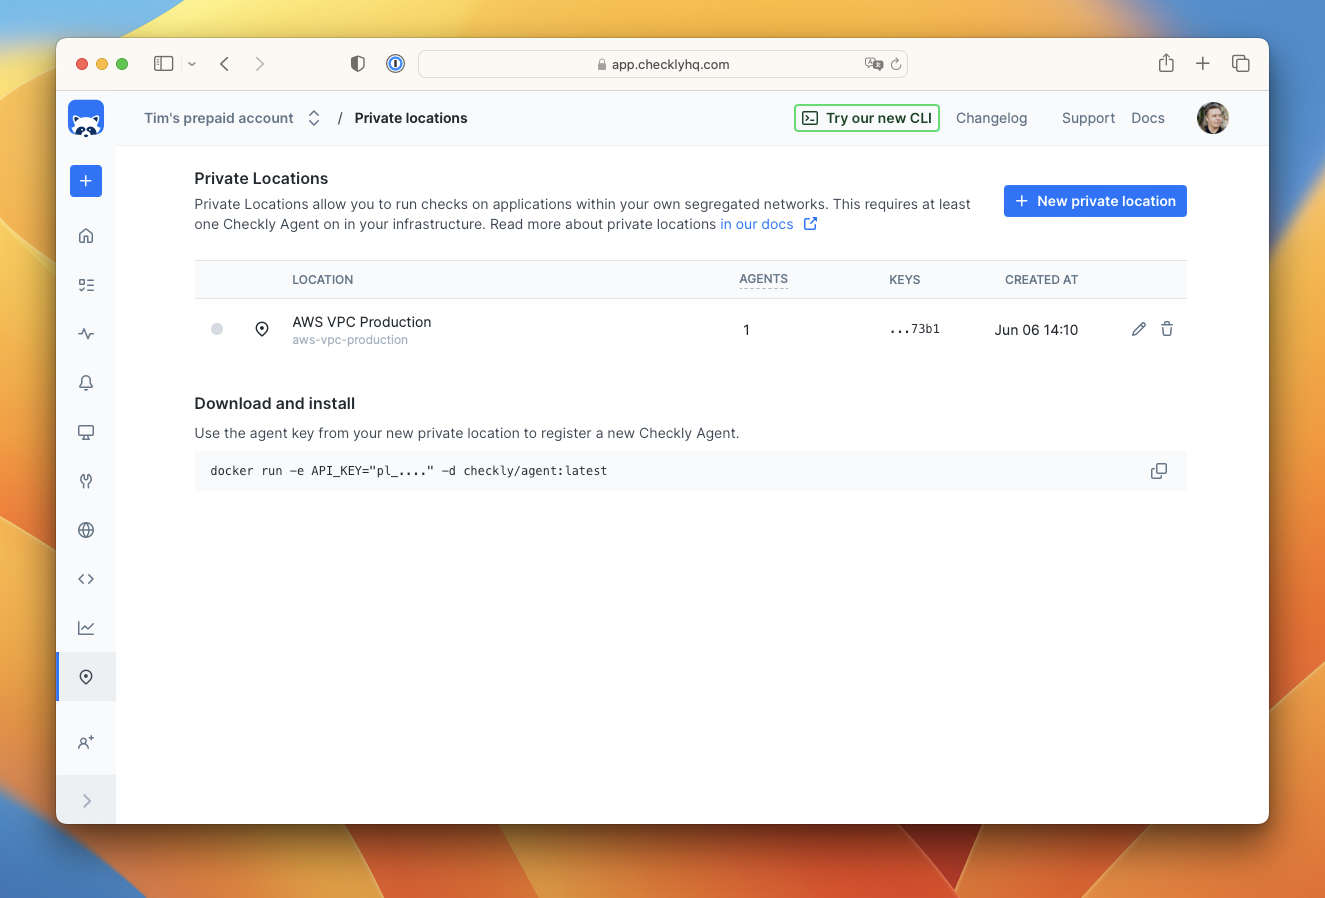
- Number of active agents
- Last connection time
- Agent health status
Step 5: Configure Your Checks
When creating checks, select your Private Location from the available locations: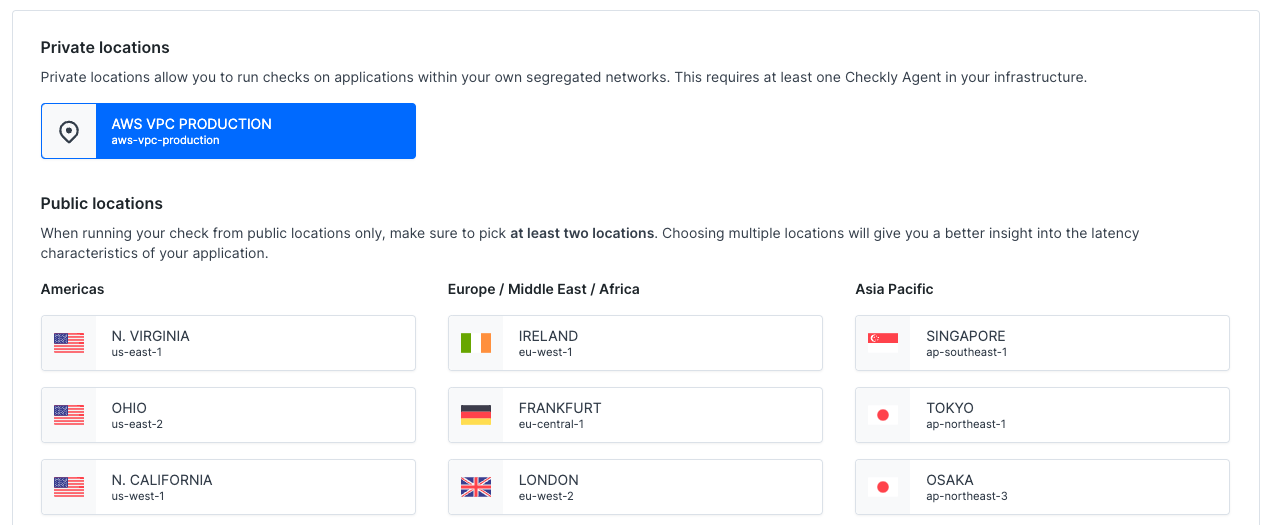
Resource Requirements
Memory Guidelines:
- API checks: ~150MB per concurrent check
- Browser checks: ~1.5GB per concurrent check
- Minimum recommended: 2 CPU cores, 4GB RAM for mixed workloads
Next Steps
Once your first agent is running, explore these advanced topics:Agent Configuration
Learn advanced agent configuration options, environment variables, and production settings
Kubernetes Deployment
Deploy Private Locations on Kubernetes for production-scale monitoring
Use Cases
Explore real-world examples and deployment patterns
CLI Integration
Integrate Private Locations with monitoring-as-code workflows