

Table of contents
Last week, we shipped an initial version of Puppeteer Recorder, a Google Chrome extension that records your browser interactions and generates a Puppeteer script.
It turns out Chrome extension development is <em>almost</em> like real web development, but with a weird dash of quasi embedded development mixed in.
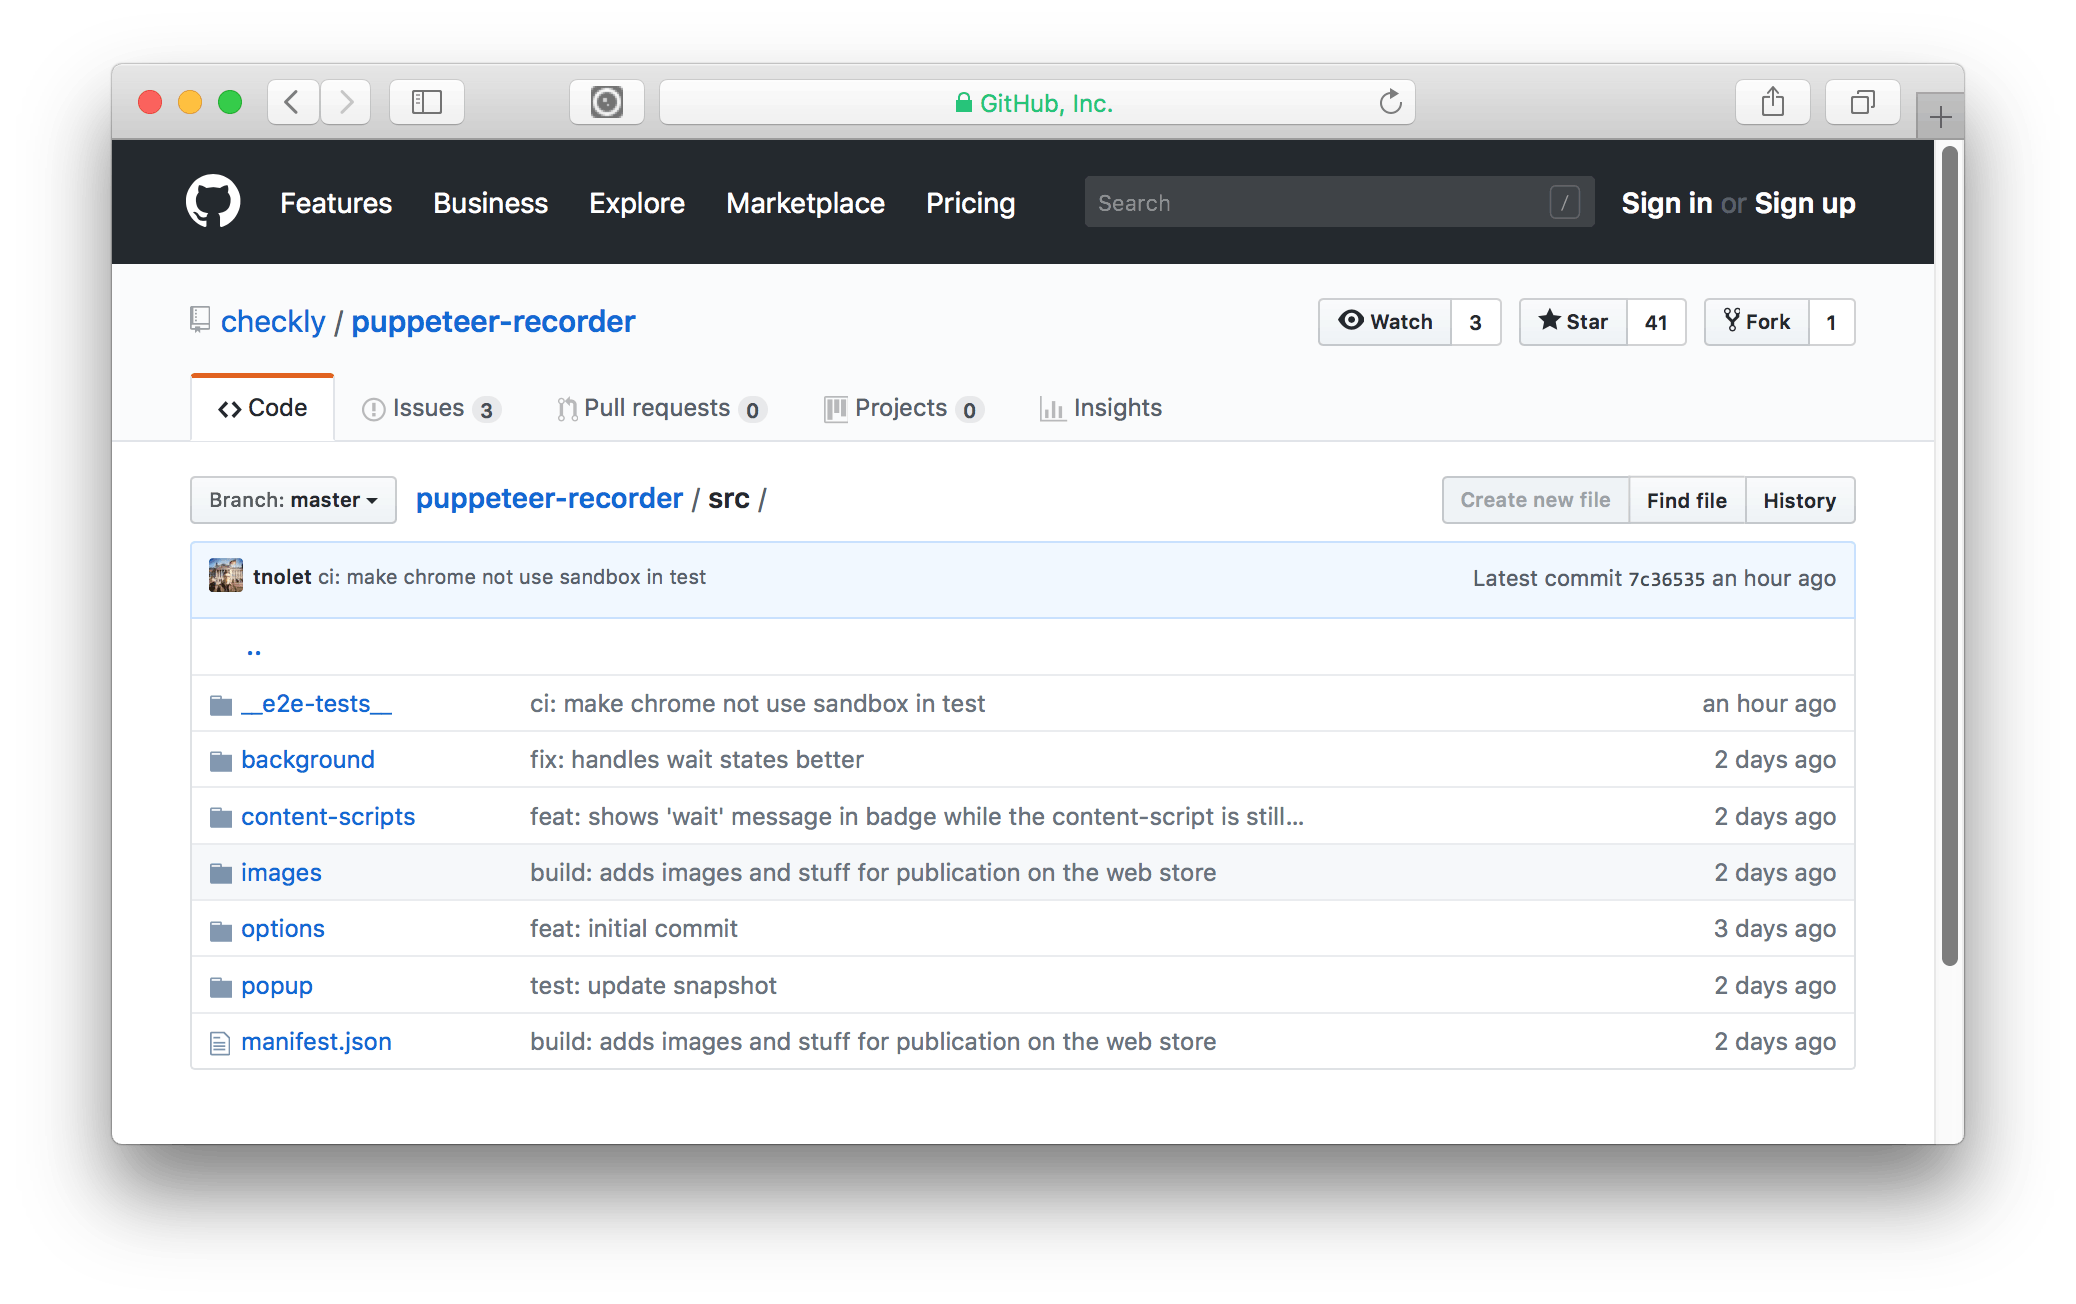
This post talks you through the development lifecycle when creating an extension and lists some of the architectural gotcha’s. Source code for the extension in question is on github.
Architecture
Google’s documentation does a fairly ok job of talking you through all the moving parts of an extension in their getting started guide. However, the docs mix explaining secondary concerns / aspects like security, packaging, setting icons etc. with the five core architectural components. You would do well to set up your project’s code structure to reflect these five core components, i.e.
So they reflect the components in the extension:
- manifest.json
This file bootstraps your extension and provides meta data like versioning. Without this, you have no extension.
- background scripts
The heart and soul of your extension. This is where you create a listener to actually trigger the popup when users click you icon. All “hard” business logic and native browser interaction should go in here as much as possible.
- content scripts
Content scripts can be injected into the tabs in the browser and access the DOM in the context of a browser session. This is where you can add new DOM elements, add extra listeners etc. Note: content scripts are optional
- popup UI
The little app you see when clicking/activating an extension. Can be build with any framework like React or Vue or just vanilla JS. We used Vue.
- options page UI
A dedicated page for customising settings of your extension. This page should persist any settings to the store, to be fetched again by other parts of your plugin.
The chrome global
Meet your new best friend 👫, the <code>chrome</code> global. You will be spending a lot of time together! Its primary functions are:
- Registering listeners & handlers on browser navigation and interface clicks. In the example below you can see an abbreviated version of the
start()function that runs when you click ‘Record’ in the popup UI.
function start () {

  // Inject the content script
  chrome.tabs.executeScript({file: 'content-script.js'})

  // add various handlers to events
  chrome.runtime.onMessage.addListener(MessageHandler)
  chrome.webNavigation.onCompleted.addListener(NavigationHandler)
  chrome.webNavigation.onBeforeNavigate.addListener(WaitHandler)

  // update the icon
  chrome.browserAction.setIcon({ path: './images/icon-green.png' })
  chrome.browserAction.setBadgeText({ text: badgeState })
  chrome.browserAction.setBadgeBackgroundColor({ color: '#FF0000' })
}
- Accessing storage
Anything you need to persist over navigations and opening/closing the popup UI should go into either the session or sync store. The sync store should be synced over Chrome browsers hooked up with Chrome Sync. For more, see State below.
“Globals are bad ’m kay”. For instance, testing anything that uses them can be a hassle. When globals are used over multiple, normally loosely coupled, objects things get hairy, quickly.
Having said that, the Chrome team did a good job keeping the chrome global’s interface fairly minimal. Keeping as much of the calls out of your popup UI, where you will probably use a “modern” web framework will keep things sane.
State
State is persisted using the native chrome.storage API. No other way around it. This will get/set basically any Javascript object you give it, much like the localStorage API.
Wrapping it in some non-global function helps keeping things sane. Be sure to check values returning from the store, e.g:
function loadState (cb) {
    this.$chrome.storage.local.get(['controls', 'code'], ({ controls, code }) => {
      console.debug('loaded controls', controls)
      if (controls) {
        this.isRecording = controls.isRecording
        this.isPaused = controls.isPaused
      }

      if (code) {
        this.code = code
      }
      cb()
    })
}
function storeState () {
    this.$chrome.storage.local.set({
      code: this.code,
      controls: {
        isRecording: this.isRecording,
        isPaused: this.isPaused
      }
    })
}
State is handled slightly different by each architectural component:
The popup’s state does not persist
When opening & closing the extension by clicking on its icon in the toolbar, the popup looses all state. You need to write everything to the session store and reload it on opening.
The background script’s state does persist
The background script acts a bit like a worker thread, as it is not reloaded unless an explicit reload method is called. This means it should (probably) function as you main source of truth.
The content script’s state depends on many things
The content script depends completely on page reloads and how/if/when it is injected. In the specific case of Puppeteer Recorder, the content script attaches message handlers to elements in the current page. These handlers send messages of the events we want to record to the background worker.
Storage has pretty tight limits
Yes, 5,242,880 bytes / 5Mb for local and 102,400 / 0.1Mb for sync. There are also restrictions on individual items in the storage. See the docs
State in browser environments is always tricky, not really an extension issue. Points for the effort 🤙
Messaging
Communication between components is done by sending messages and adding listeners on, you guessed it, the chrome global.
  chrome.runtime.onMessage.removeListener(handleMsg)
  chrome.runtime.sendMessage(msg)

  function handleMsg (msg) {
    console.log(msg)
  }
Coding
Except for the chrome global and its messaging and state function, there are basically no restrictions to the actual code you write. Any Node.js or front end developer should be pretty comfortable.
We used ES6/7 with Vue.js for the popup and used most of the common parts of the Vue.js eco (and larger) system like Webpack, Vue test utils and single file components. See Building for more on this topic.
Reloading an extension has some quirks though, as your content script is bound to a dynamically assigned port which goes away after a full reload. This is expected, but the console.log is bombarded with errors. I found no workaround other than adding a try/catch block around the connection and discarding the message.
function sendMessage (msg) {
  console.debug('sending message', msg)
  try {
    chrome.runtime.sendMessage(msg)
  } catch (err) {
    console.debug('caught err', err)
  }
}
Debugging
Chrome’s Developer tools are great for debugging your code and this is no different when building an extension. However, you might need as much as four separate Dev Tools windows open to get the full picture: content script, background, popup UI and options UI all run in separate contexts.
- content scripts use the current browser windows’ Developer Tools.
- background uses a custom Developer tools, accessible from your extensions page.

- popup and options are opened by right-clicking in the UI of the popup / options window and clicking Inspect
Prepare to do some nice window Tetrising! Of course, technically this makes sense, but the workflow suffers tremendously, especially when you are used to React, Vue or vanilla JS app development and you have a neat timeline of all your debug statements etc. in one console.
Building
To be fair, you actually do not need to build anything. You can just write plain JS, package it up in a .zip and you’re done. However, when you are used to tech like Vue.js and ES6/ES7 syntax, you will enter the land of Babel and Webpack:
- Transpiling ESx
- Vue.js single file components
- SASS/SCSS compilation
Getting the build right was a bit tricky as Webpack examples and corresponding versions seem to be deprecated faster than the speed of light.
I use Webpack everyday. Just like Git. Both are complete black boxes to me. Their error messages are infuriatingly obtuse. I'm in IT 20 years and actually still don't *really* understand either of them. I love what they do though, so screw it YOLO 🍸🥳
— Tim Nolet 👨🏻🚀 (@tim_nolet) August 16, 2018
So, long story short, have peek at the webpack config and corresponding package.json on Github and you can see what works for Puppeteer Recorder.
Testing
We use Jest for testing. We don’t go for 100% test coverage and tests are being added as we speak. They fall into three categories:
- Unit tests at the module or function level.
- UI tests rendering Vue.js components and using Jest snapshots to validate correctness.
- End 2 end tests that build and install the extension.
For 1 and 2, there is no specific magic except that you have to…
Mock out calls to the chrome global
You need to mock chrome. You can go crazy here, but we managed (for now) to get by with a fairly simple mock. The (edited) example below shows a Vue component being mounted, injected with a mock and asserted. The actual test lives at App.spec.js on Github.
import { mount } from '@vue/test-utils'
import App from '../App'

const chrome = {
  storage: {
    local: {
      get: jest.fn()
    }
  },
  extension: {
    connect: jest.fn()
  }
}

const mocks = { $chrome: chrome }

describe('App.vue', () => {
  test('it has the correct pristine / empty state', () => {
    const wrapper = mount(App, { mocks })
    expect(wrapper.element).toMatchSnapshot()
  })
})
Check build & install with Puppeteer
In the end you need to deliver a zip file with code to Google to publish on the web store. You probably want to know if the distributable “binary” actually installs. You can test this with Puppeteer. The below example shows how we build the code and install it as an extension in a Chrome instance.
When using Jest, be sure to run these test cases sequentially by using the --runInBand flag.
import puppeteer from 'puppeteer'
import path from 'path'
import { scripts } from '../../package.json'
const util = require('util')
const exec = util.promisify(require('child_process').exec)

const extensionPath = path.join(__dirname, '../../dist')

describe('build & install', () => {

  // Calls the standard 'npm dist' script used to build the distributable
  test('it builds the extension', async () => {
    const { stderr } = await exec(scripts.dist)
    expect(stderr).toBeFalsy()
  }, 15000)

  // boots a Chrome instance using Puppeteer and adds the extension we build in the earlier test
  test('it installs the extension', async () => {
    const options = {
      headless: false,
      ignoreHTTPSErrors: true,
      args: [
        `--disable-extensions-except=${extensionPath}`,
        `--load-extension=${extensionPath}`,
        '--no-sandbox',
        '--disable-setuid-sandbox'
      ]
    }
    const browser = await puppeteer.launch(options)
    expect(browser).toBeTruthy()
    await browser.close()
  }, 5000)
})
Distributing
Getting your extension on the web store is a three part process.
1. Package your code into a zip file
Your extension needs to be uploaded to Google as a zip. You can have your build tool create a zip file for you. We “stole” this script from Kocal’s vue-web-extension repo, check it out in the scripts directory.
Kudos to Kocal and Kudos to Google for keeping the distribution format as simple as a zip 👌.
2. Create a Chrome Web Store Developer account
Set up a developer account on the web store at https://chrome.google.com/webstore/developer/dashboard
Note: before publishing, you have to pay a $5 one time fee. Ok, whatever, seems fair.
3. Provide images and a video
Don’t skimp this! Het oog wil ook wat we say in Dutch, which translates to “Don’t leave the eye wanting!”. Kudos to Google for giving you many branding and promotion options: icons, promotional images in various sizes, a Youtube link to a demo etc.