What are OpenTelemetry Metrics?
OpenTelemetry (OTel) Metrics are part of the OpenTelemetry project, which provides tools, APIs, and SDKs for telemetry data collection. These metrics capture system performance data like request latency, error rates, resource usage, and throughput. OTel aims to standardize observability across languages and platforms, making it easier to use and integrate telemetry data.
Metrics are one of three core signals of OpenTelemetry along with logs and traces.
To start with OTel Metrics, familiarize yourself with the OpenTelemetry API and SDKs for your preferred language. Instrument your code using the API to create and record metrics with counters, gauges, and histograms. Set up an OpenTelemetry Collector to collect and process these metrics, then export the data to monitoring systems like Prometheus or Grafana. Using community-provided libraries and following OTel conventions will ensure your metrics are consistent and useful.
Why are OpenTelemetry Metrics Useful?
OpenTelemetry Metrics are helpful for various reasons. Here are some key points to understand their usefulness:
Performance Monitoring
Track system performance metrics like latency and throughput. For example, monitor API request times to identify slow endpoints. Using OTel metrics, you can gain detailed insights into the performance of different parts of your system, helping you pinpoint bottlenecks. This allows for more effective tuning and optimization of your infrastructure and code.
Error Detection
Identify and quantify errors and failures. For instance, measure error rates to quickly spot and address issues in your application. With OTel, you can set up alerts based on these metrics to get notified of problems in real-time. This proactive approach can significantly reduce downtime and improve the reliability of your services.
Resource Utilization
Monitor resource usage such as CPU and memory. Example: Optimize server performance by tracking CPU usage spikes. By using OTel metrics, you can correlate resource usage with application performance and user load. This helps in making informed decisions about scaling and resource allocation, ensuring efficient use of infrastructure.
Consistent Observability with Synthetic Monitoring
If you’re already using synthetic monitoring, standardizing metrics collection across services and platforms could be particularly useful. For example, use OTel to gather consistent metrics from microservices written in different languages. This uniformity, enhanced by synthetic monitoring, simplifies the integration of metrics from diverse systems, providing a cohesive view of your entire architecture.
OpenTelemetry Metrics Main Concepts
Understanding the basics of OpenTelemetry Metrics concepts helps engineers gather and analyze data about their applications' performance. This knowledge empowers them to make smarter decisions and improve how their systems run.
API
The API (Application Programming Interface) of OpenTelemetry Metrics provides a way for developers to instrument their code and capture various metrics. It offers a set of functions and methods that developers can use to define and record metrics within their applications.
SDK
The SDK (Software Development Kit) is a collection of tools and libraries that implement the OpenTelemetry API. It provides the necessary components to integrate telemetry instrumentation into applications written in different programming languages, such as Java, Python, Go, and more.
Format
OpenTelemetry defines a standard format for representing metric data. This format ensures consistency and interoperability across different telemetry systems and components. By adhering to this format, developers can easily exchange metric data between various parts of their application stack.
Exporter
Exporters are responsible for sending metric data collected by OpenTelemetry to external monitoring systems or storage backends. OpenTelemetry supports a variety of exporters, including those for popular monitoring platforms like Prometheus, Jaeger, and Grafana.
Types of Metrics in OpenTelemetry + Examples
OpenTelemetry offers various types of metrics for monitoring applications effectively, providing insights into performance and behavior. Understanding these metrics is essential for optimizing your monitoring strategy:
Counter
A Counter is a simple metric that keeps track of how many times something happens. For example, you can use a Counter to count the number of requests your application receives or the number of errors it encounters. Because of its intent as a steadily increasing number, counters only accept positive numbers.
const { MeterProvider, ConsoleMetricExporter, PeriodicExportingMetricReader } = require('@opentelemetry/sdk-metrics-base');
const { ConsoleLogger, LogLevel } = require('@opentelemetry/core');
const { Resource } = require('@opentelemetry/resources');
const { SemanticResourceAttributes } = require('@opentelemetry/semantic-conventions');

// Set up the MeterProvider and the ConsoleMetricExporter
const meterProvider = new MeterProvider({
  resource: new Resource({
    [SemanticResourceAttributes.SERVICE_NAME]: 'my-service',
  }),
});

const exporter = new ConsoleMetricExporter();
const reader = new PeriodicExportingMetricReader({
  exporter,
  exportIntervalMillis: 60000, // export metrics every 60 seconds
});

meterProvider.addMetricReader(reader);

const meter = meterProvider.getMeter('my-meter');

// Create Counters
const requestCounter = meter.createCounter('app_requests_total', {
  description: 'Total number of requests received',
  unit: '1',
});

const errorCounter = meter.createCounter('app_errors_total', {
  description: 'Total number of errors encountered',
  unit: '1',
});

// Simulate incrementing the counters
function handleRequest(success) {
  requestCounter.add(1);
  if (!success) {
    errorCounter.add(1);
  }
}

// Simulate some requests
handleRequest(true);
handleRequest(false);
handleRequest(true);

// The export of metrics is handled automatically by the reader every 60 seconds
This code sets up OpenTelemetry to export metrics to the console every 60 seconds using the PeriodicExportingMetricReader. The ConsoleMetricExporter is used to print the metrics to the console. The counters app_requests_total and app_errors_total are created to track the number of requests and errors, respectively. The handleRequest function simulates requests and increments the counters accordingly.
Gauge
A Gauge is a metric that represents a single numerical value that can go up or down. For example, you can use a Gauge to track the current temperature or the number of users currently logged into your application.
const { MeterProvider, ConsoleMetricExporter, PeriodicExportingMetricReader } = require('@opentelemetry/sdk-metrics-base');
const { Resource } = require('@opentelemetry/resources');
const { SemanticResourceAttributes } = require('@opentelemetry/semantic-conventions');

// Set up the MeterProvider and the ConsoleMetricExporter
const meterProvider = new MeterProvider({
  resource: new Resource({
    [SemanticResourceAttributes.SERVICE_NAME]: 'my-service',
  }),
});

const exporter = new ConsoleMetricExporter();
const reader = new PeriodicExportingMetricReader({
  exporter,
  exportIntervalMillis: 60000, // export metrics every 60 seconds
});

meterProvider.addMetricReader(reader);

const meter = meterProvider.getMeter('my-meter');

// Variable to store the current number of users
let currentUsers = 0;

// Callback function to update the gauge
function getCurrentUsers() {
  return currentUsers;
}

// Create a Gauge
const userGauge = meter.createObservableGauge('app_users_current', {
  description: 'Current number of users logged in',
  unit: '1',
});

// Register the callback function with the gauge
userGauge.addCallback((observableResult) => {
  observableResult.observe(getCurrentUsers());
});

// Simulate changes in the number of logged-in users
function userLogin() {
  currentUsers += 1;
}

function userLogout() {
  currentUsers -= 1;
}

// Simulate some user logins and logouts
userLogin();
userLogin();
userLogout();

// The export of metrics is handled automatically by the reader every 60 seconds
Here we set up an OpenTelemetry MeterProvider and use the ConsoleMetricsExporter to output metrics to the console. We create a Gauge to track the current number of users logged into the application. The getCurrentUsers function serves as a callback to provide the current value of logged-in users, and it is registered with the gauge.
The functions userLogin and userLogout simulate user logins and logouts by incrementing and decrementing the currentUsers variable. Finally, the metrics are exported to the console. In a real application, you would configure an appropriate backend exporter and set up periodic exporting.
Histogram
A histogram is a metric that divides a range of values into buckets and counts how many times each value falls into each bucket. This can be useful for understanding the distribution of values, such as response times or request sizes.
const { MeterProvider, ConsoleMetricExporter, PeriodicExportingMetricReader } = require('@opentelemetry/sdk-metrics-base');
const { Resource } = require('@opentelemetry/resources');
const { SemanticResourceAttributes } = require('@opentelemetry/semantic-conventions');

// Set up the MeterProvider and the ConsoleMetricExporter
const meterProvider = new MeterProvider({
  resource: new Resource({
    [SemanticResourceAttributes.SERVICE_NAME]: 'my-service',
  }),
});

const exporter = new ConsoleMetricExporter();
const reader = new PeriodicExportingMetricReader({
  exporter,
  exportIntervalMillis: 60000, // export metrics every 60 seconds
});

meterProvider.addMetricReader(reader);

const meter = meterProvider.getMeter('my-meter');

// Create a Histogram
const responseTimeHistogram = meter.createHistogram('app_response_time', {
  description: 'Response times of requests',
  unit: 'ms',
});

// Simulate recording response times
function recordResponseTime(responseTime) {
  responseTimeHistogram.record(responseTime);
}

// Simulate some response times
recordResponseTime(120.5);
recordResponseTime(85.3);
recordResponseTime(200.1);
recordResponseTime(95.0);
In this snippet, we create a Histogram to track the response times of requests in milliseconds.
The recordResponseTime function simulates recording response times by adding values to the histogram. We then simulate some response times by calling this function with various values. Finally, the metrics are exported to the console. In a real application, you would configure an appropriate backend exporter and set up periodic exporting.
Summary
A Summary is similar to a Histogram, but instead of counting values into buckets, it calculates things like the sum, count, and quantiles of the observed values. This can be useful for understanding the distribution of values and identifying outliers.from opentelemetry import metrics.
const { MeterProvider, ConsoleMetricExporter, PeriodicExportingMetricReader } = require('@opentelemetry/sdk-metrics-base');
const { Resource } = require('@opentelemetry/resources');
const { SemanticResourceAttributes } = require('@opentelemetry/semantic-conventions');
const { ExplicitBucketHistogramAggregation } = require('@opentelemetry/sdk-metrics-base');

// Set up the MeterProvider and the ConsoleMetricExporter
const meterProvider = new MeterProvider({
  resource: new Resource({
    [SemanticResourceAttributes.SERVICE_NAME]: 'my-service',
  }),
});

const exporter = new ConsoleMetricExporter();
const reader = new PeriodicExportingMetricReader({
  exporter,
  exportIntervalMillis: 60000, // export metrics every 60 seconds
});

meterProvider.addMetricReader(reader);

const meter = meterProvider.getMeter('my-meter');

// Create a Summary (Histogram with explicit buckets in this example)
const responseTimeSummary = meter.createHistogram('app_response_time_summary', {
  description: 'Summary of response times of requests',
  unit: 'ms',
  aggregation: new ExplicitBucketHistogramAggregation([0, 50, 100, 200, 500]),
});

// Simulate recording response times
function recordResponseTime(responseTime) {
  responseTimeSummary.record(responseTime);
}

// Simulate some response times
recordResponseTime(120.5);
recordResponseTime(85.3);
recordResponseTime(200.1);
recordResponseTime(95.0);
recordResponseTime(150.0);
recordResponseTime(180.0);
In this snippet, we create a Histogram to track and summarize the response times of requests in milliseconds.
The recordResponseTime function simulates recording response times by adding values to the histogram. We then simulate some response times by calling this function with various values.
Note: OpenTelemetry API does not provide a direct "Summary" metric type like Prometheus. However, histograms with explicit bucket configurations can achieve a similar summarizing effect, which includes calculating sum, count, and providing insights into distribution.
In addition to these, here are some more OTel metrics:
- CounterObserver: Similar to a Counter, a CounterObserver also counts occurrences of events, but it allows you to attach additional information to each event. This can be useful for tracking things like the size of requests or the severity of errors.
- UpDownCounter: An UpDownCounter is like a Counter, but it can increase or decrease its value. This can be useful for tracking things like the number of active connections to a server or the amount of memory being used by an application.
- UpDownCounterObserver: Similar to an UpDownCounter, an UpDownCounterObserver can increase or decrease its value and allows you to attach additional information to each event. This can be useful for tracking changes in resource usage over time.
- GaugeObserver: Similar to a Gauge, a GaugeObserver represents a single numerical value, but it allows you to attach additional information to each value. This can be useful for tracking things like the size of a database or the latency of network requests.
OpenTelemetry Metrics Instruments
OpenTelemetry provides several types of instruments for capturing and recording metric data within applications. These instruments serve different purposes and are suited to various use cases:
- Timeseries: Timeseries instruments track the evolution of a metric value over time. They are useful for monitoring trends and patterns in application behavior. Examples of timeseries metrics include CPU usage, memory consumption, and request latency.
- Additive: Additive instruments accumulate metric values over time by adding new data points to the existing total. They are well-suited for measuring cumulative quantities, such as the total number of requests processed or the total amount of data transferred.
- Synchronous: Synchronous instruments record metric data immediately when called within the application code. They provide real-time visibility into application performance but may introduce overhead due to the synchronous nature of data collection.
- Asynchronous: Asynchronous instruments defer the recording of metric data to a separate thread or process, allowing the main application logic to proceed without waiting for metric collection to be completed. This approach minimizes performance impact but may result in slightly delayed metric reporting.
Which Instrument Type to Use?
Choosing the right instrument type depends on the specific requirements and characteristics of your application. The following table outlines some considerations to help you decide:
| Instrument Type | Use Case | Pros | Cons |
|---|---|---|---|
Timeseries | Monitoring trends and patterns over time | Real-time visibility, suitable for continuous monitoring | May require significant storage space for long-term data retention |
Additive | Tracking cumulative quantities | Simple accumulation of values, easy to interpret | May not provide detailed insights into short-term fluctuations |
Synchronous | Real-time metric collection | Immediate feedback on application performance | Potential performance overhead due to synchronous data collection |
Asynchronous | Non-blocking metric recording | Minimal impact on application performance, can handle bursts of data | May introduce slight delays in metric reporting |
By considering factors such as the frequency of metric updates, the importance of real-time visibility, and the trade-offs between performance and accuracy, you can determine the most appropriate instrument type for your monitoring needs.
Different OpenTelemetry Metrics to Track
Now, let's explore the different kinds of metrics you can keep track of using OpenTelemetry.
HTTP Response Time
HTTP response time measures the duration between sending a request to a server and receiving a response. It's crucial for assessing the performance of web applications and detecting any anomalies that might affect user experience.
Error Rate
Error rate indicates the frequency of errors occurring within an application. Monitoring error rate helps identify bugs, misconfigurations, or other issues that can impact reliability and user satisfaction.
Throughput
Throughput measures the rate at which an application processes requests or transactions within a given timeframe. It's essential for ensuring that the system can handle the expected workload efficiently.
Network Latency
Network latency refers to the time it takes for data to travel from one point to another over a network. High network latency can lead to delays in communication between components, affecting overall system performance.
Database Queries
Database query metrics track the performance of database operations, including execution time, throughput, and error rate. Monitoring these metrics helps optimize database performance and identify potential bottlenecks.
Memory Utilization
Memory utilization metrics provide insights into how effectively an application uses available memory resources. Monitoring memory usage helps prevent memory leaks and optimize resource allocation.
CPU Usage
CPU usage metrics indicate the percentage of CPU capacity consumed by an application. Monitoring CPU usage helps identify performance bottlenecks and optimize resource allocation for better efficiency.
OpenTelemetry Metrics Examples
Now, let's look into some practical examples of OpenTelemetry Metrics to demonstrate their implementation.
Number of Emails
const { MeterProvider } = require('@opentelemetry/sdk-metrics-base');
const { Resource } = require('@opentelemetry/resources');
const { SemanticResourceAttributes } = require('@opentelemetry/semantic-conventions');

// Set up the MeterProvider
const meterProvider = new MeterProvider({
  resource: new Resource({
    [SemanticResourceAttributes.SERVICE_NAME]: 'my-service',
  }),
});

const meter = meterProvider.getMeter('my-meter');

// Create a counter metric to track the number of emails sent
const emailsSentMetric = meter.createCounter('emails_sent', {
  description: 'The number of emails sent',
});

// Function to send an email and increment the counter
function sendEmail() {
  // Code to send email...
  emailsSentMetric.add(1);
}

// Simulate sending some emails
sendEmail();
sendEmail();
sendEmail();
In this example, we use a counter metric to track the number of emails sent by our application. We initialize the emailsSentMetric as a counter metric, and each time the sendEmail() function is called, we increment the counter by one using the .add() method. This allows us to monitor the volume of emails sent over time.
Operation Latency
const { MeterProvider } = require('@opentelemetry/sdk-metrics-base');
const { Resource } = require('@opentelemetry/resources');
const { SemanticResourceAttributes } = require('@opentelemetry/semantic-conventions');

// Set up the MeterProvider
const meterProvider = new MeterProvider({
  resource: new Resource({
    [SemanticResourceAttributes.SERVICE_NAME]: 'my-service',
  }),
});

const meter = meterProvider.getMeter('my-meter');

// Create a histogram metric to measure operation latency
const operationLatencyMetric = meter.createHistogram('operation_latency_seconds', {
  description: 'The latency of operations in seconds',
});

// Measure latency of an operation
function performOperation() {
  const startTime = Date.now();
  // Code for the operation...
  const endTime = Date.now();
  const latency = (endTime - startTime) / 1000; // Convert to seconds
  operationLatencyMetric.record(latency);
}

// Simulate performing an operation
performOperation();
Here, we create a histogram metric to measure the latency of an operation within our application. The performOperation() function calculates the duration of the operation by measuring the time before and after its execution. The resulting latency is then recorded in the operationLatencyMetric histogram using the record() method. This allows us to analyze the distribution of operation latencies over time.
Cache Hit Rate
const { MeterProvider } = require('@opentelemetry/sdk-metrics-base');
const { Resource } = require('@opentelemetry/resources');
const { SemanticResourceAttributes } = require('@opentelemetry/semantic-conventions');

// Set up the MeterProvider
const meterProvider = new MeterProvider({
  resource: new Resource({
    [SemanticResourceAttributes.SERVICE_NAME]: 'my-service',
  }),
});

const meter = meterProvider.getMeter('my-meter');

// Create a gauge metric to track cache hit rate
let cacheHitRateMetric = 0;
const cacheHitRateGauge = meter.createObservableGauge('cache_hit_rate', {
  description: 'The cache hit rate',
});

// Register the callback with the Gauge
cacheHitRateGauge.addCallback((observableResult) => {
  observableResult.observe(cacheHitRateMetric);
});

// Function to calculate cache hit rate
function calculateCacheHitRate(cacheHits, cacheMisses) {
  const totalRequests = cacheHits + cacheMisses;
  if (totalRequests > 0) {
    const hitRate = cacheHits / totalRequests;
    cacheHitRateMetric = hitRate;
  }
}

// Example usage
calculateCacheHitRate(80, 20);
This example demonstrates the use of a gauge metric to track the cache hit rate of our application's caching system. The calculateCacheHitRate() function calculates the hit rate based on the number of cache hits and misses, then sets the value of the cacheHitRateMetric gauge accordingly using the observe() method. This allows us to monitor the effectiveness of our caching strategy over time.
Error Rate
const { MeterProvider } = require('@opentelemetry/sdk-metrics-base');
const { Resource } = require('@opentelemetry/resources');
const { SemanticResourceAttributes } = require('@opentelemetry/semantic-conventions');

// Set up the MeterProvider
const meterProvider = new MeterProvider({
  resource: new Resource({
    [SemanticResourceAttributes.SERVICE_NAME]: 'my-service',
  }),
});

const meter = meterProvider.getMeter('my-meter');

// Create a counter metric to track the number of errors
const errorRateMetric = meter.createCounter('error_rate', {
  description: 'The rate of errors',
});

// Function to handle an error and increment the counter
function handleError() {
  // Code to handle error...
  errorRateMetric.add(1);
}

// Simulate handling some errors
handleError();
handleError();
handleError();
In this example, we use a counter metric to track the error rate of our application. The handleError() function is called whenever an error occurs, and it increments the errorRateMetric counter by one using the inc() method. This allows us to monitor the frequency of errors and identify any patterns or trends over time.
Best Practices for Using OpenTelemetry Metrics
Understanding and implementing best practices for using OpenTelemetry Metrics is important for effectively monitoring the performance of your applications. By following these guidelines, you can ensure that your metrics accurately reflect the behavior of your systems and provide valuable insights into areas for optimization and improvement.
1. Consistent Naming Conventions
Use clear and consistent naming conventions for your metrics. Names should be descriptive and follow a standard format, such as component_metric_type (e.g., http_server_requests_total).
Consistent naming helps in easily identifying and understanding metrics across different services and components.
2. Optimize Labels and Attributes
Labels and attributes provide crucial context to metrics, making them more informative. However, excessive labels can complicate analysis and increase storage needs. Select labels that add meaningful differentiation without overwhelming the dataset.
Using attributes wisely improves metric usefulness. For instance, adding a user role label to a login attempts counter allows for detailed analysis of login patterns, aiding in security monitoring and user behavior insights.
3. Use Aggregations and Summaries
Utilize histograms, summaries, and other aggregation techniques to capture and analyze the distribution of your metrics. This approach provides a more comprehensive view of your application's performance by showing not just averages but the entire range and frequency of values.
Aggregations help in identifying outliers and trends that might be missed with simple averages. For example, a histogram can reveal latency spikes in certain transactions, helping you pinpoint specific issues and optimize performance accordingly.
4. Regularly Review and Update Metrics
Continuously review and update your metrics to ensure they remain relevant and useful. As your application evolves, some metrics may become obsolete, while new metrics may be needed to monitor new features or components.
Regular audits of your metrics will help you retire outdated ones and introduce new metrics that align with current business goals and technical requirements. This practice ensures your monitoring strategy adapts to changes and provides ongoing value in performance tracking and troubleshooting.
How to Get Started with OpenTelemetry Metrics and Checkly
With Monitoring as Code at the core of our synthetic monitoring offering, we enabled our customers to simulate user behaviors by setting up monitoring checks. Now, we’re integrating with OpenTelemetry to correlate synthetic checks with backend traces and pinpoint the reasons for the check failure.
Increased Signal vs. Noise
By correlating synthetic checks with tracing data, you can filter out unnecessary information and focus on the most critical data points. This ensures that both development and operations teams can zero in on the telemetry that directly impacts key business processes, reducing the noise and improving overall efficiency.

We’re starting our OTel integration with traces, now in BETA. This update offers two key benefits: easier trace-error correlation and simpler trace setup. Once configured, each check run provides an immediate view of your end-to-end traces, from the frontend or API endpoints to the backend. This end-to-end visibility helps you quickly pinpoint the root causes of failing check runs.
How Does It Work?
- Enable tracing instrumentation on all HTTP requests with one click.
- Instrument your code with the relevant OpenTelemetry (OTel) SDKs.
- Send only traces "triggered" by Checkly checks to our backend and get the results in your check results and even live in the editor. This also works for test session triggered by our CLI.
Here’s a quick demo for a better understanding of the integration:
Find out more information in our docs:
- Instrumenting your code with OpenTelemetry SDKs
- Ingesting traces into Checkly using the OpenTelemetry collector
- Sending traces to 3rd party services
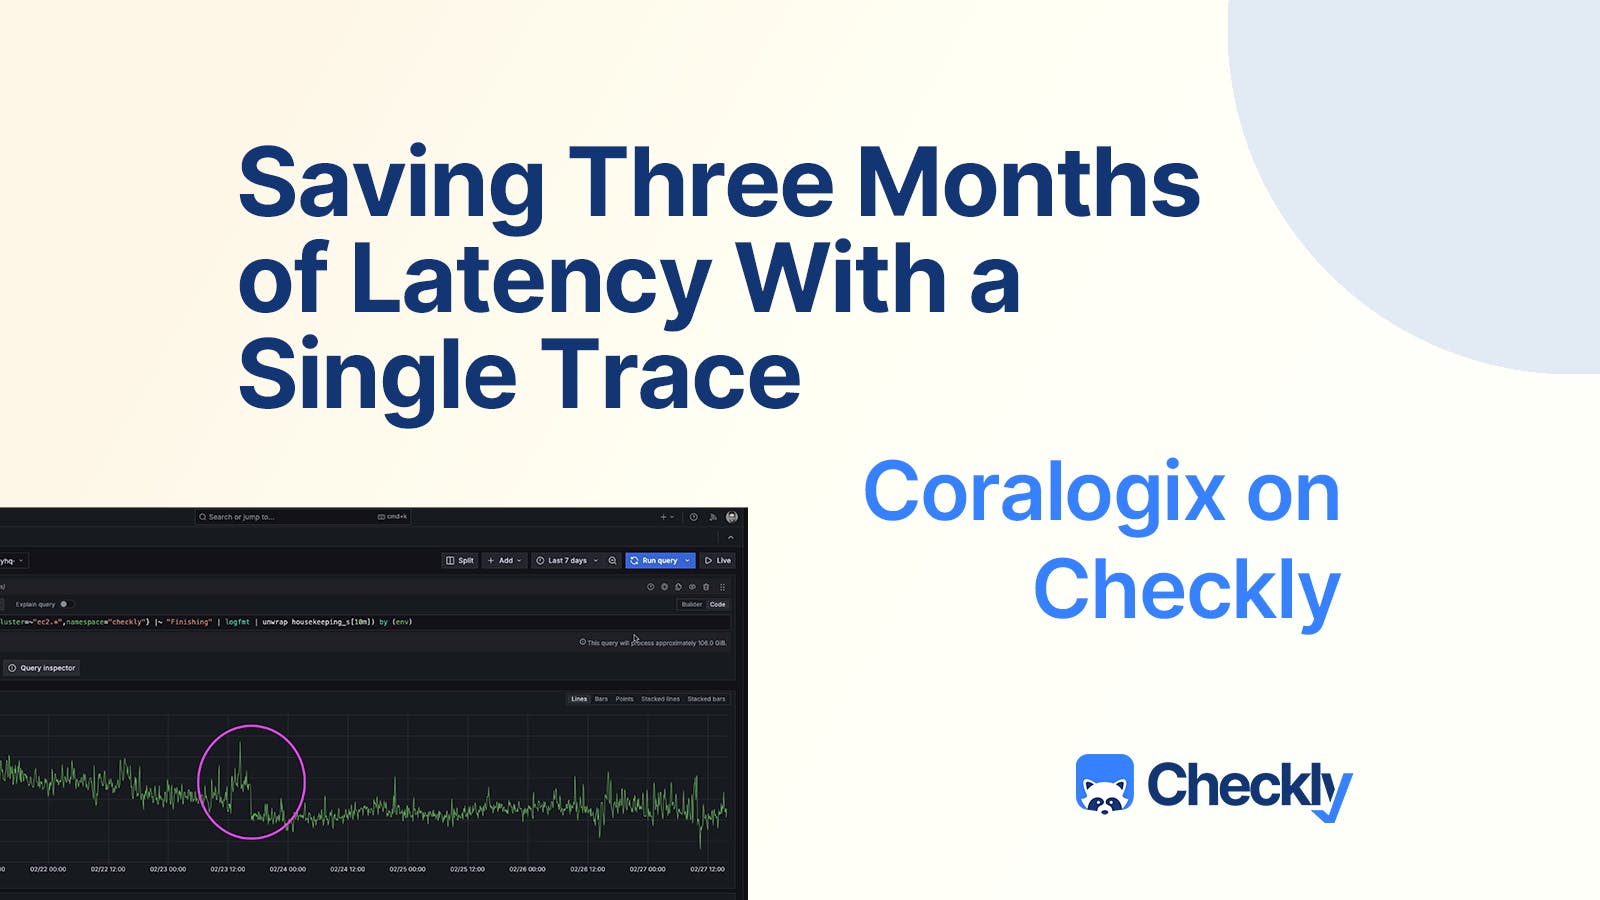
- If you’re a Coralogix user, check out our Coralogix integration
By starting to use our OTel integration, you can leverage the power of OpenTelemetry Metrics with Checkly to gain a deeper understanding of your applications' performance and behavior.
Conclusion
OpenTelemetry Metrics provide a standardized and flexible way of collecting, aggregating, and exporting metric data from your applications and services. By instrumenting your code with OpenTelemetry Metrics, you can gain insight into the performance and behavior of your systems, enabling you to identify issues, optimize performance, and deliver a better user experience. With Checkly's OpenTelemetry integration, getting started with metrics monitoring is easier than ever, allowing you to focus on building and delivering great software.
Get started with Checkly for free or schedule a customized demo.