
What are Playwright Check Suites?
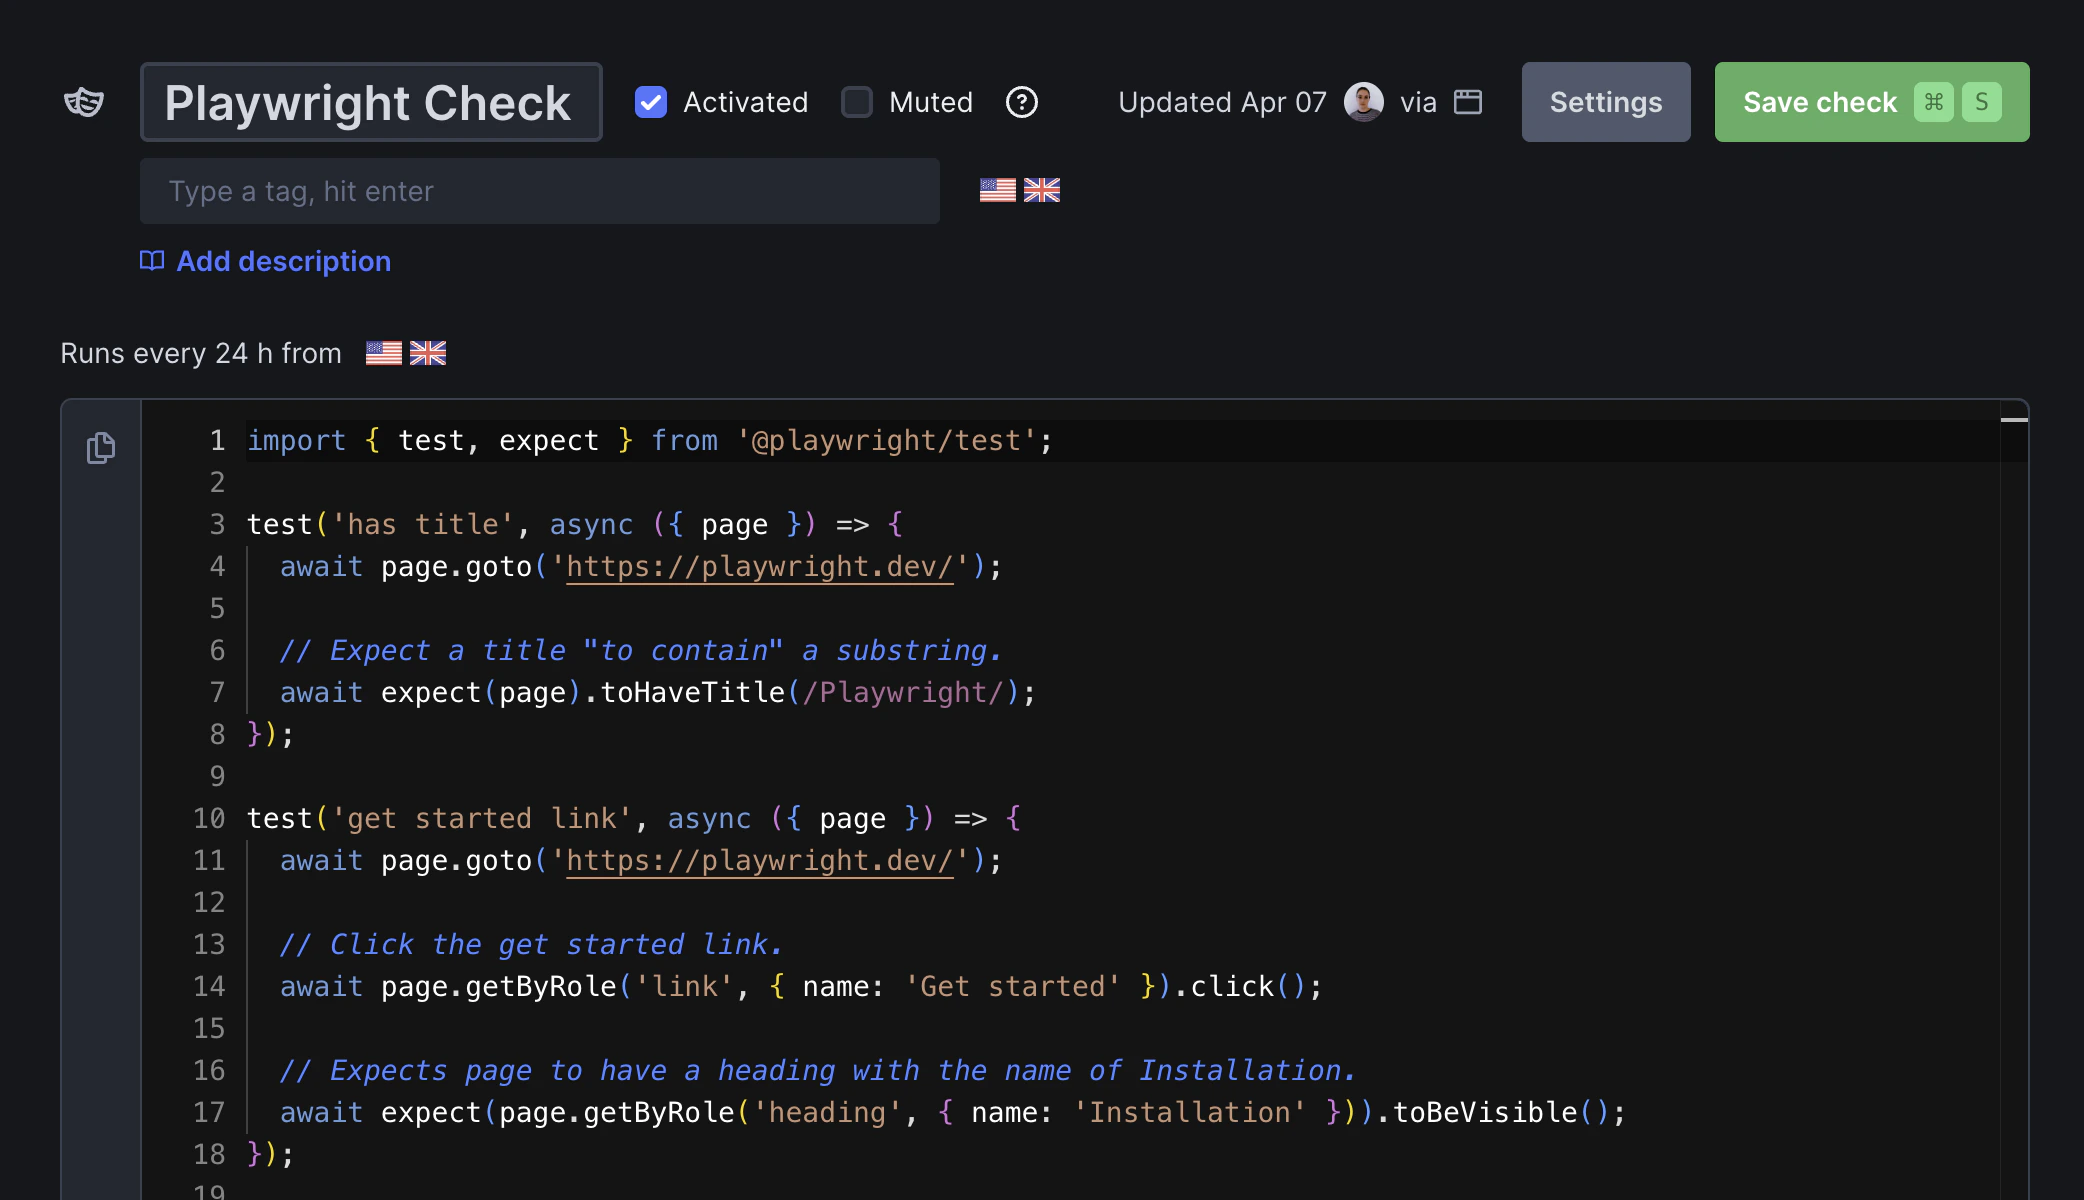
Playwright Check Suites turn your Playwright end-to-end tests into production monitors. Run entire test suites, specific projects, or tagged tests globally without modifying your existing code or configuration.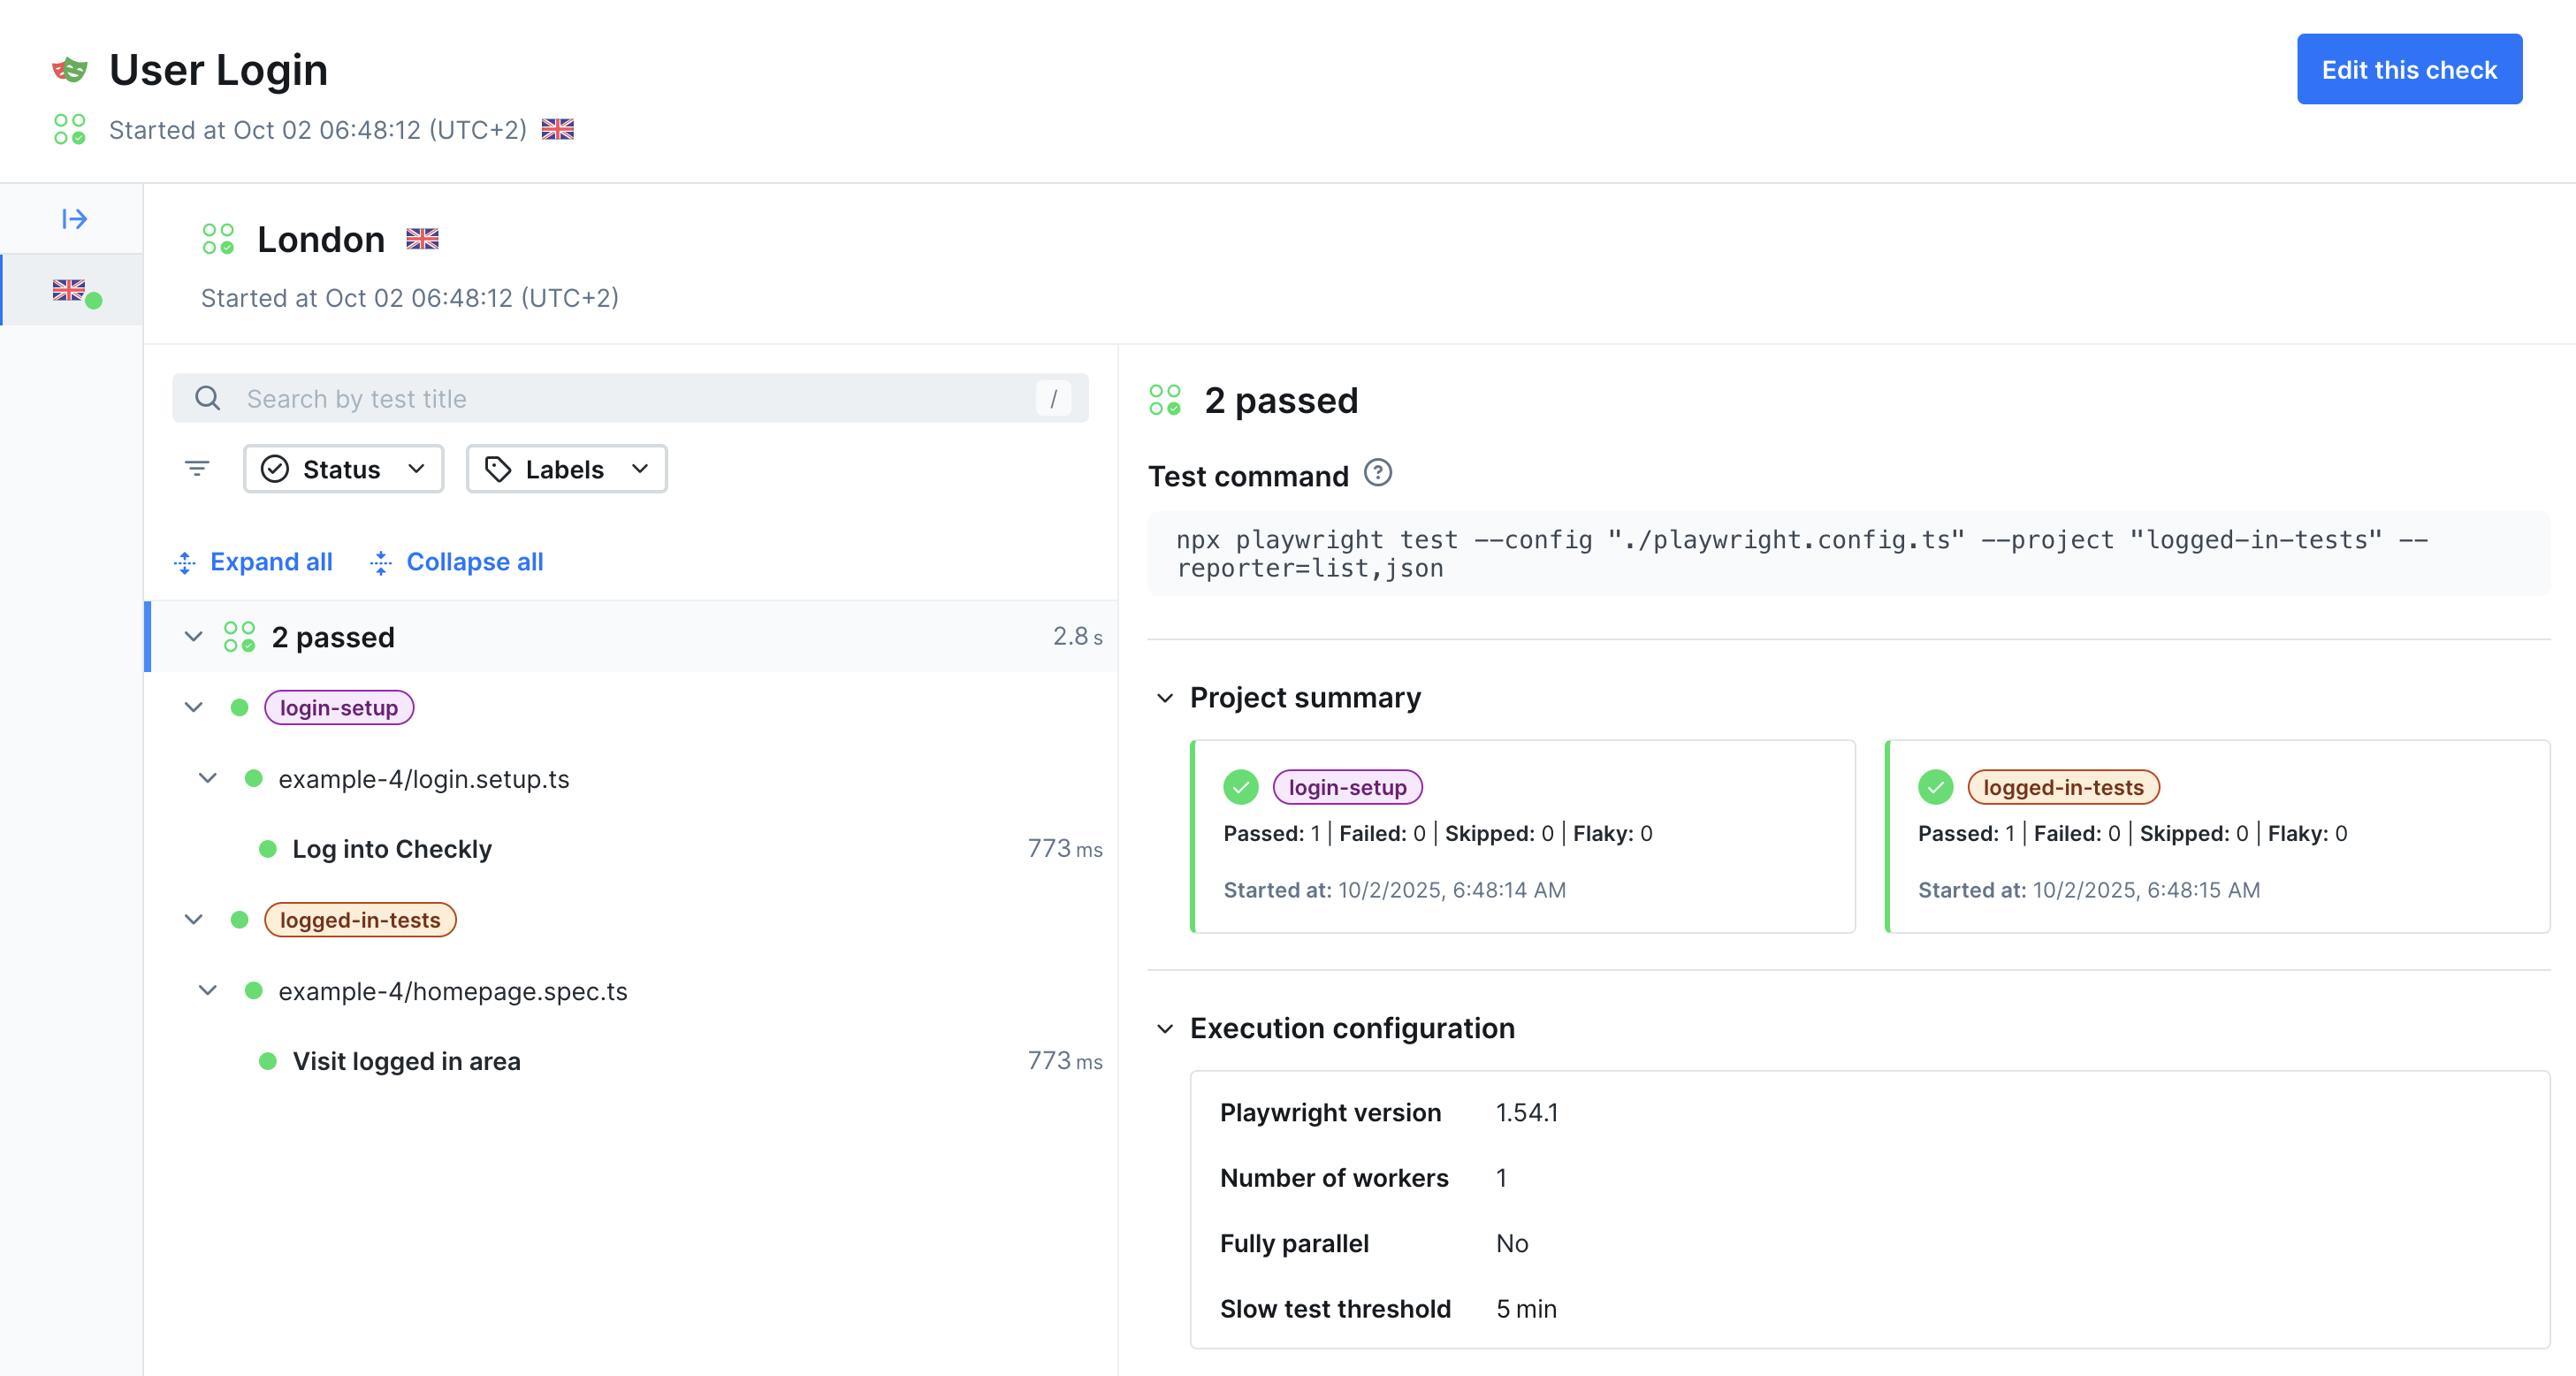
- Turn E2E tests into global synthetic monitors
- Monitor complex user workflows across browsers and regions
- Detect issues in critical business processes
- Verify functionality after deployments
How Playwright Check Suites Work
1
1. Select tests
Choose which tests to turn into monitors using Playwright projects or tags from your existing configuration.
2
Choose frequency and locations
Specify the locations to run the check from, and set its frequency
3
Deploy globally
Run selected tests on schedules from global locations with performance tracking and detailed reporting.
4
Get alerted
Receive notifications when tests fail or performance degrades.
Test Selection
Control which tests run as monitors using:- Projects: Select browser and project configurations from your Playwright config with
pwProjects - Tags: Choose tests marked with specific tags (e.g.,
@critical,@smoke) withpwTags - Combinations: Mix tags and projects for precise control
- testCommand: Use
npx playwright test ...to select the tests you want to create a monitor for, using playwright flags like--grep-invertor--projects
checkly.config.ts file:
checkly.config.ts
Monitoring Configuration
Customize how your checks run:- Frequency: Schedule runs at regular intervals
- Locations: Deploy to multiple global regions
- Alerting: Set up notifications and escalation
- Dependencies: Use private packages and custom registries (see custom dependencies)
Getting Started
Quickstart Guide
Deploy your first Playwright Check Suite
Construct Reference
Construct configuration options and examples
Add to Group
Organize checks with groups
Custom Dependencies
Use private packages and custom registries