Initial SSO setup
Setting up SSO for your organisation starts with providing Checkly Support with the following information:- name / type / brand of your identity provider
- email domain
- sign in URL
- sign out URL
- public X509 certificate
IdP configuration
After your configuration has been processed on Checkly’s side, you’ll receive the following information to configure your IdP:- a redirect URL (e.g.
https://auth.checklyhq.com/login/callback?connection=<YOUR_CONNECTION_ID>) - a signout URL (normally
https://auth.checklyhq.com/logout) - XML metadata (e.g.
https://auth.checklyhq.com/samlp/metadata?connection=<YOUR_CONNECTION_ID>)
In case of issues, you might want to double-check your Entity ID, which should be:
urn:auth0:checkly:<YOUR_CONNECTION_ID>Testing the integration
Once that is taken care of, logging in to Checkly via SSO is ready. Entering an email address associated with the domain you have provided in the login prompt should result in the password field disappearing: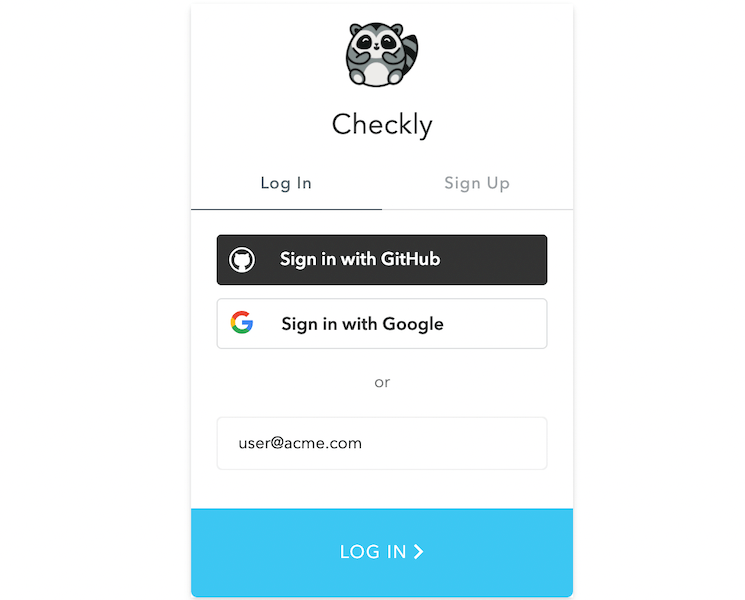
JIT User Provisioning
Just-in-time user provisioning is now enabled for Enterprise customers using a single Checkly account. This allows all users from your SSO organisation to join your Checkly account by simply by logging in. You don’t need to invite anyone manually (although you still can). There are two ways your users can access Checkly:- Go through your SSO provider and access Checkly from the list of your approved apps.
- Access the Checkly Login Page directly.
- This requires a user to enter their email in the email field, and then click Continue.
Default user roles
By default, all users provisioned via SSO receive Read & Write permission within Checkly. You are able to modify this behaviour by going to the SSO Configuration and choosing a different role.Removing users
If you want to remove users that have been previously provisioned through SSO, there is a two-step process:- Remove their access within your SSO provider.
- Remove them from your Checkly Team.