The Checkly Terraform provider enables you to declare your monitoring setup as code using HashiCorp Terraform. You can get started with it in a matter of minutes by following the steps shown below.
If you prefer, you can also clone our sample repository and play around with the resources on your own.
For in-depth information on Terraform, please see HashiCorp’s official documentation.
Looking for Monitoring as Code but don’t want to use Terraform? Give our CLI solution a try.
Installation
To get started, you first need to install Terraform.
Next, switch to a new folder for your project, and create your main.tf file:
mkdir terraform-checkly-getting-started && cd $_ && touch main.tf
main.tf:
terraform {
  required_providers {
    checkly = {
      source = "checkly/checkly"
      version = "~> 1.0"
    }
  }
}

variable "checkly_api_key" {}
variable "checkly_account_id" {}

provider "checkly" {
  api_key = var.checkly_api_key
  account_id = var.checkly_account_id
}
Create API key.
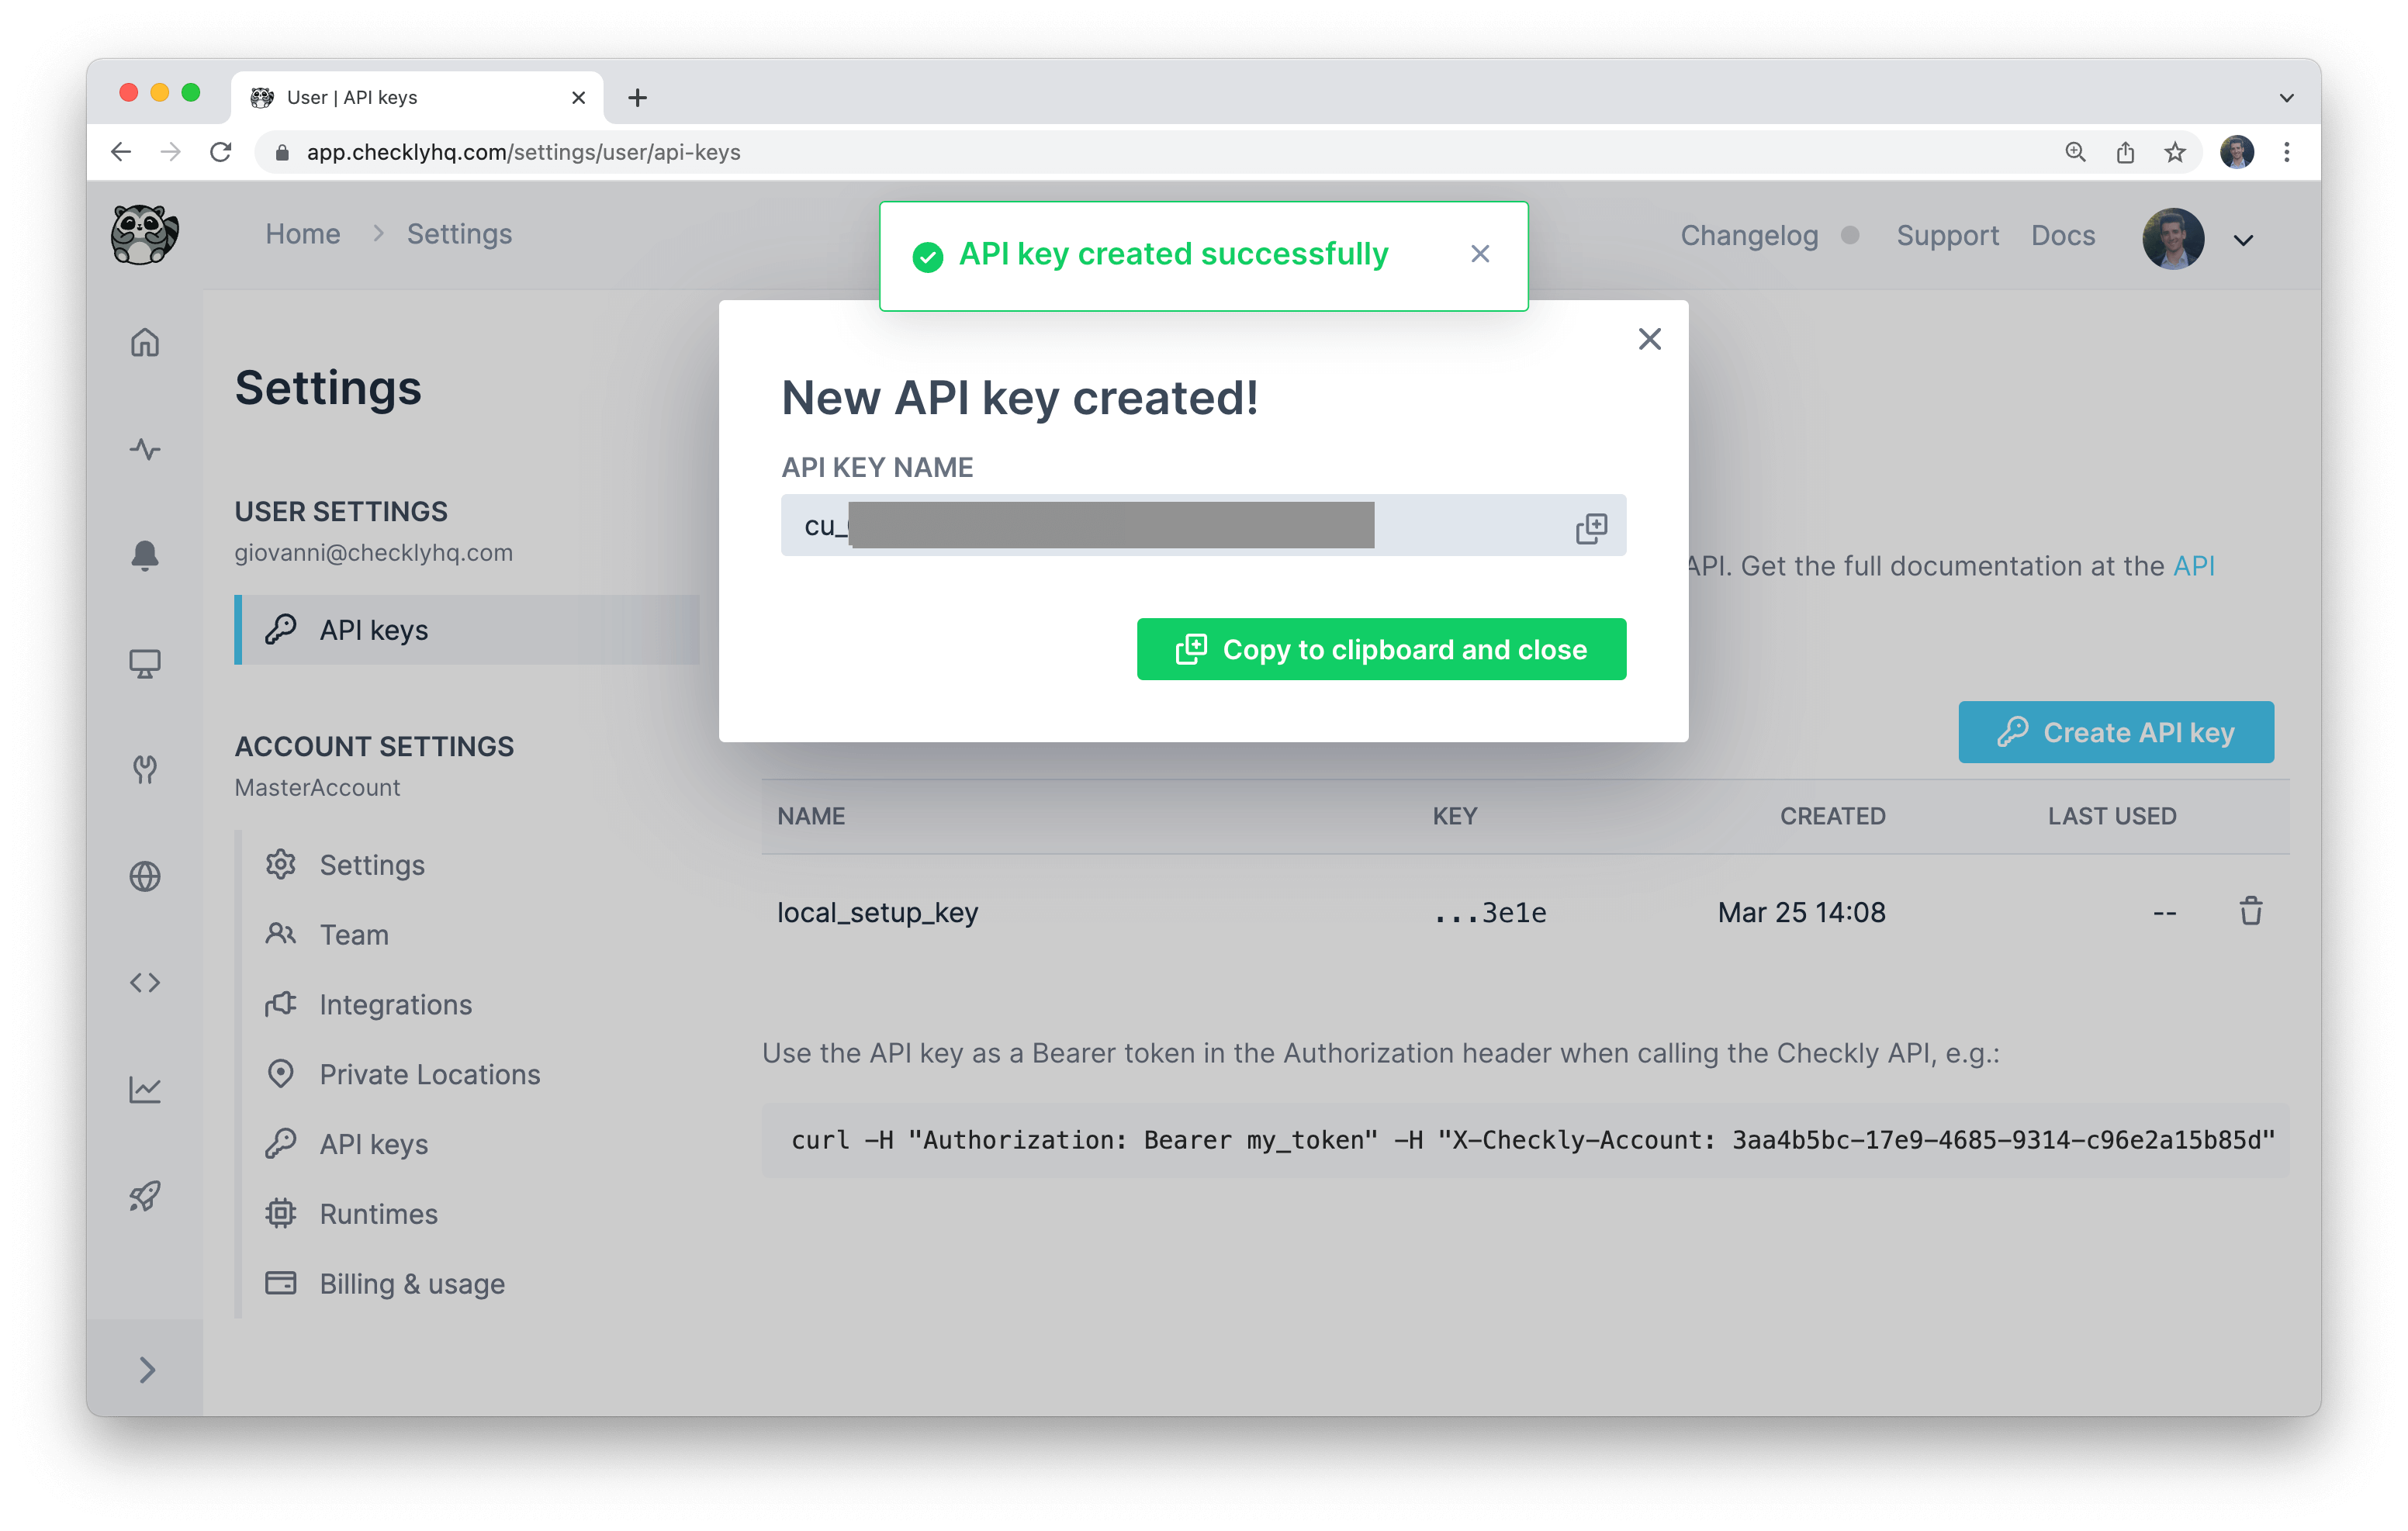 Get your User API key and add it to your env using your terminal:
export TF_VAR_checkly_api_key=cu_xxx
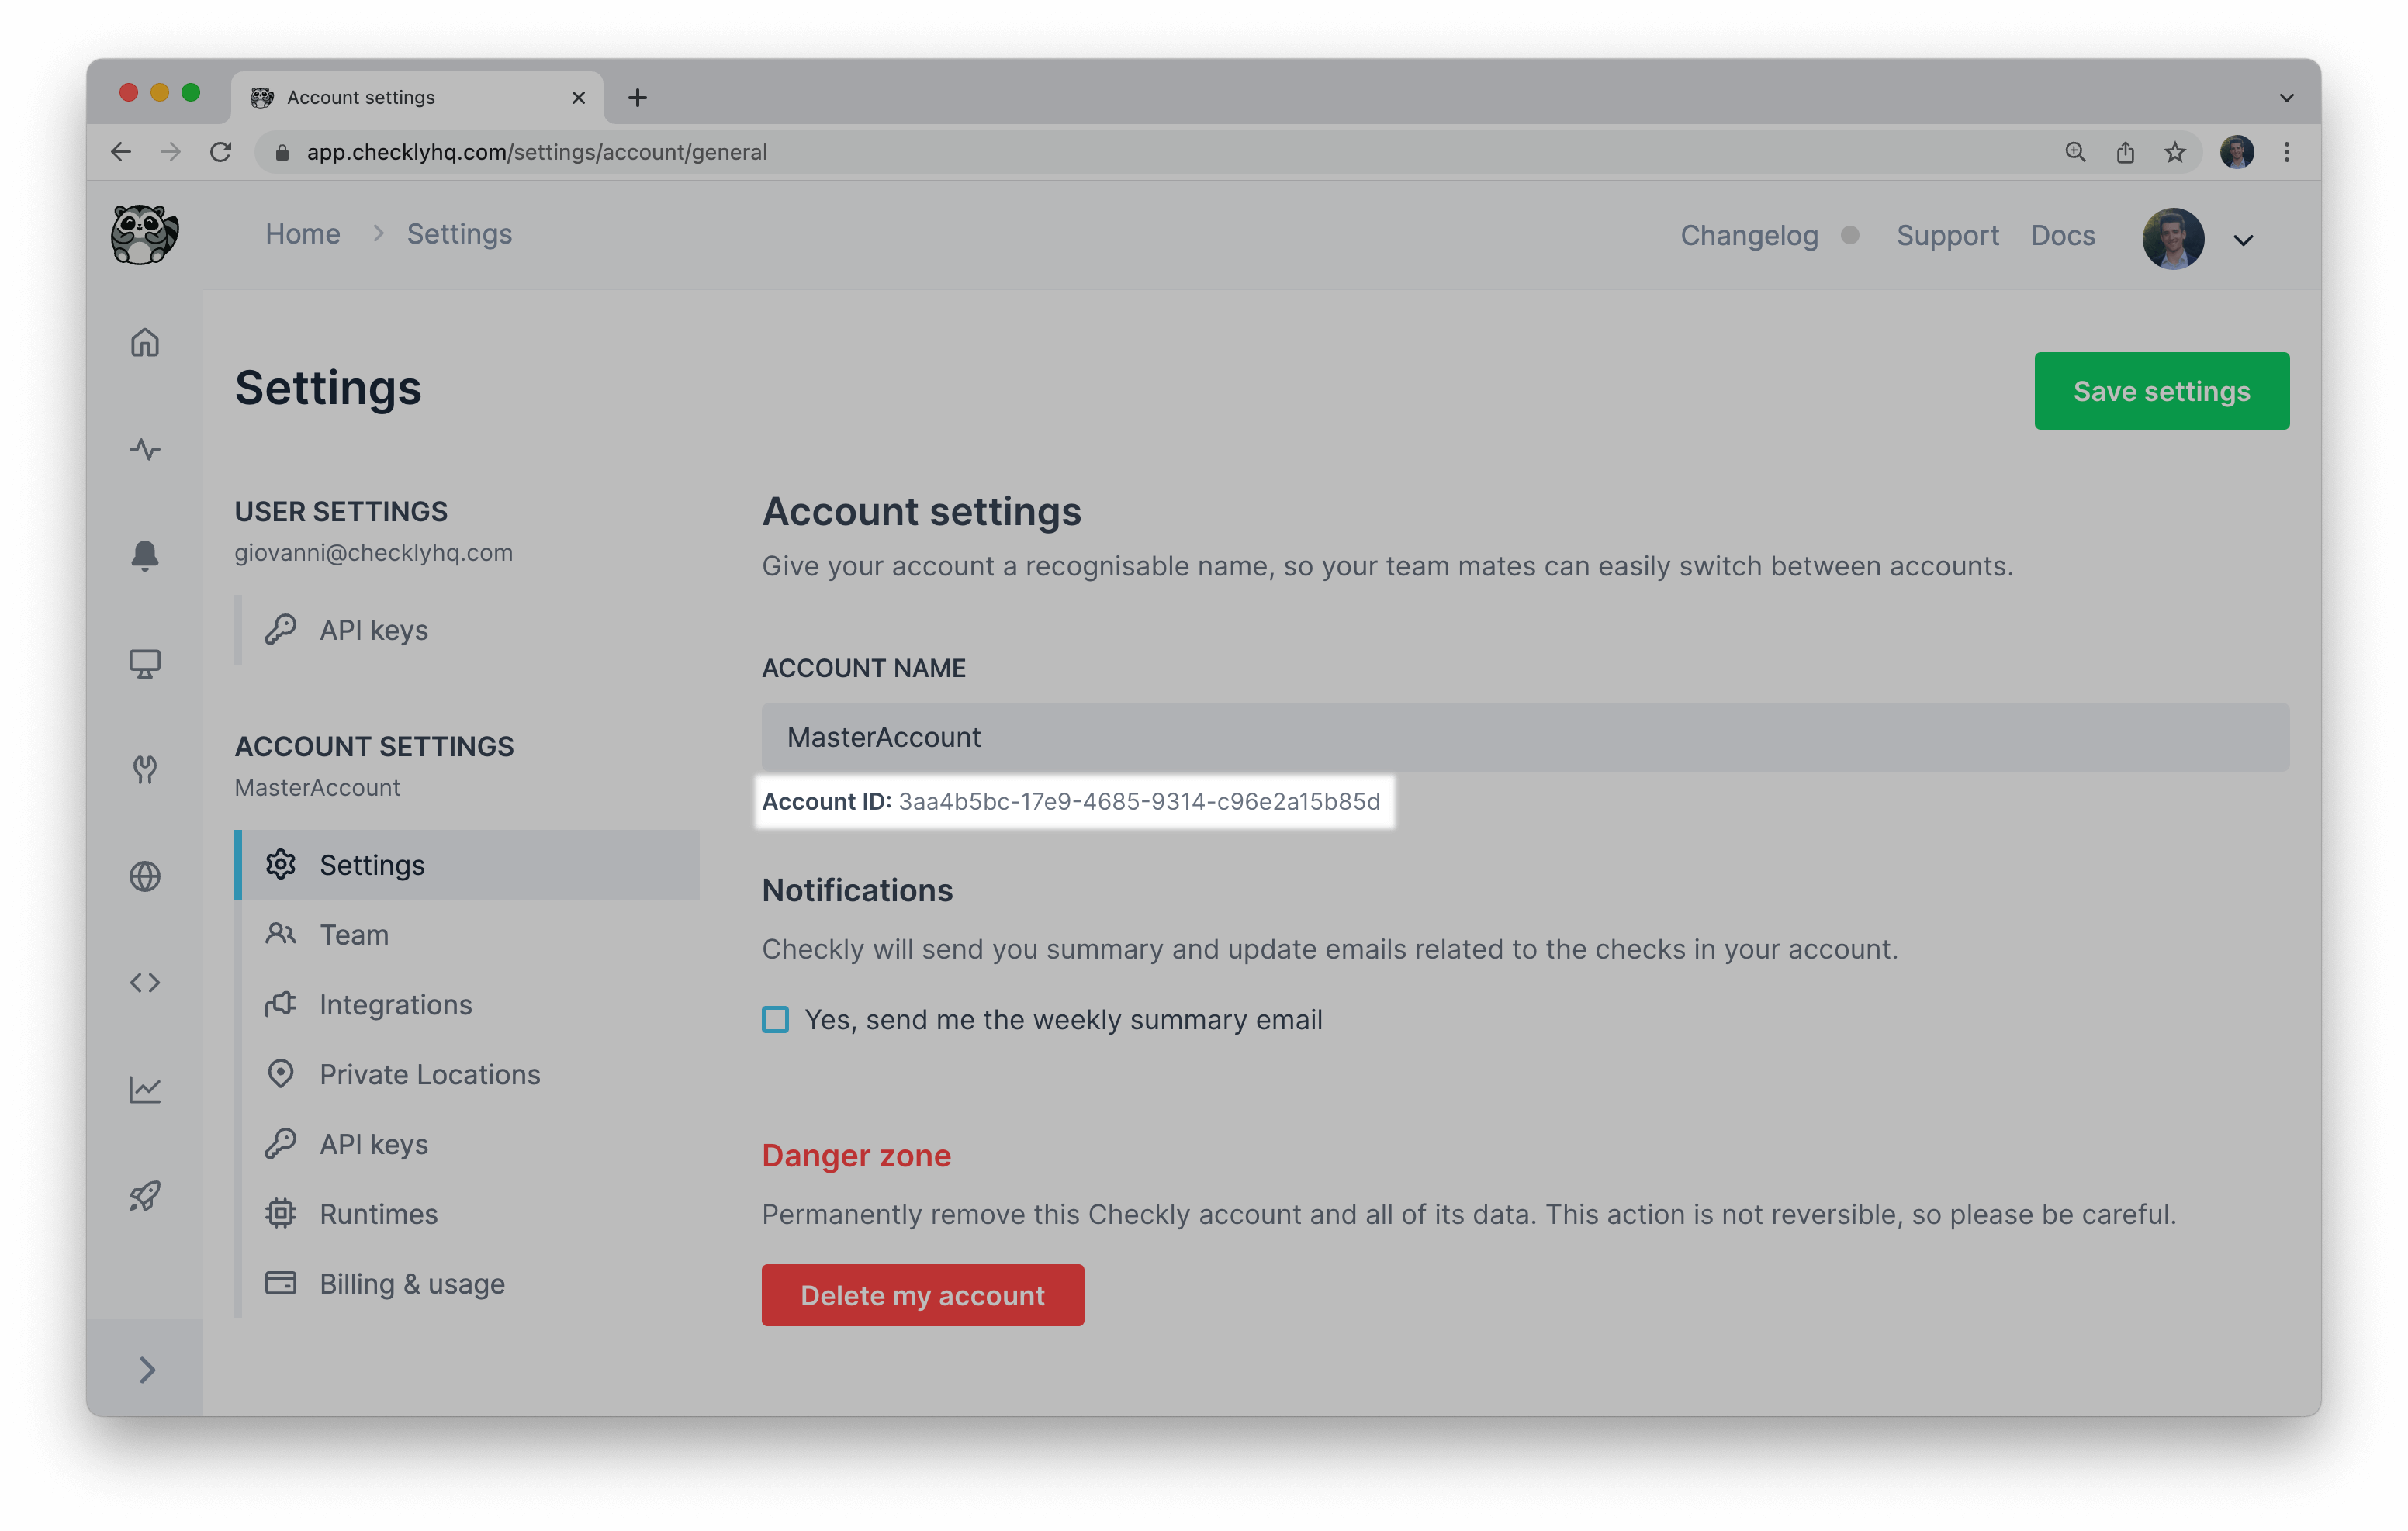 If you don’t have access to account settings, please contact your account owner/admin.
export TF_VAR_checkly_account_id=xxx
terraform init will install the Checkly Terraform provider for you, as well as initialising your project. The output will look similar to the following:
$ terraform init

Initializing the backend...

Initializing provider plugins...
- Finding checkly/checkly versions matching "~> 1.0"...
- Installing checkly/checkly v1.4.3...
- Installed checkly/checkly v1.4.3 (signed by a HashiCorp partner, key ID 4E5AC4D95E185A57)

...

Terraform has been successfully initialized!

You may now begin working with Terraform. Try running "terraform plan" to see
any changes that are required for your infrastructure. All Terraform commands
should now work.

If you ever set or change modules or backend configuration for Terraform,
rerun this command to reinitialize your working directory. If you forget, other
commands will detect it and remind you to do so if necessary.
Your first browser check
As an example, you could add a basic browser check resource at the bottom of your main.tf.
resource "checkly_check" "browser-check-1" {
  name                      = "Example check"
  type                      = "BROWSER"
  activated                 = true
  frequency                 = 5

  locations = [
    "eu-central-1",
    "us-west-1"
  ]

  retry_strategy = {
    type = "LINEAR"
  }

  script = <<EOT
const { test, expect } = require('@playwright/test');

test('Has "Playwright" in the page title', async ({ page }) => {
  await page.goto('https://playwright.dev/');

  // Expect a title "to contain" a substring.
  await expect(page).toHaveTitle(/Playwright/);
});

EOT
}
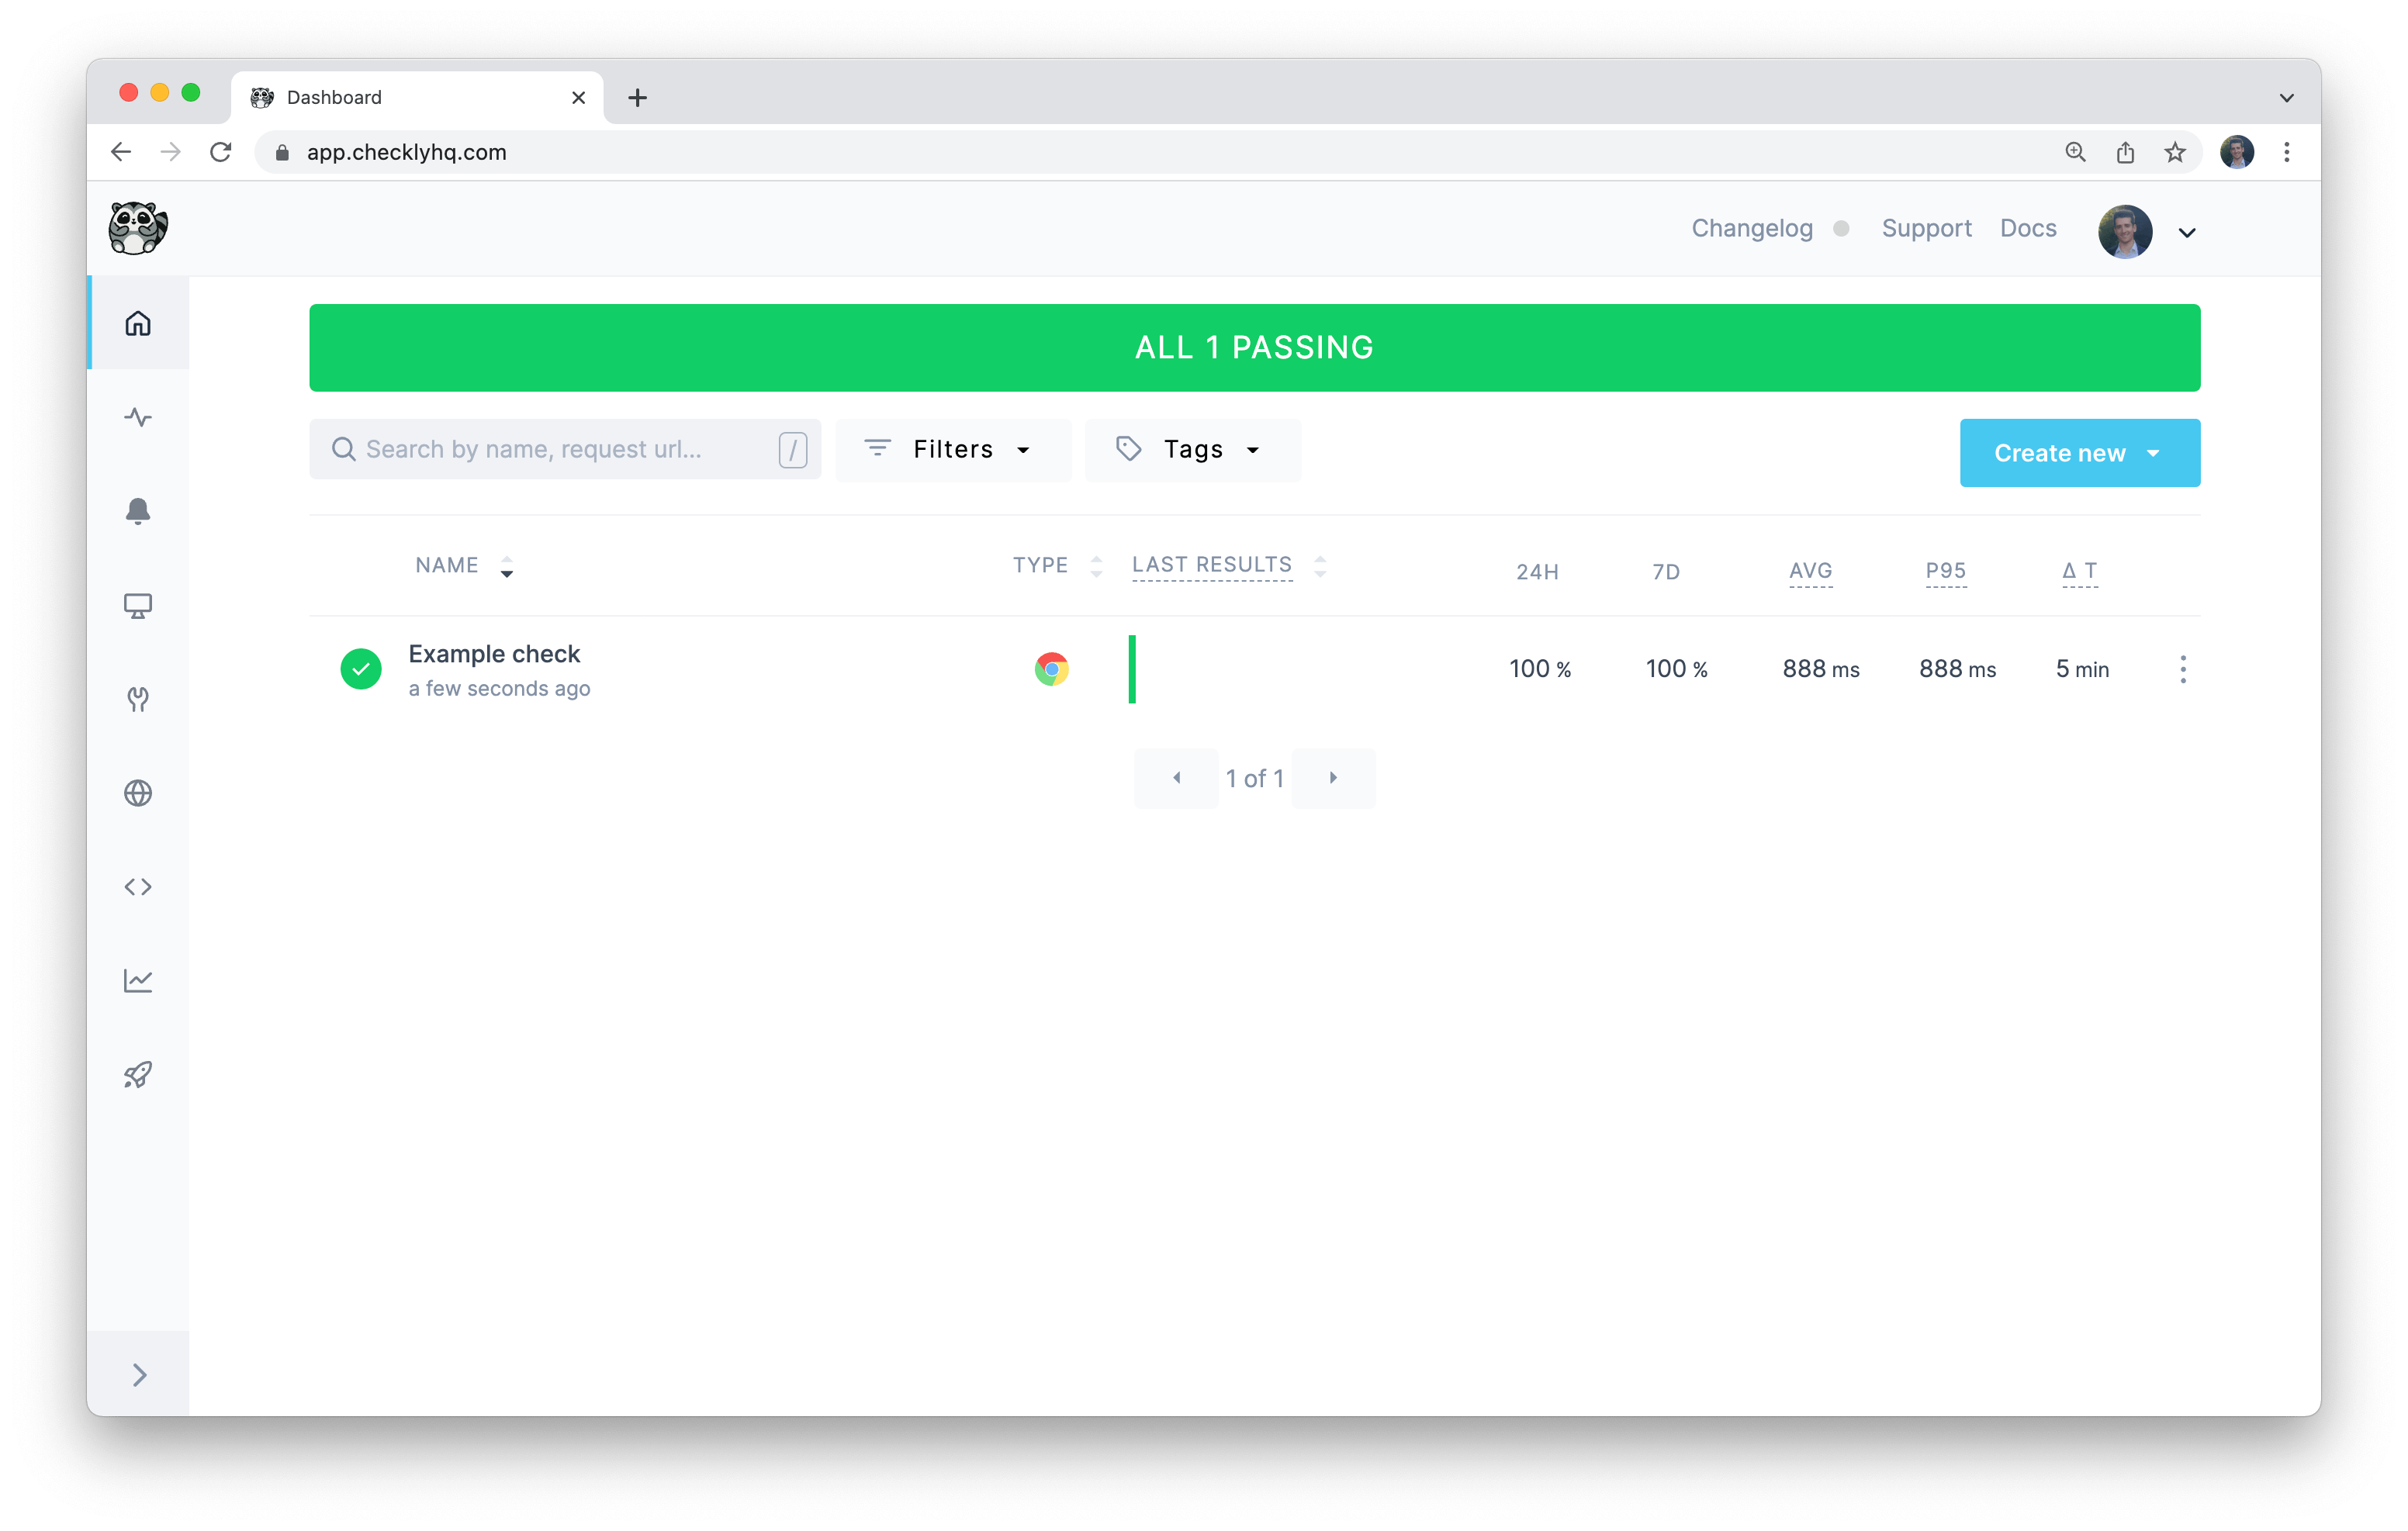
Applying changes
You can now have Terraform apply your changes on Checkly by running terraform apply. Terraform will draft a plan and ask you to confirm by typing yes. Once that is done, Terraform will go ahead and create the resources you have specified (one browser check, so far) for you.
$ terraform apply

Terraform used the selected providers to generate the following execution plan. Resource actions
are indicated with the following symbols:
  + create

Terraform will perform the following actions:

  # checkly_check.browser-check-1 will be created
  + resource "checkly_check" "browser-check-1" {
      + activated              = true
      + degraded_response_time = 15000
      + retry_strategy {
          + base_backoff_seconds = 60
          + max_duration_seconds = 600
      ...
    }

Plan: 1 to add, 0 to change, 0 to destroy.

Do you want to perform these actions?
  Terraform will perform the actions described above.
  Only 'yes' will be accepted to approve.

  Enter a value: yes

checkly_check.browser-check-1: Creating...
checkly_check.browser-check-1: Creation complete after 1s [id=cc143901-fbae-4942-91fe-4b99b0250567]

Apply complete! Resources: 1 added, 0 changed, 0 destroyed.
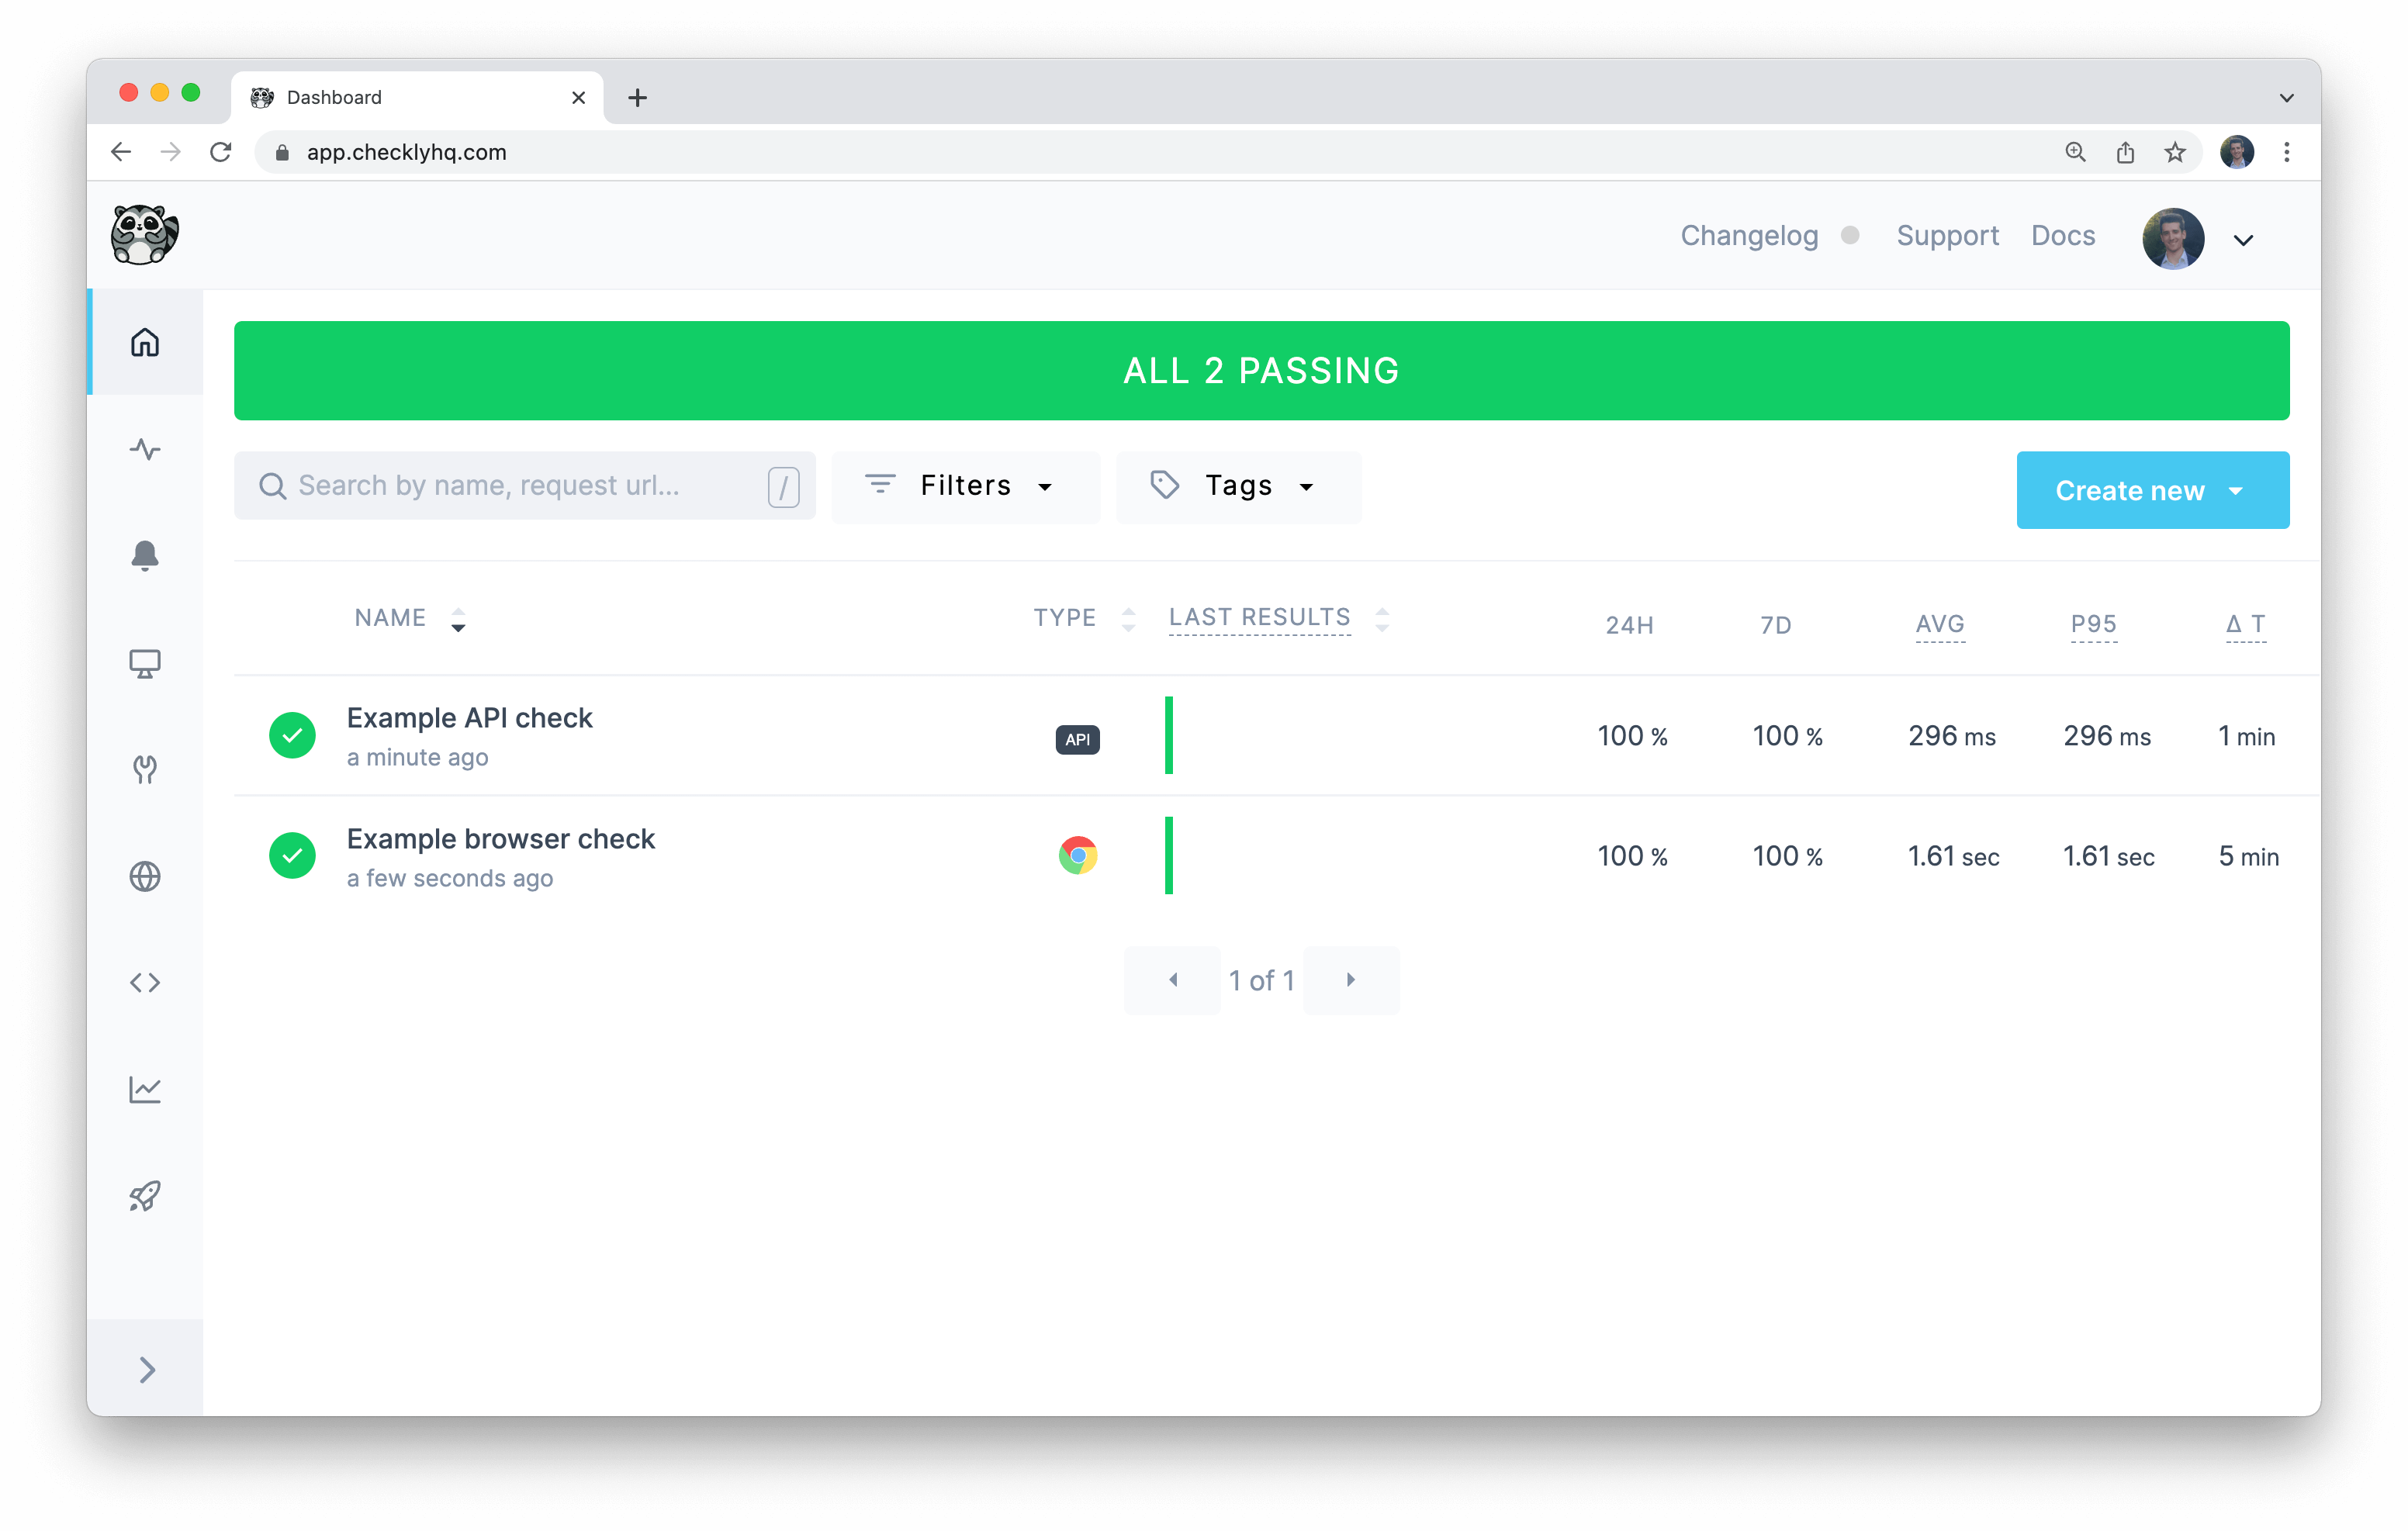
Adding an API check
You can also add an API check to monitor an API endpoint:
resource "checkly_check" "example-check" {
  name                      = "Example check"
  type                      = "API"
  activated                 = true
  frequency                 = 1

  locations = [
    "us-west-1",
    "eu-central-1"
  ]

  request {
    url              = "https://api.example.com/"
    follow_redirects = true
    skip_ssl         = false
    assertion {
      source     = "STATUS_CODE"
      comparison = "EQUALS"
      target     = "200"
    }
  }
}
terraform apply or wait until we have added an alert channel and have Terraform create both resources at once.
Setting up alerts
Now that you have your checks set up, you’ll want to set up an alert channel for Checkly to promptly inform you when one of them fails. For example, you could create an email channel:
resource "checkly_alert_channel" "email_ac" {
  email {
    address = "jane.doe@email.com" // Your email address here
  }
  send_recovery = true
  send_failure = true
  send_degraded = false
}
resource "checkly_check" "browser-check-1" {
  name                      = "Example check"
  type                      = "BROWSER"
  // ...

  alert_channel_subscription {
    channel_id = checkly_alert_channel.email_ac.id
    activated  = true
  }

  // ...
}

resource "checkly_check" "example-check" {
  name                      = "Example check"
  type                      = "API"
  // ...

  alert_channel_subscription {
    channel_id = checkly_alert_channel.email_ac.id
    activated  = true
  }

  // ...
}
terraform apply for the last time and have Terraform create your checks and alert channel for you.
 Congratulations! You have created your first Checkly monitoring setup using Terraform.
Checkly resources should be managed either through Terraform or through the Checkly UI, not both. Modifying Terraform-managed resources via the UI, and vice-versa, is likely to cause issues.